Categories
All Project Categories Office Refurbishments Partitioning Projects

Fitting of Glass Walls under a Vaulted roof

Client: RTS
Value: £33k

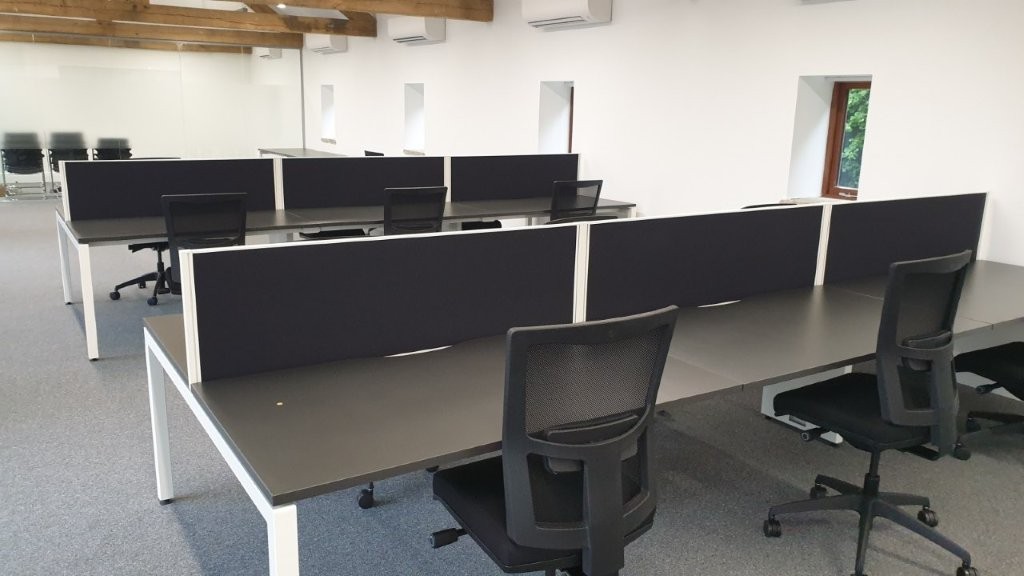
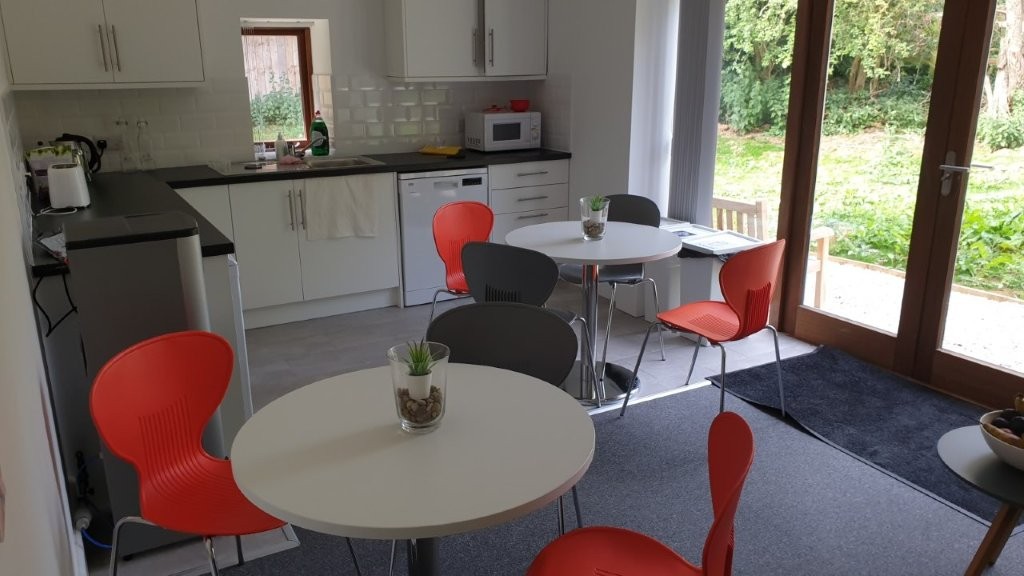
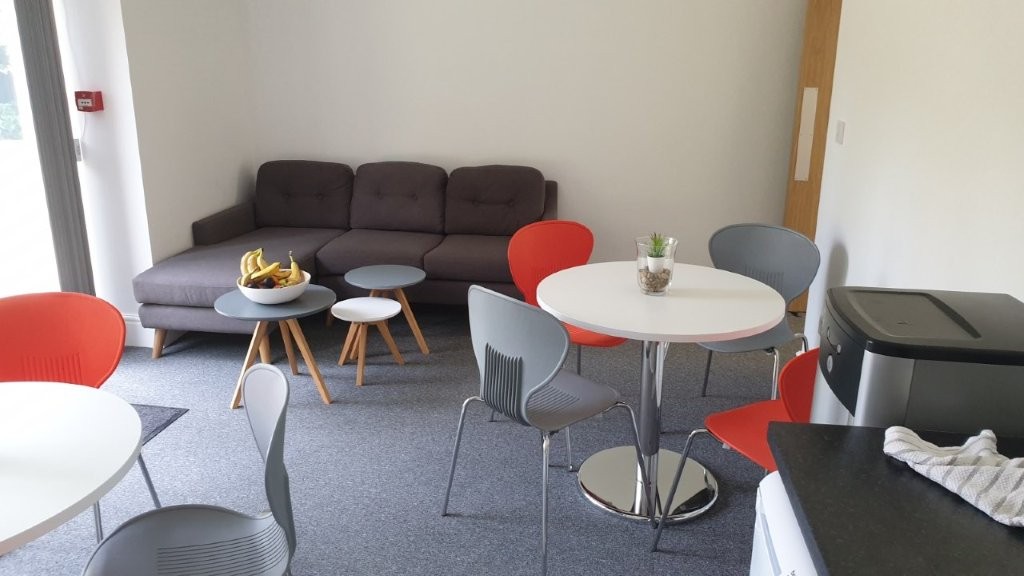
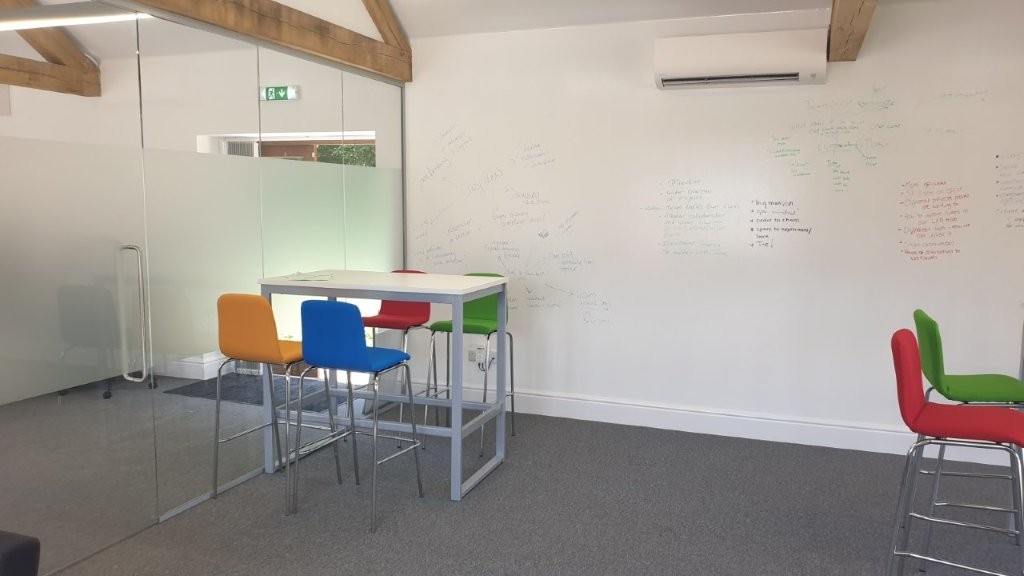
Although the main title to this project post relates to the Vaulted roof design of the space, half the value of the project was for office furniture. A mixture of desks, soft seating, chairs and stools all designed with a selection of vibrant colours. The desks had dark charcoal worktops and white desks frames which looked pretty cool.

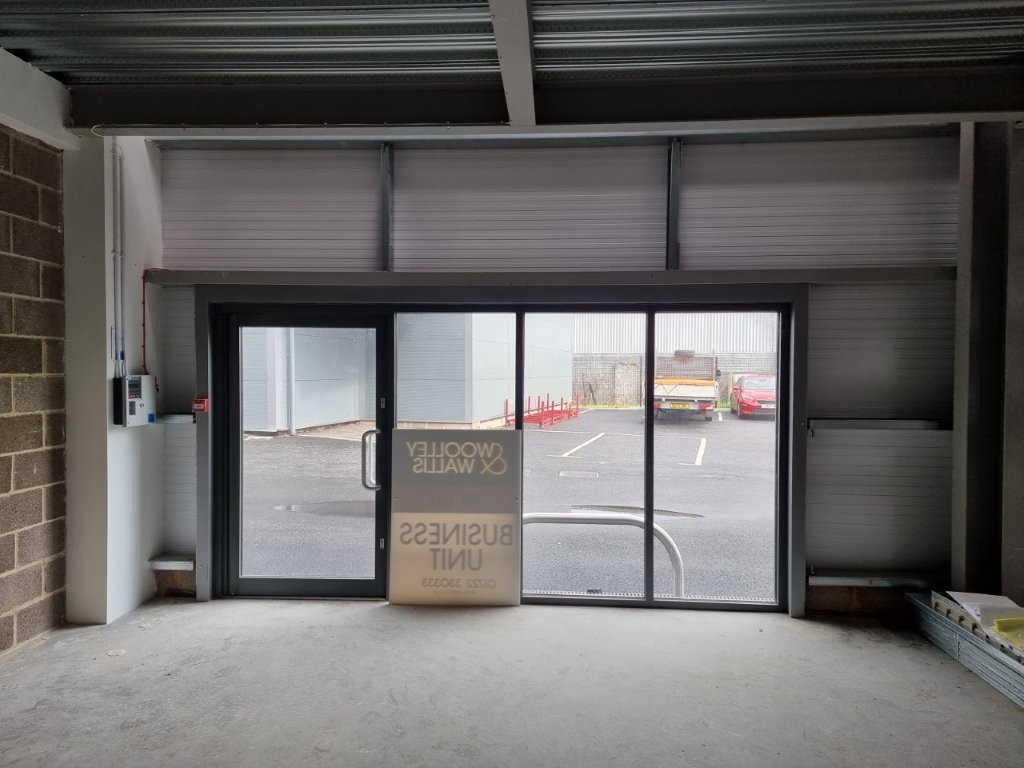
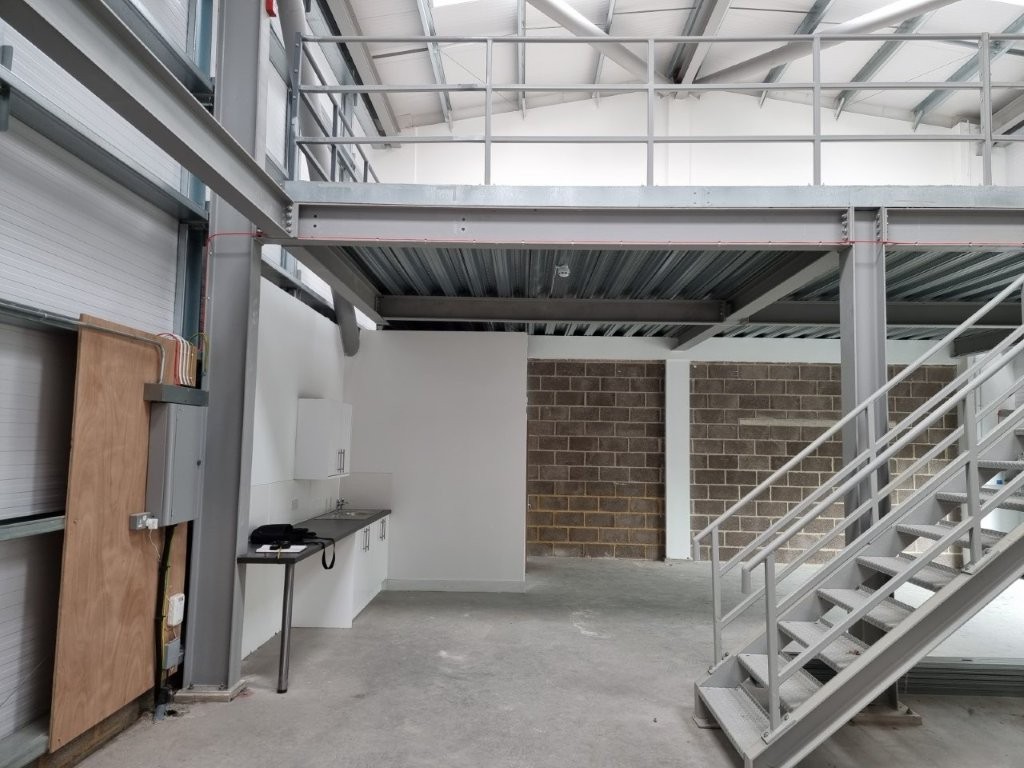
The customer was already in one building and wanted to expand into this one. They wanted a meeting room at one end by the main entrance like their existing space, that was built using an engineered timber system which would have cost an absolute fortune to build. We chose a different method, much more modern as well.

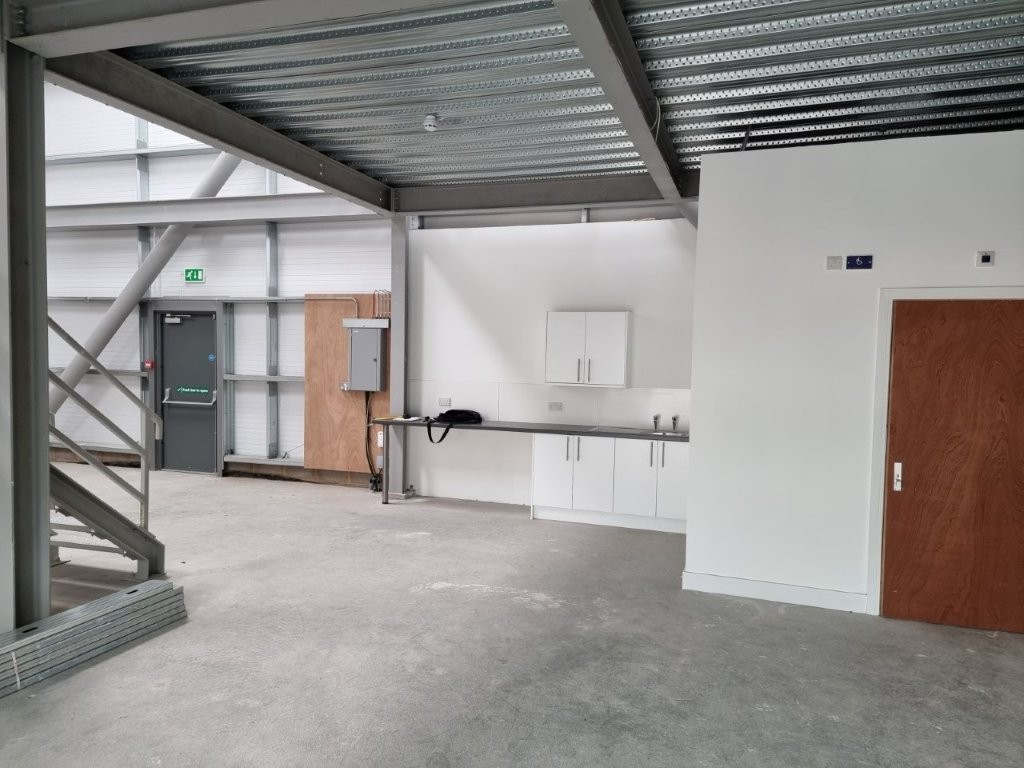
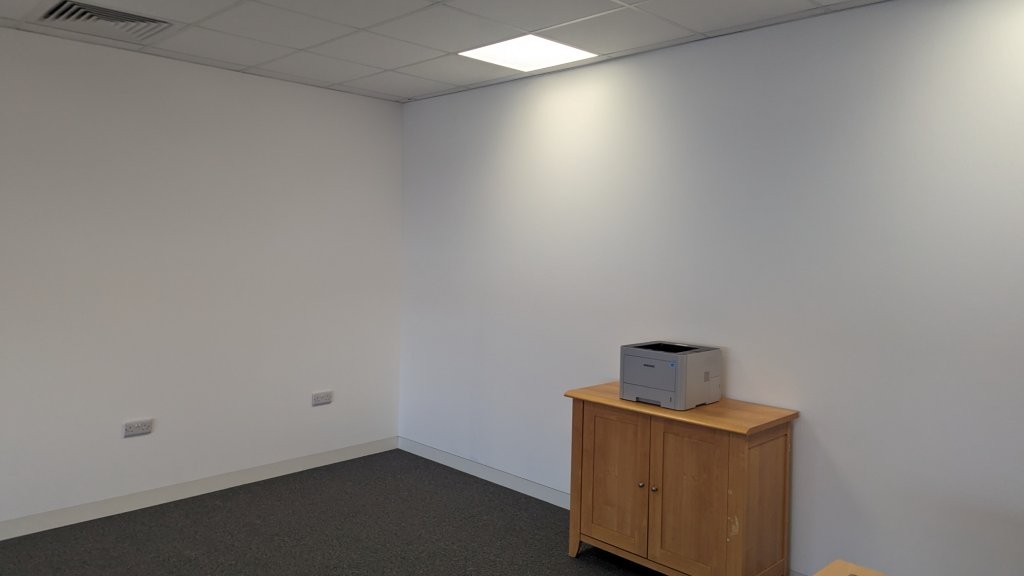
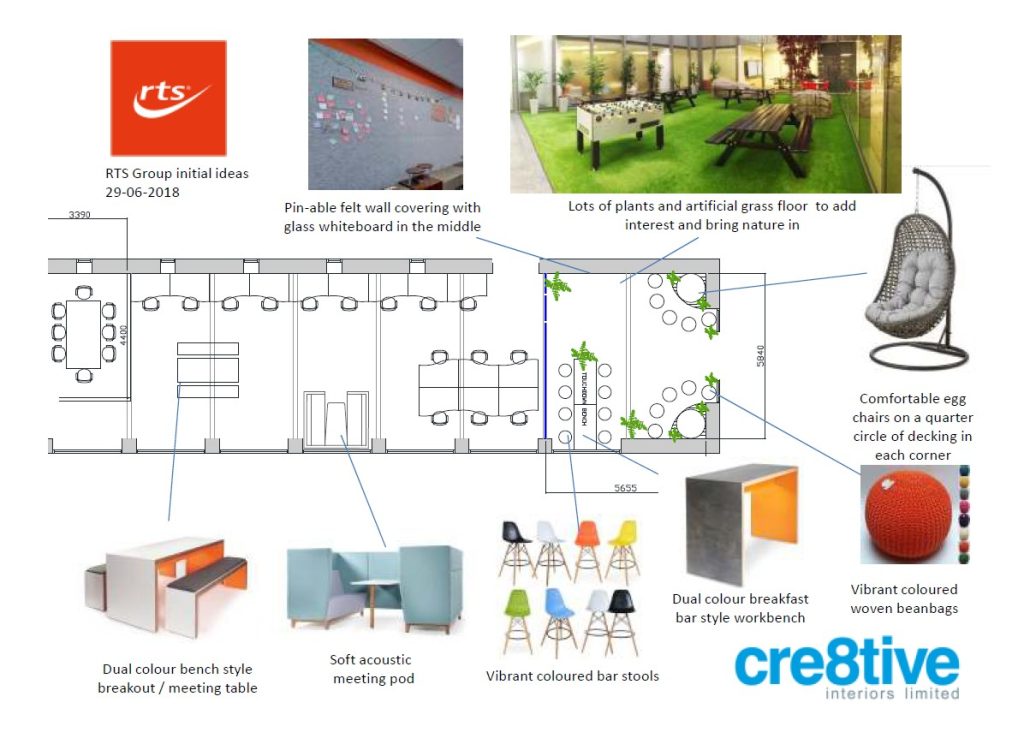
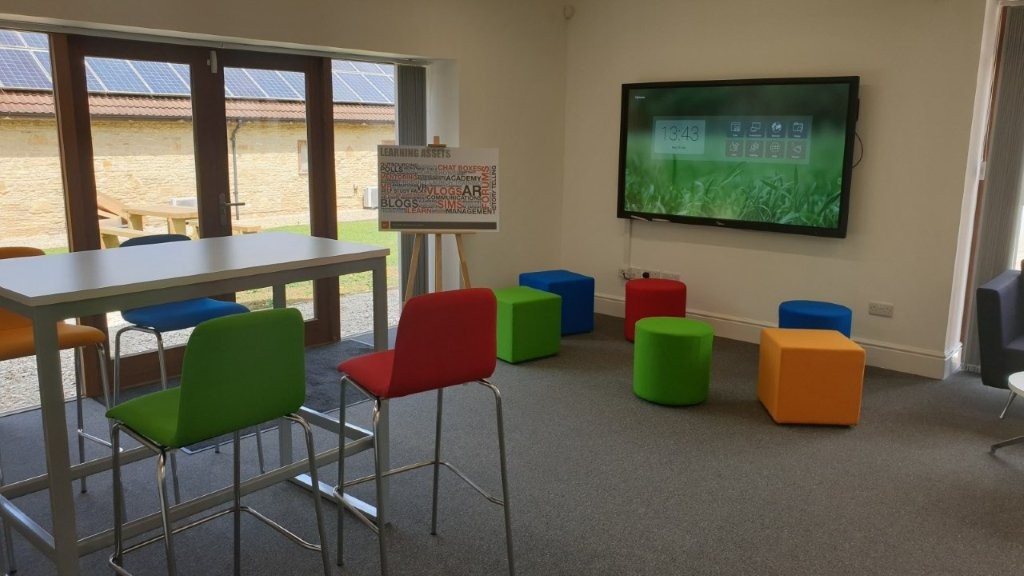
They also needed a breakout space away from the desks, where they could also brainstorm and do some problem solving away from the formality of meeting rooms. The space at the end of the building seemed ideal, so we allocated that space for that function.
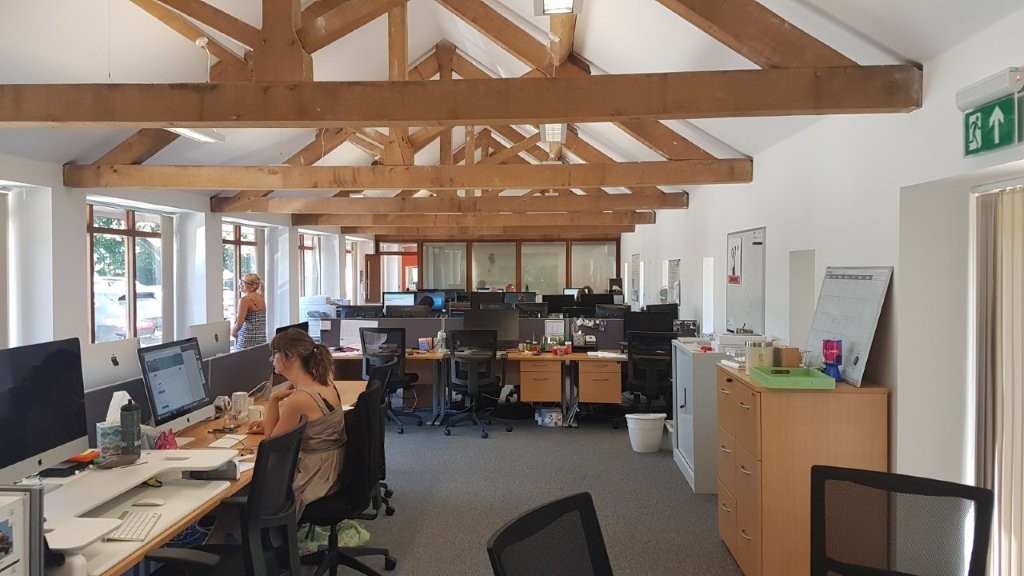
The Vaulted Roof

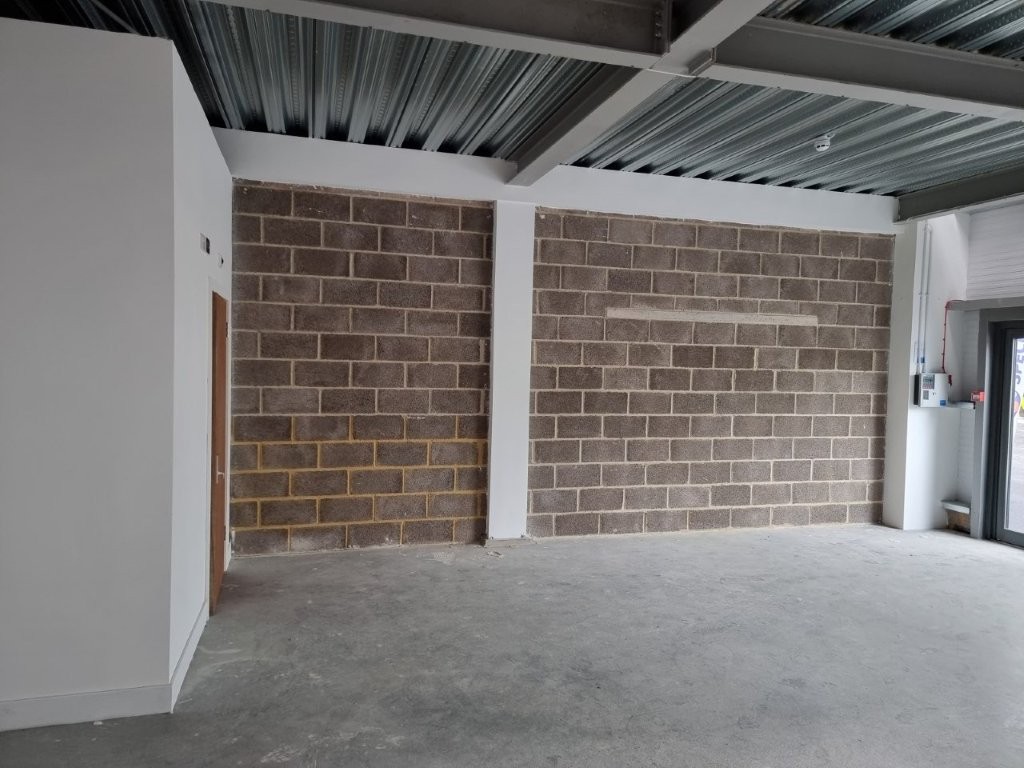
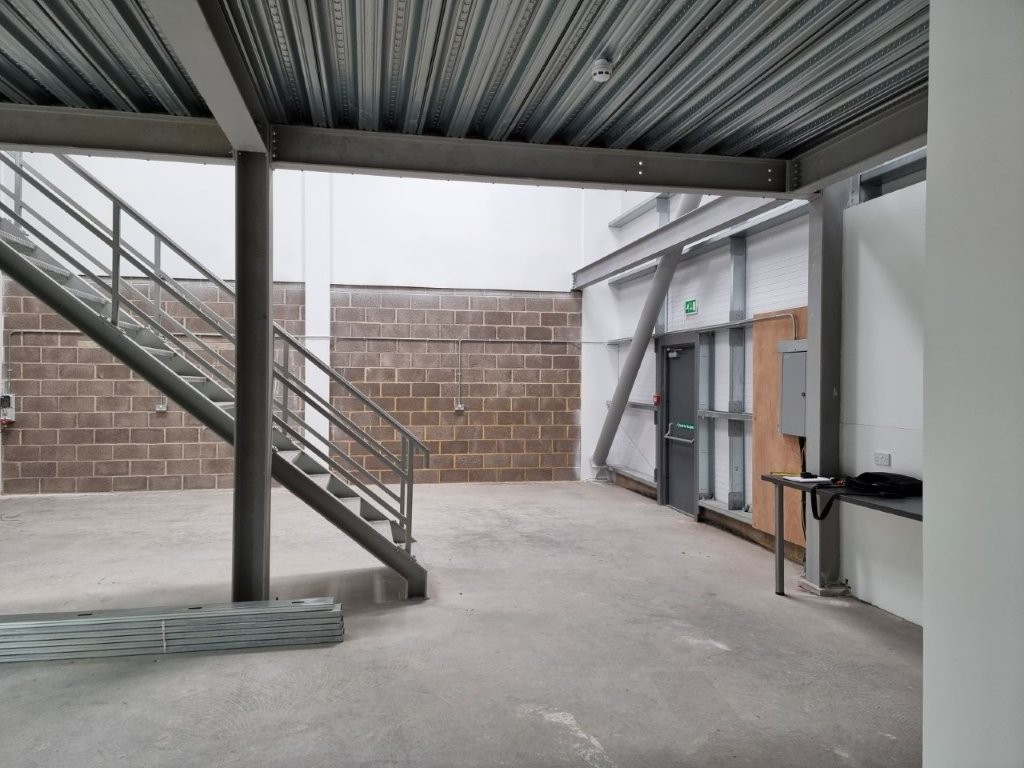
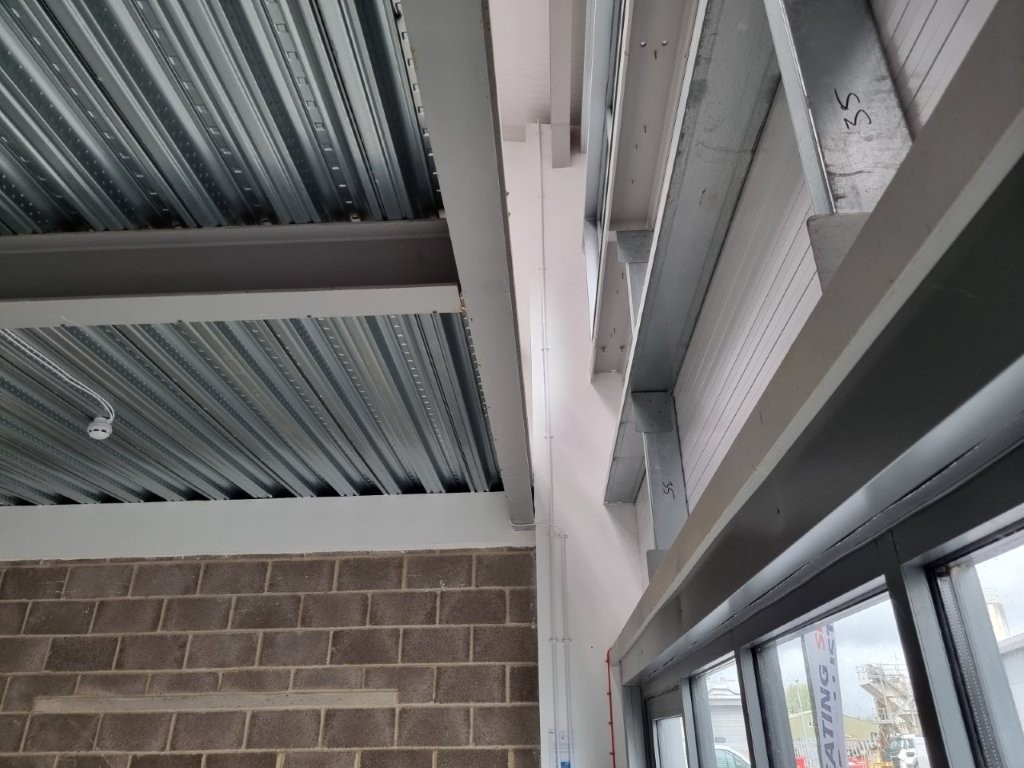
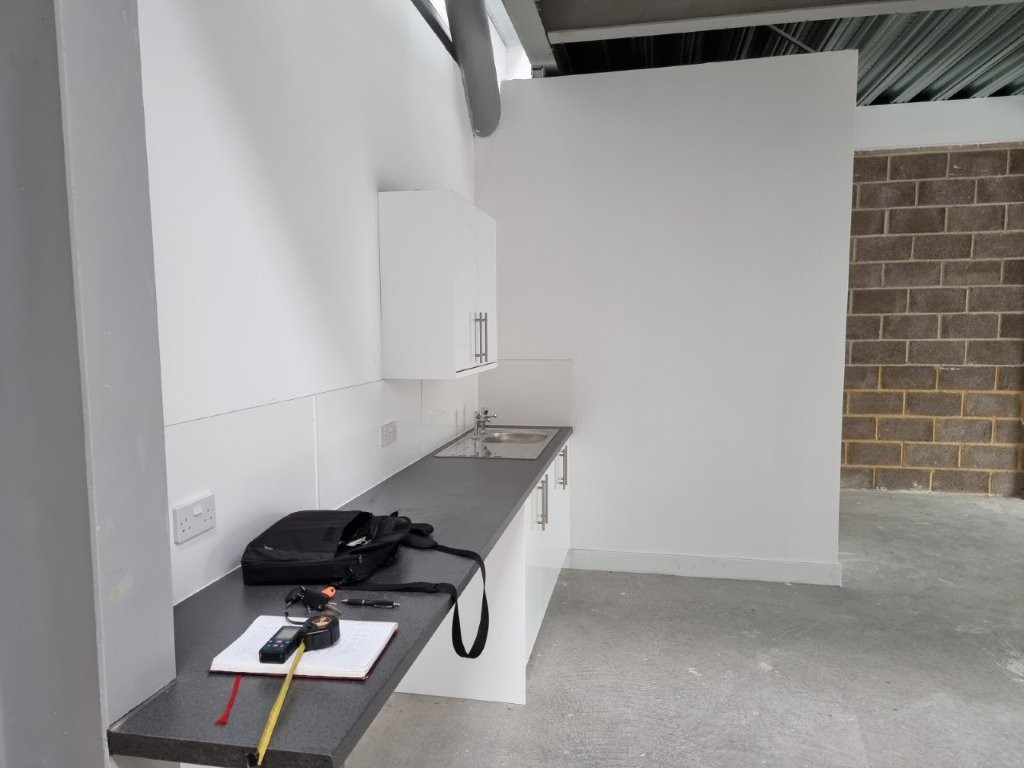
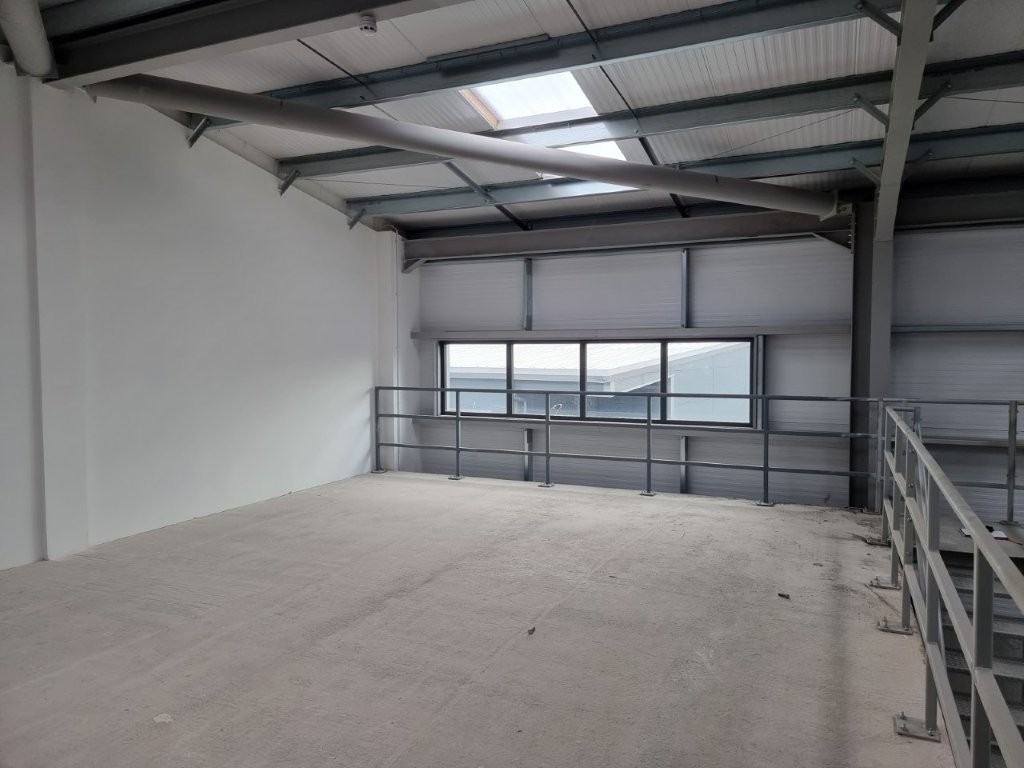
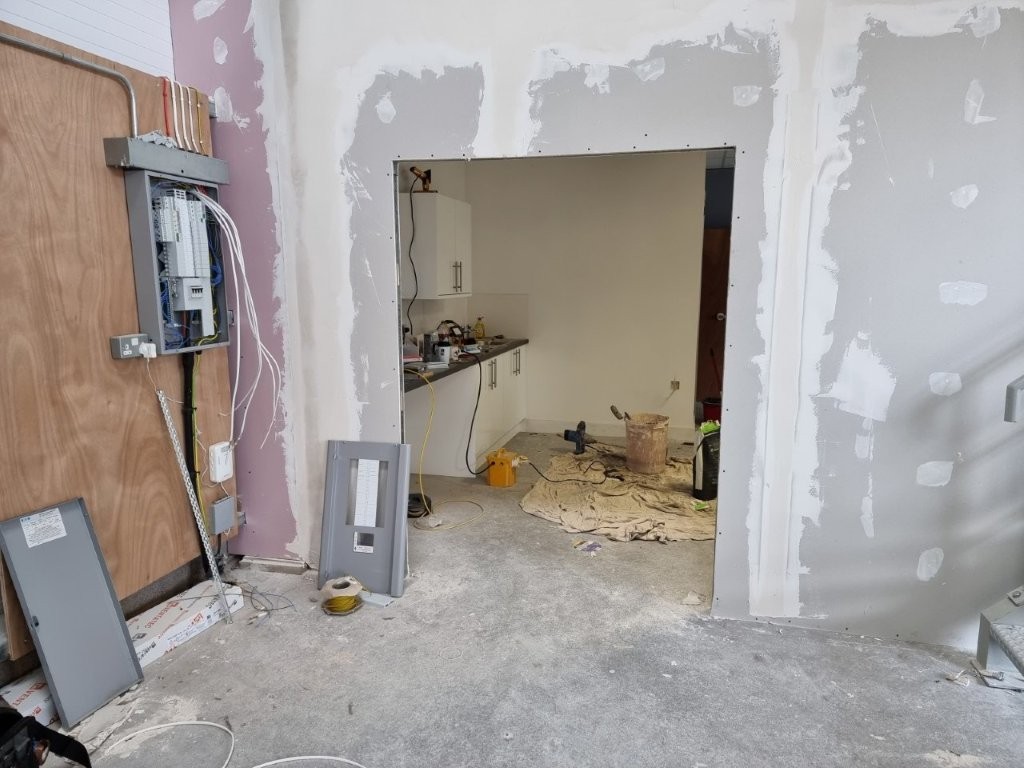
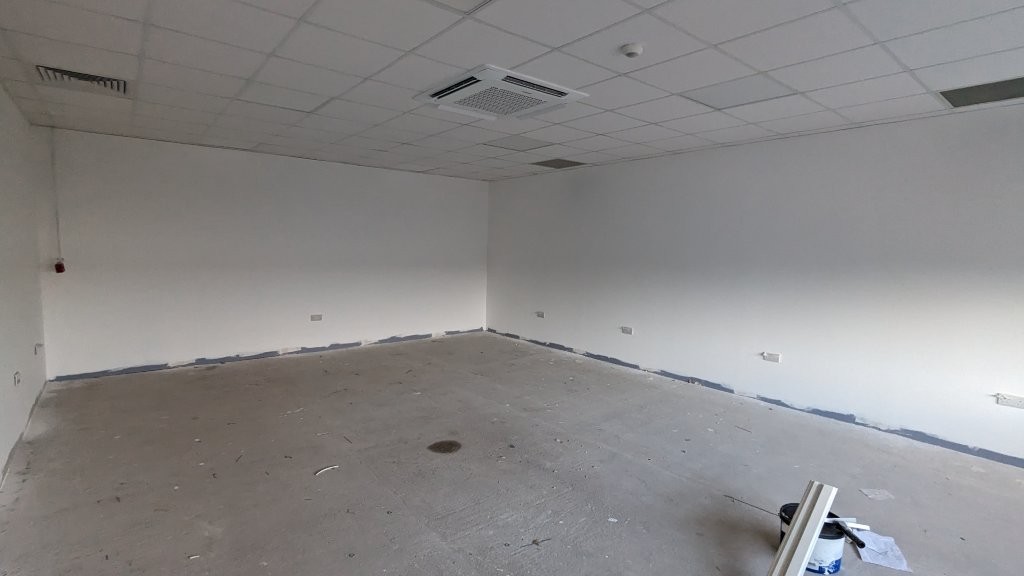
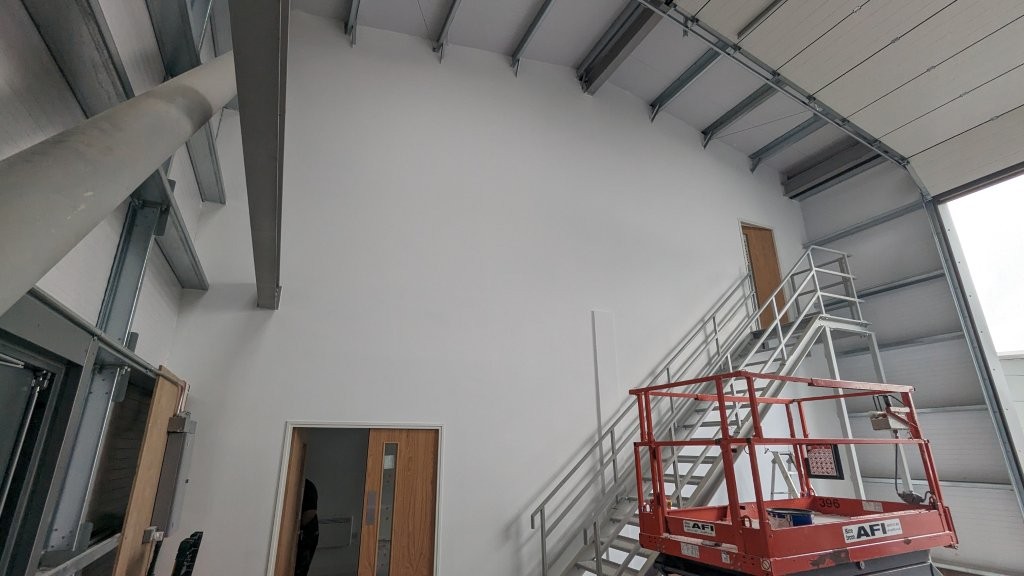
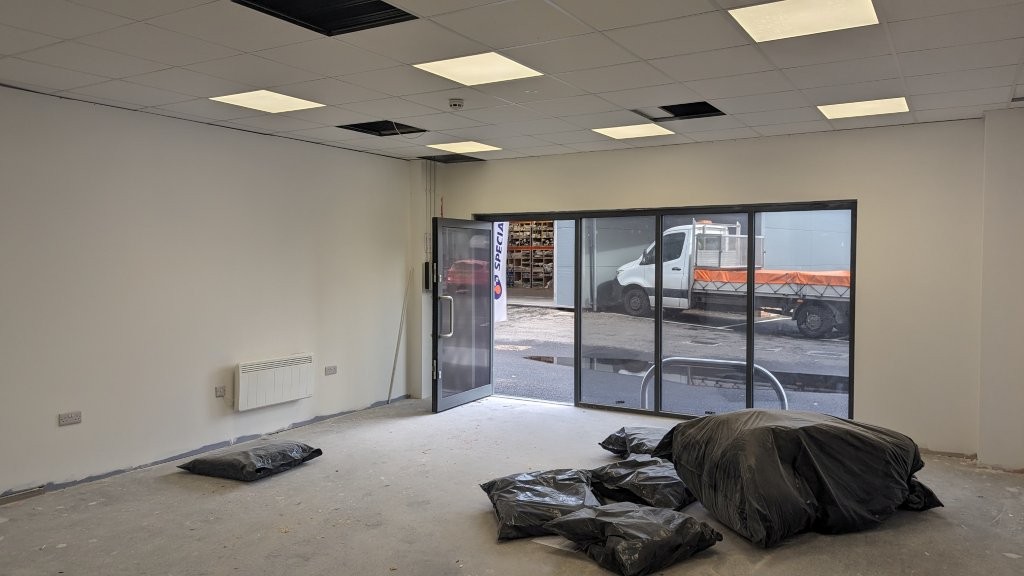
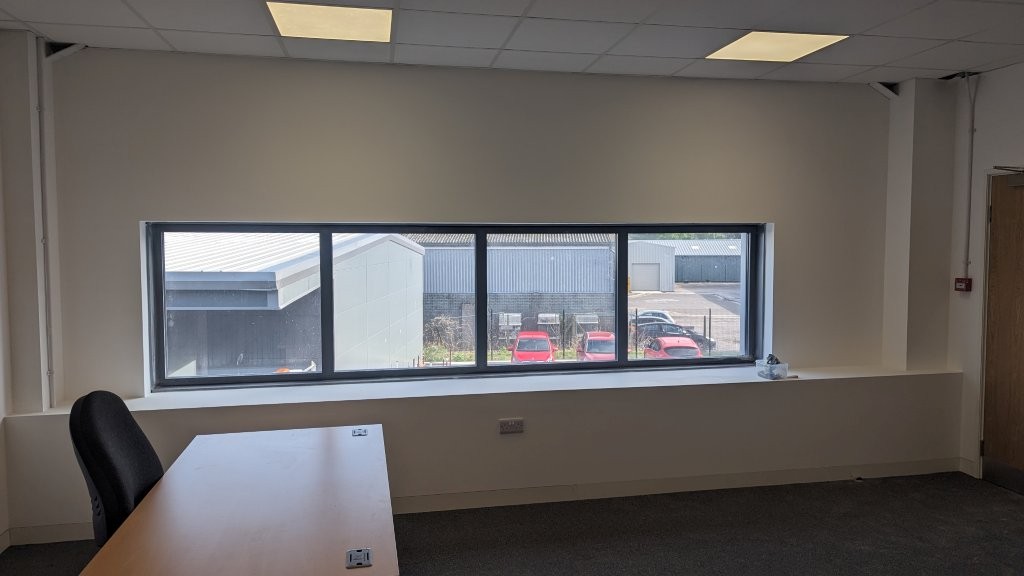
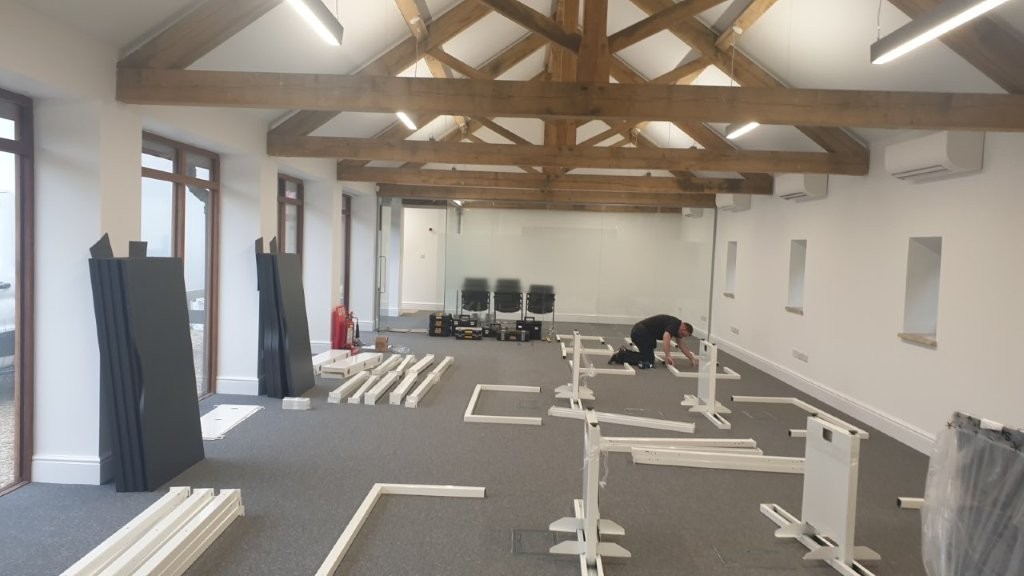
The actual office space looks lovely, nice open roof space with oak beams. The building as well is in an amazing environment, very rural, lots of nice space, plenty of parking. However, as is common with many spaces built by builders, it is not very practical. Looks nice, but for an office space, not great. All of the wall surfaces are hard plastered walls and painted, and the high roof offers little in acoustic performance, the saving grace was at least they had a carpet.

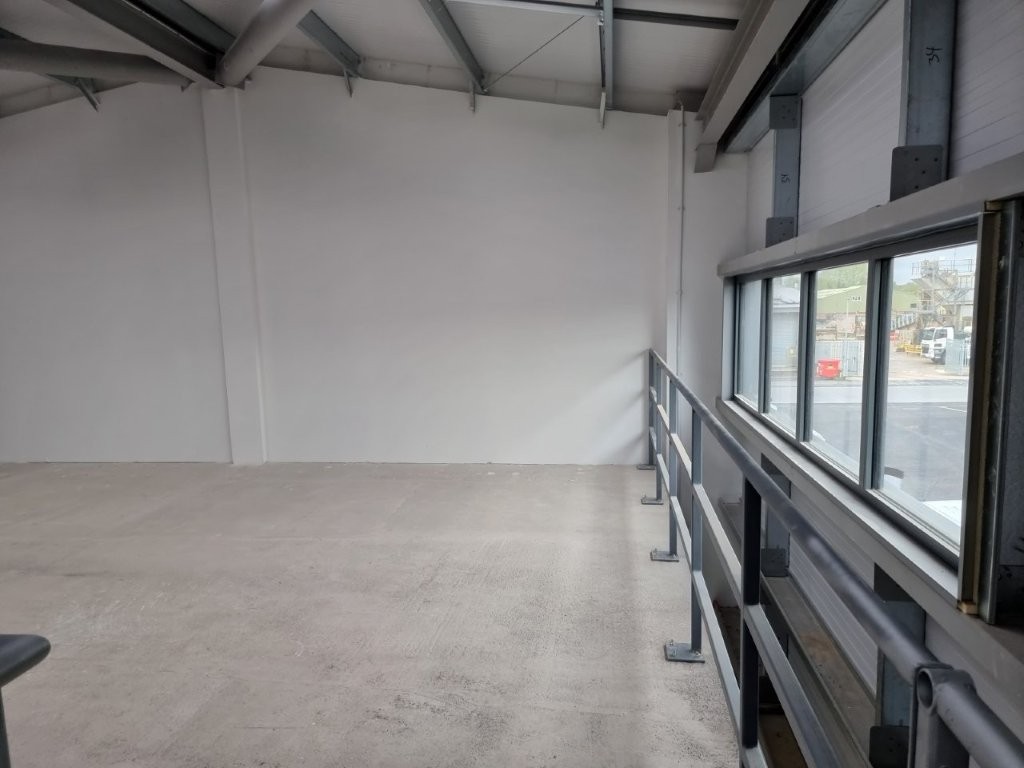
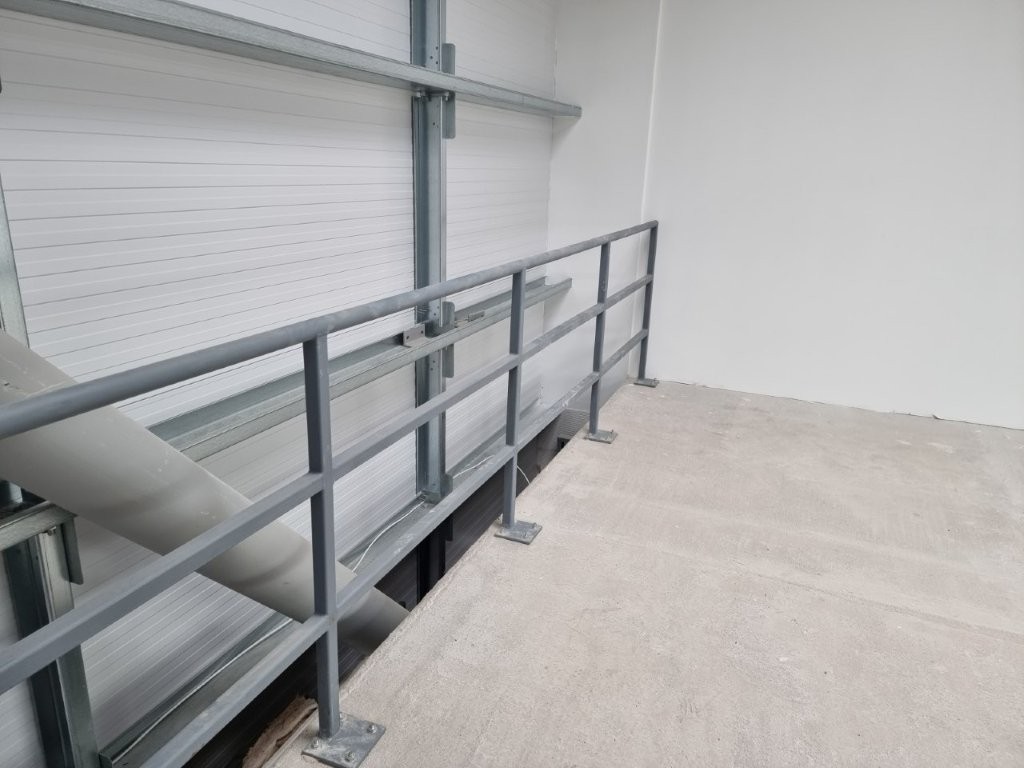
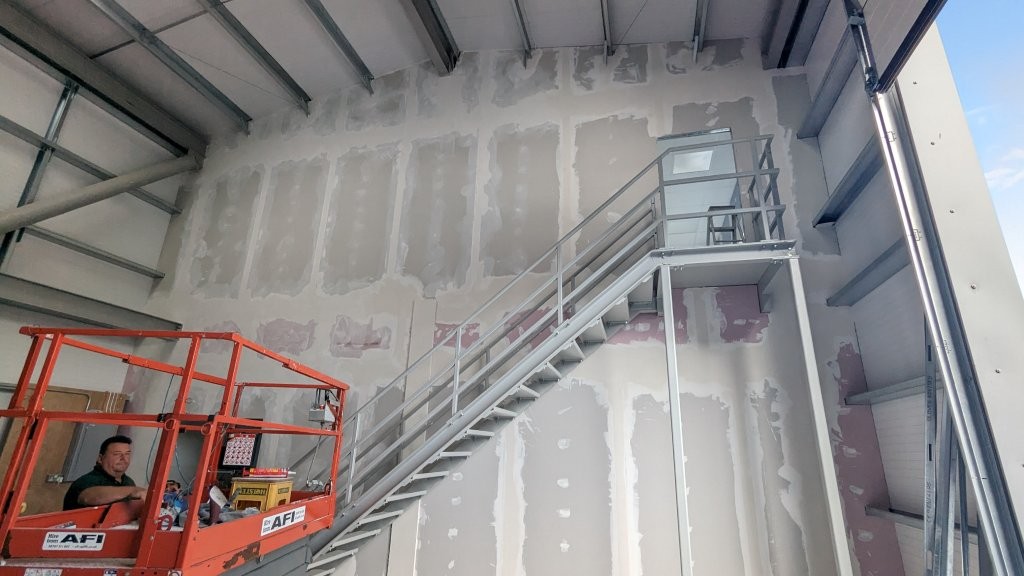
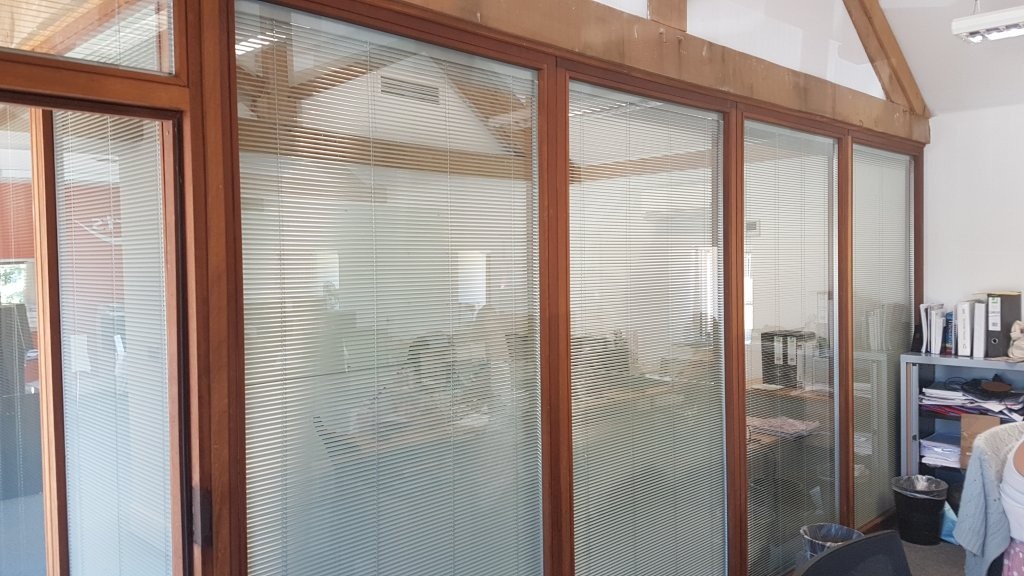
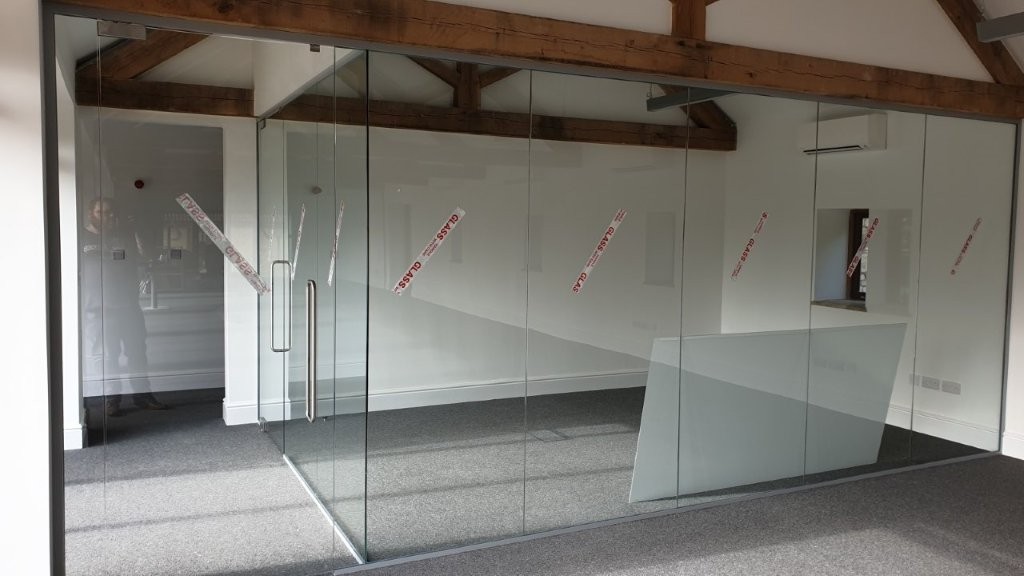
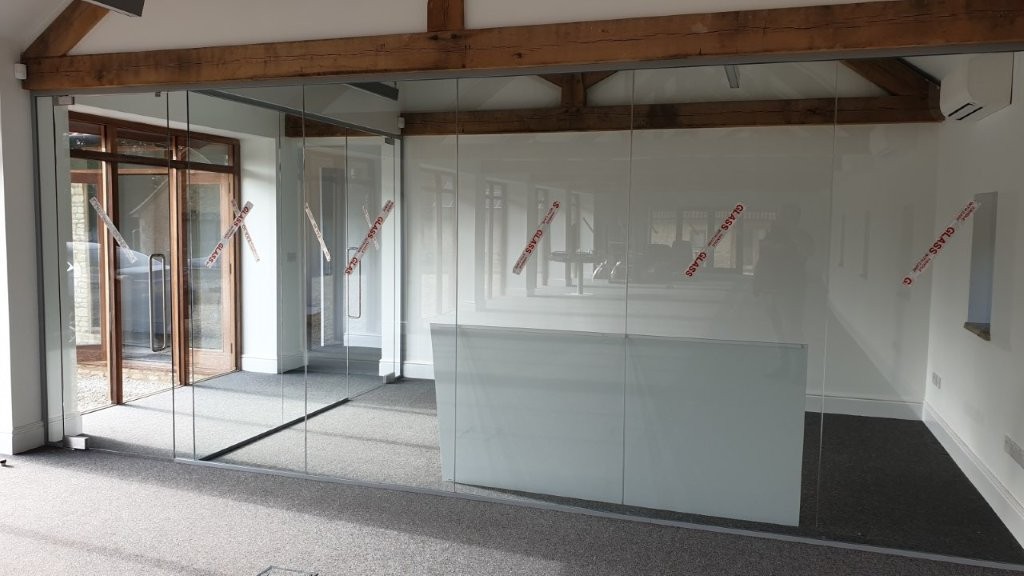
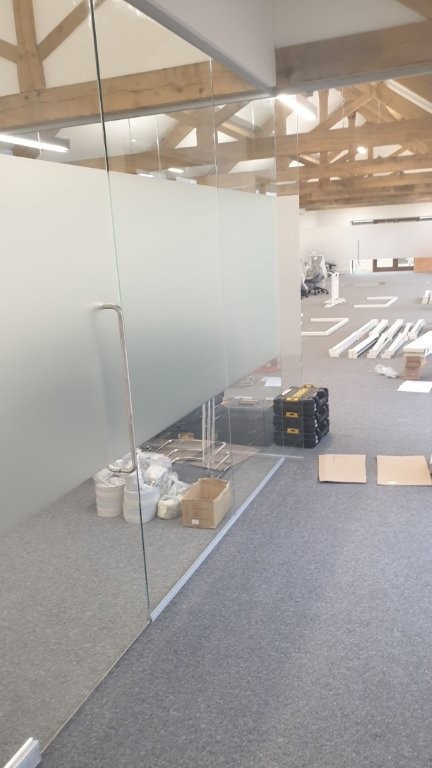
Separating off the space into rooms therefore presents a bit of a problem. They liked the idea of glass walls, so we could build up to the roof beams, and then above the gaps would need to be filled in to prevent noise going through the trusses.

The meeting room needed at the front would need the trusses blocked in, and a new timber beam run along the side with the wall above filled in, with glass underneath in an ‘L’ shape. Along with an entrance door into the main office space.

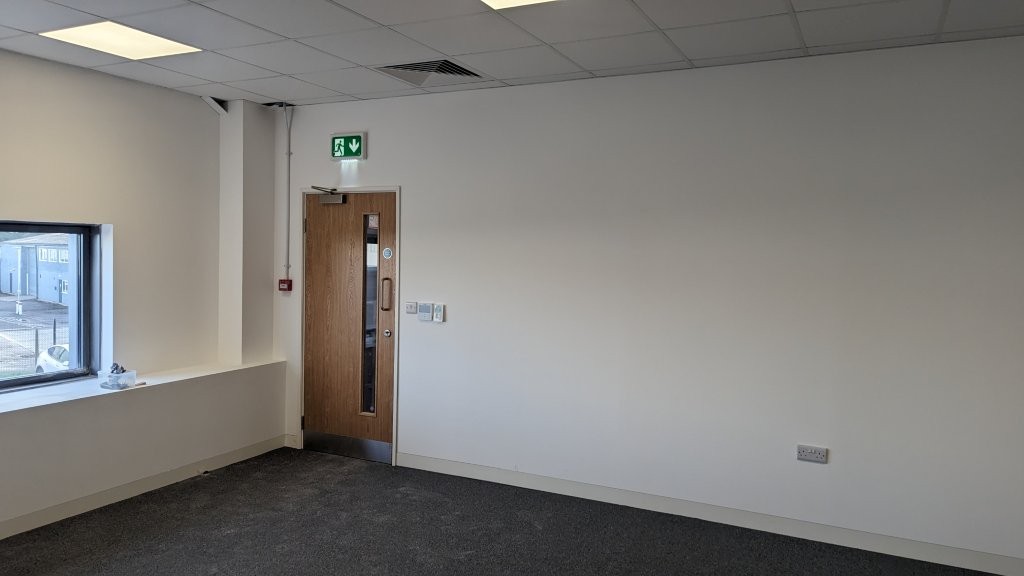
The ideas room at the end would be more straightforward, build the glass up to the truss, and then infill all of the gaps above.

Initial Plans and Ideas

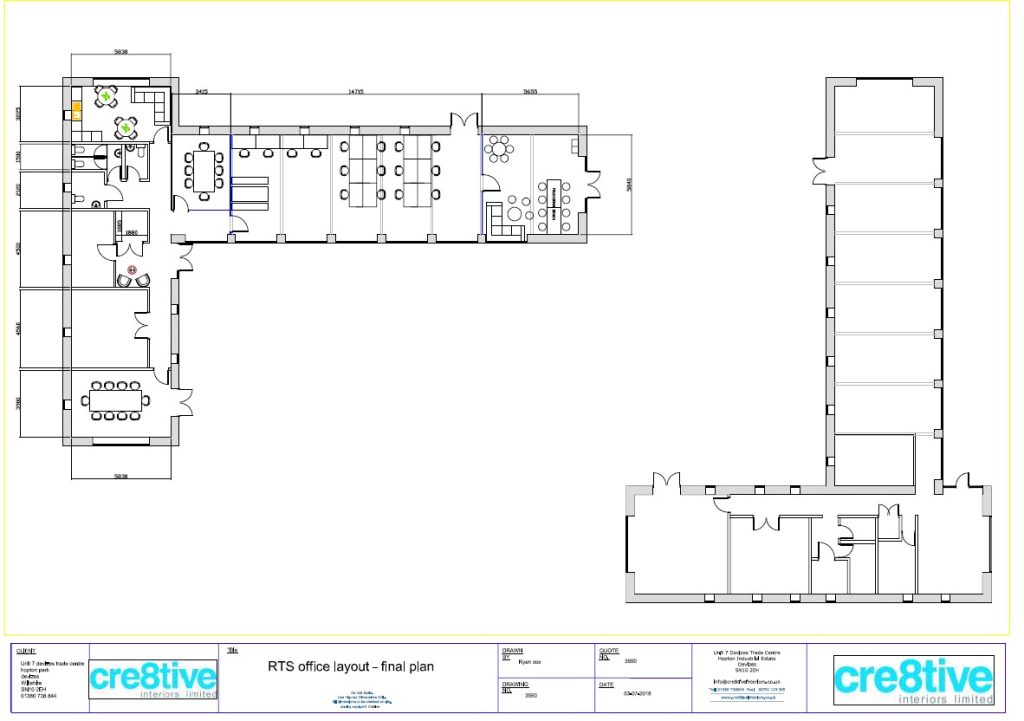
As always, we draw everything anyway. The main reason is so we can cost things accurately, and we do not always need to give the drawings to the client, but in this case, they paid us separately for the drawing and design work which was nice, and a bit unexpected but they were happy to do this. We also said that should they go ahead with the proposals, we would credit back the cost of the drawing work against the work which is what we did.

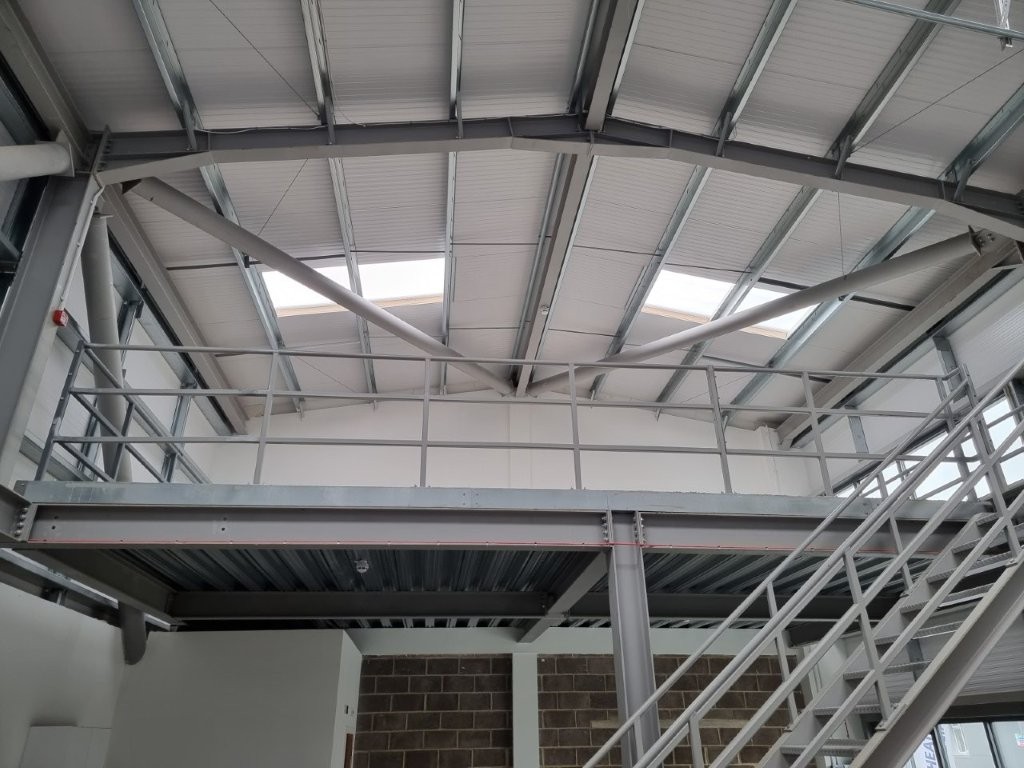
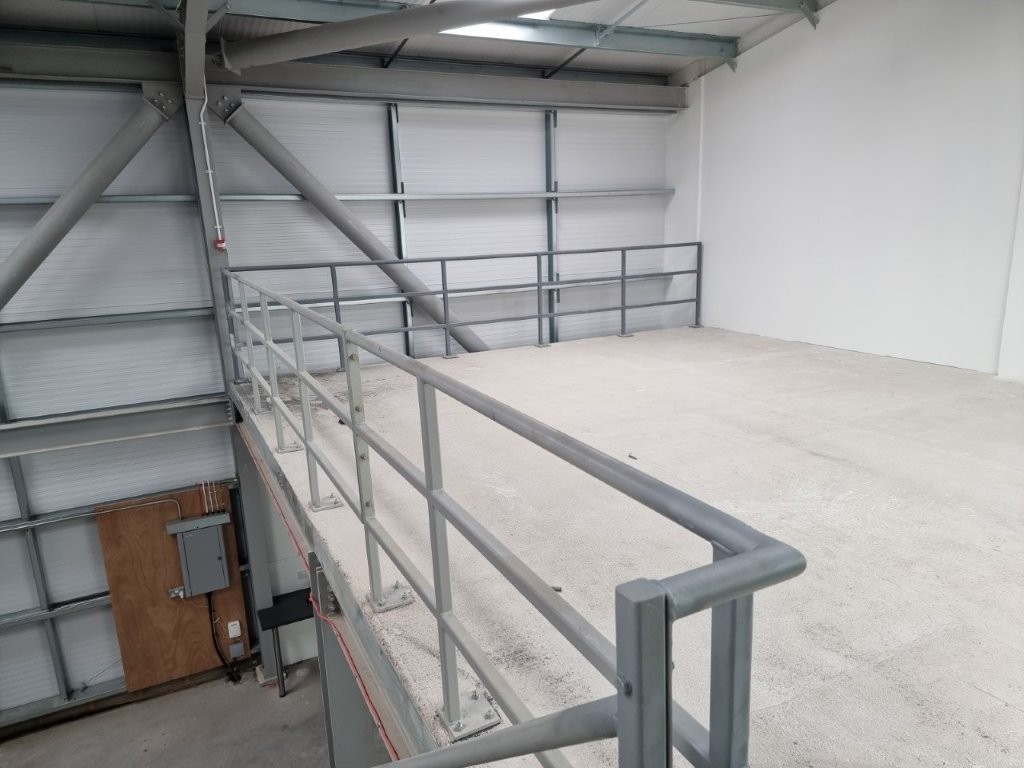
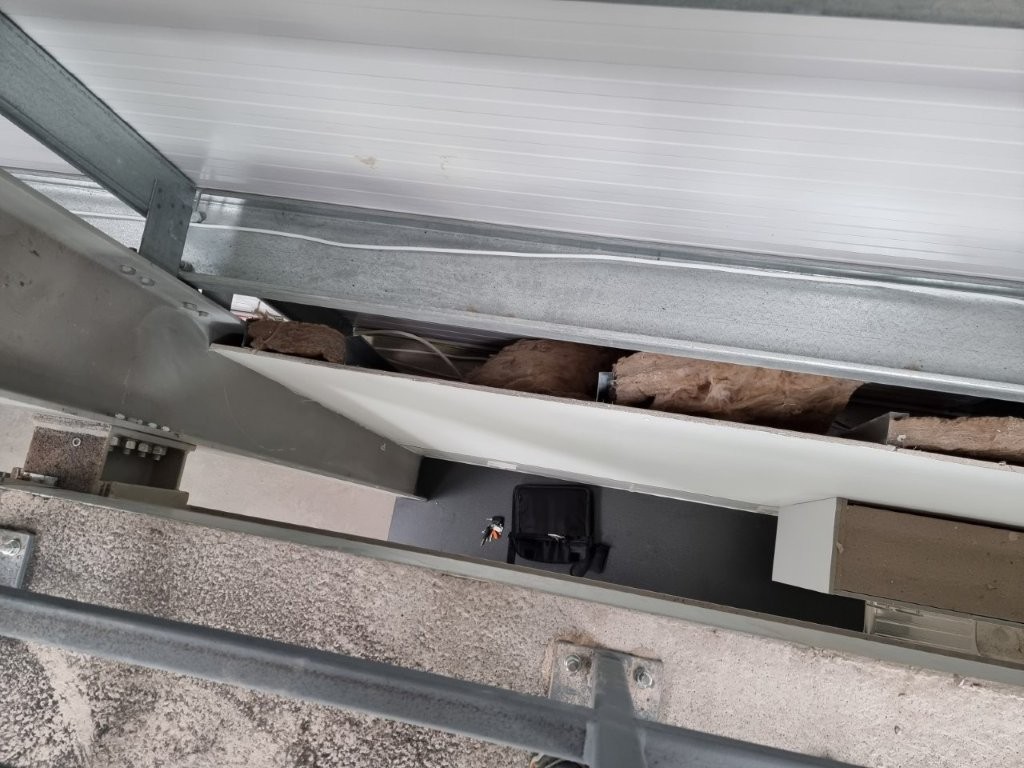
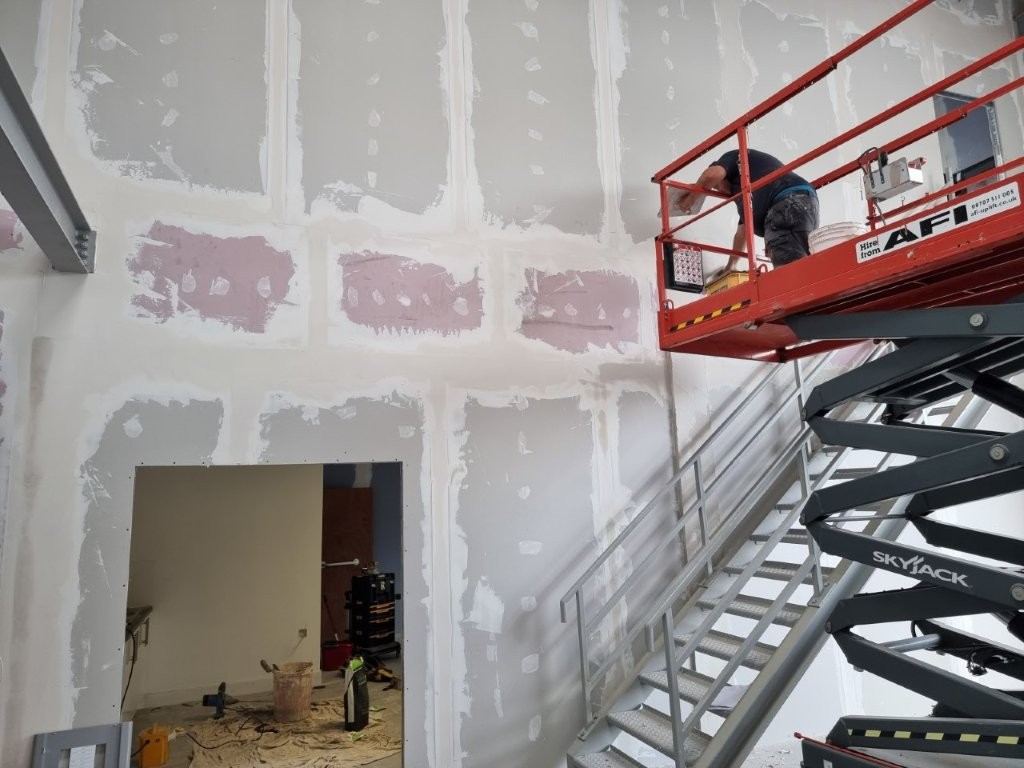
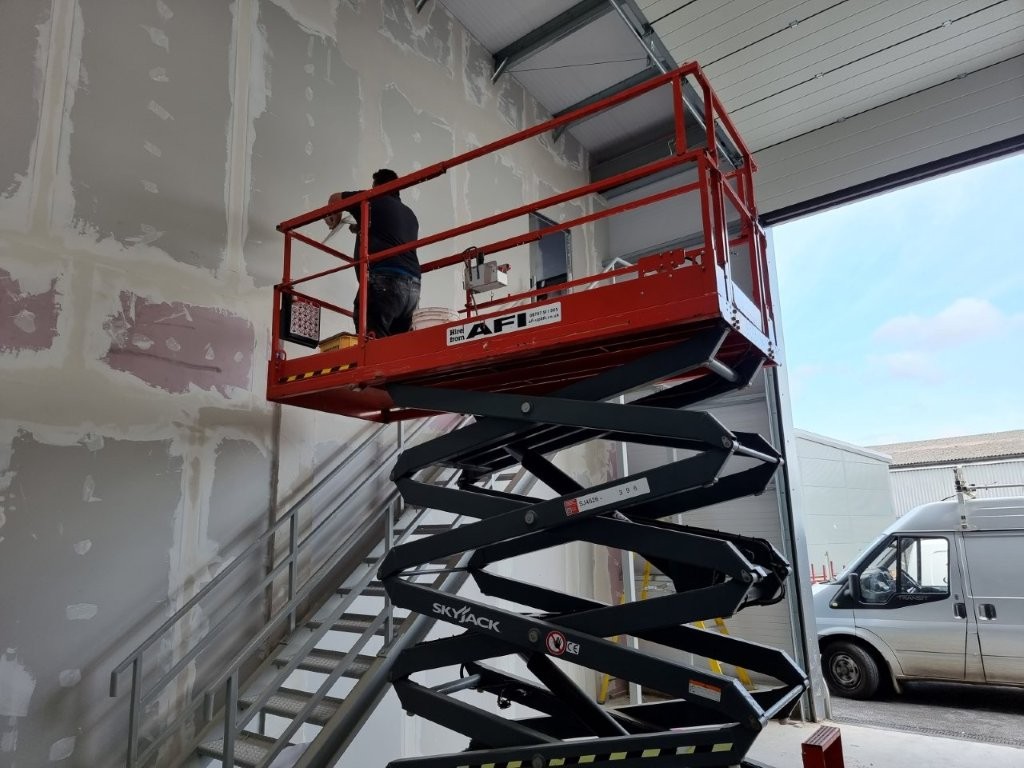
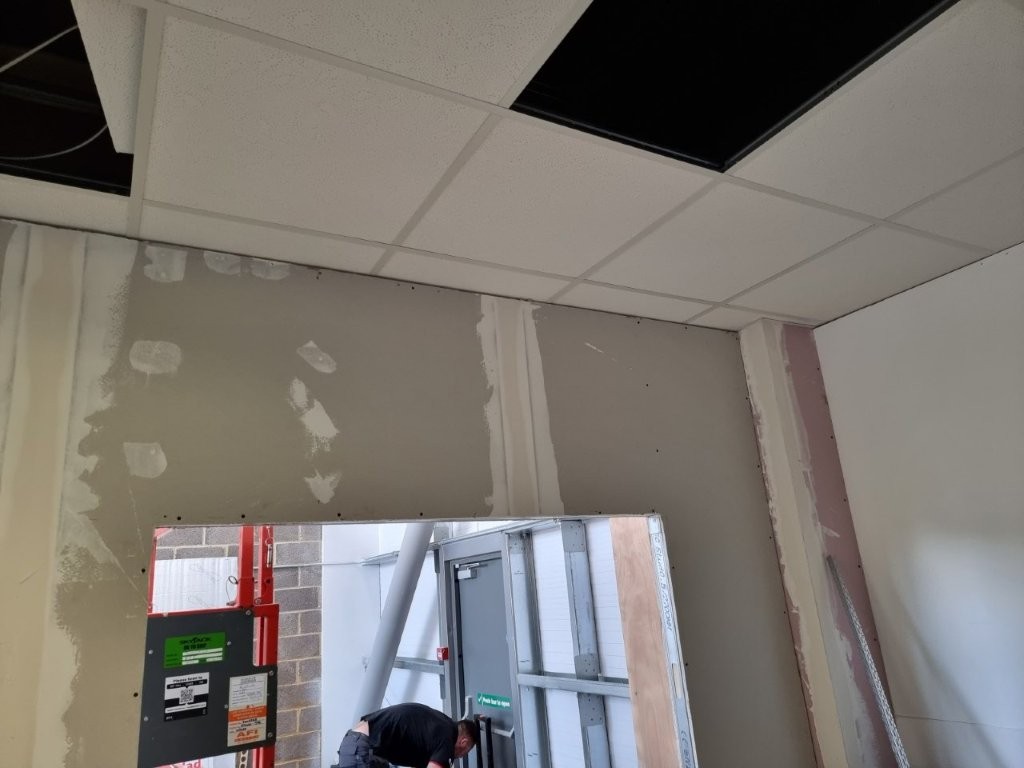
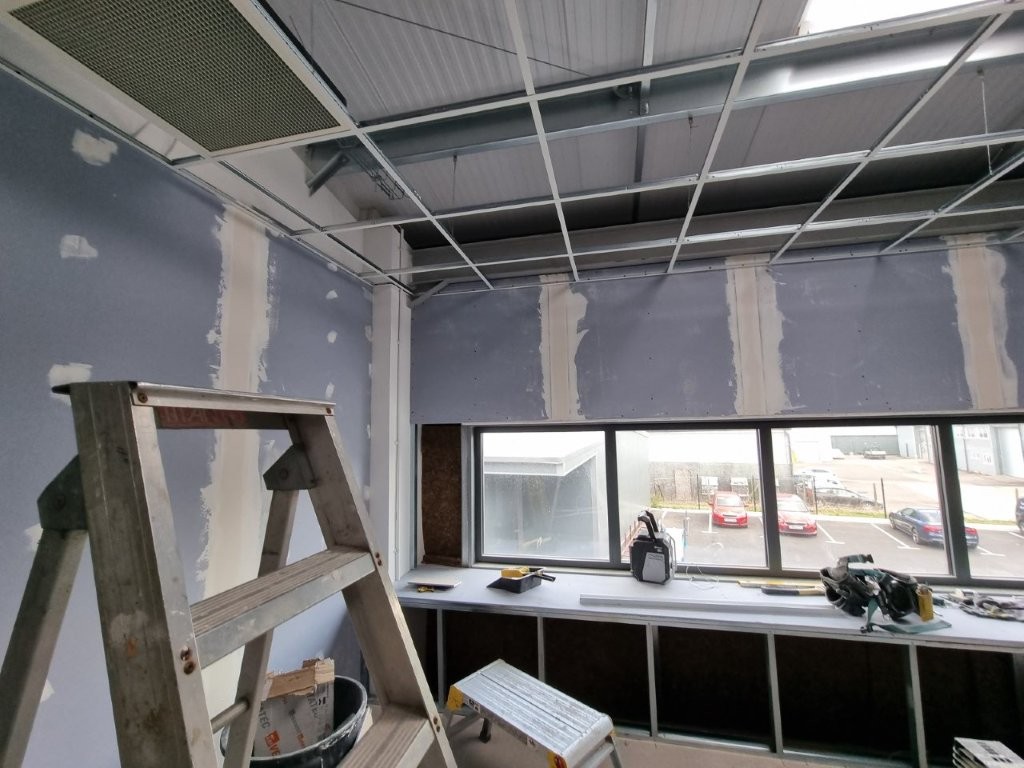
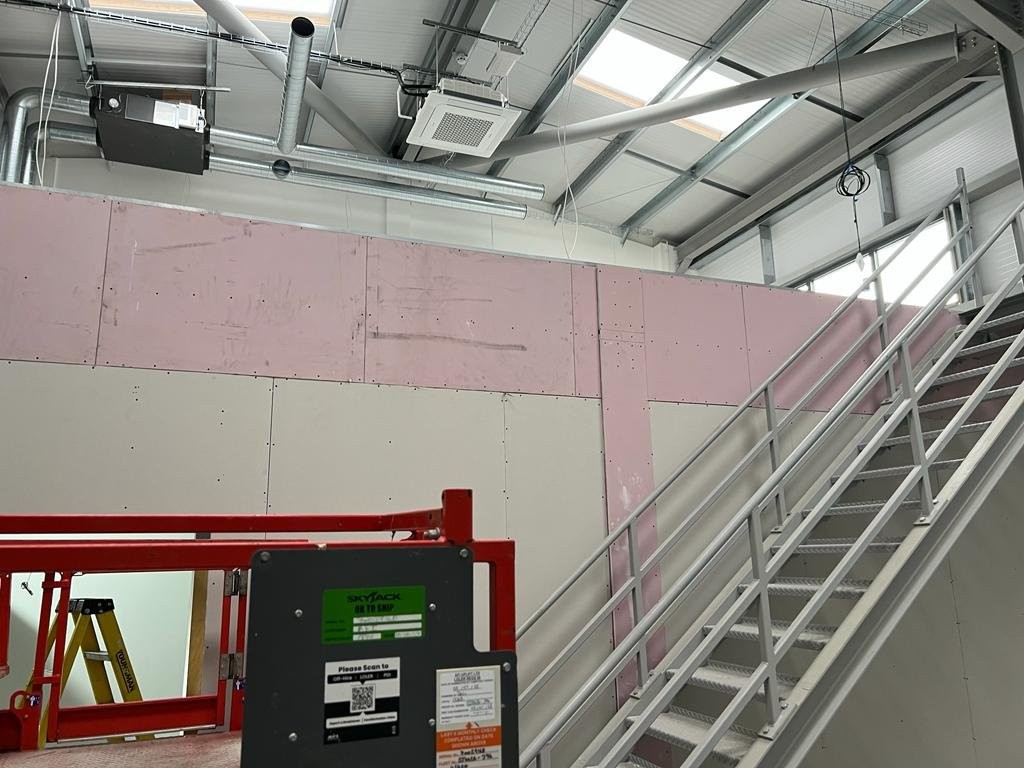
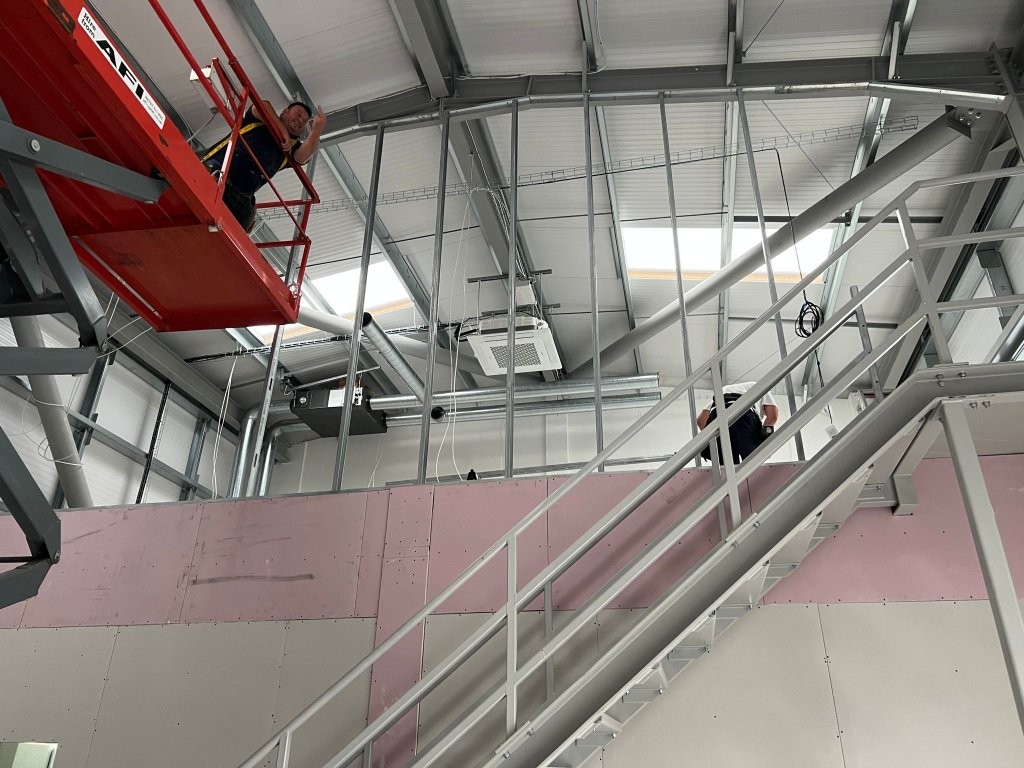
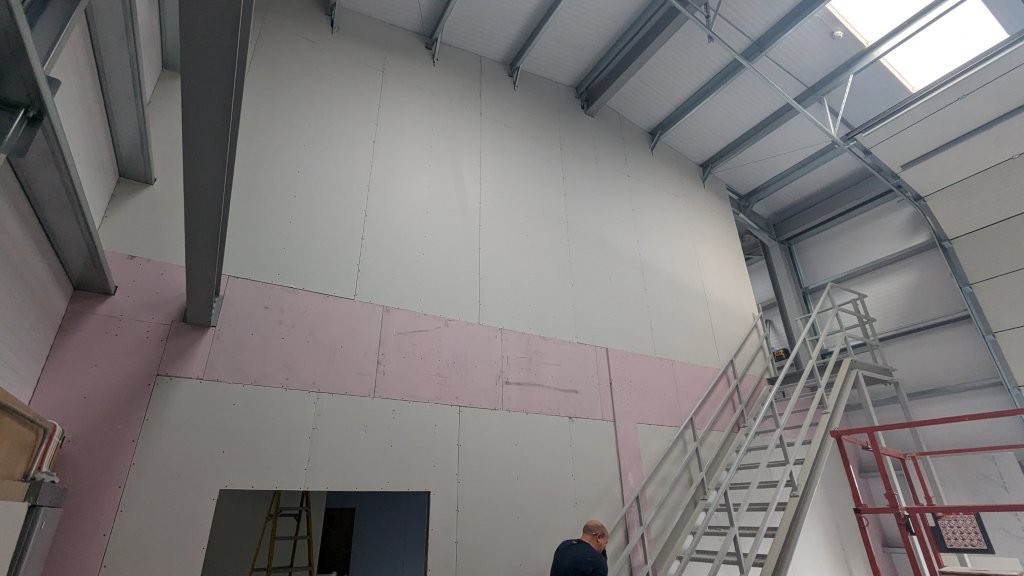
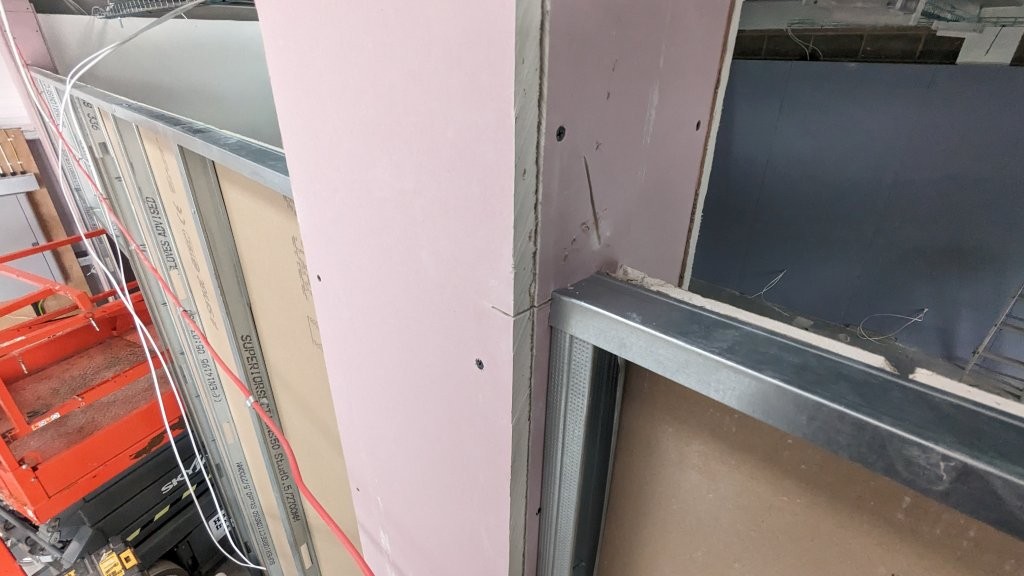
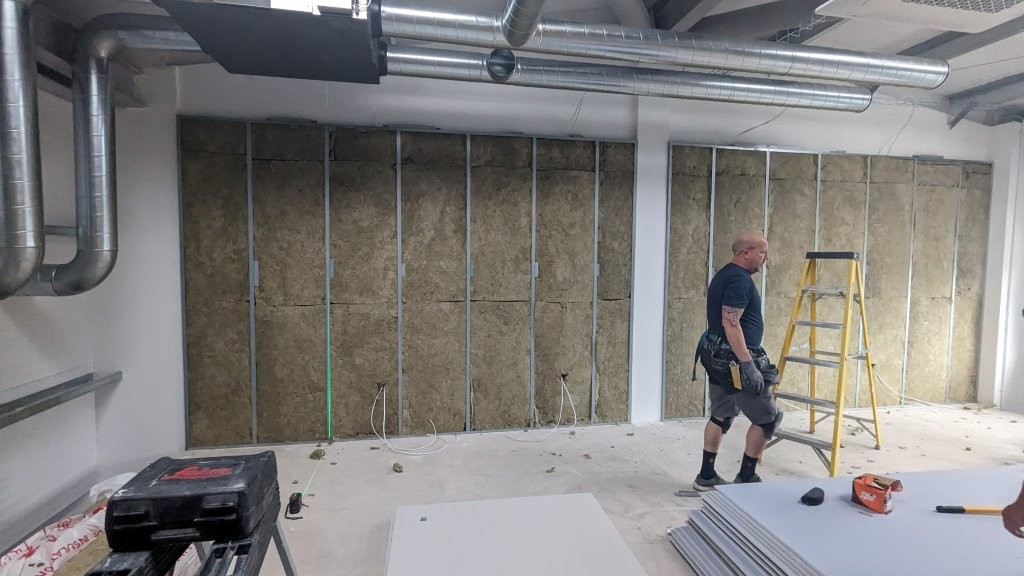
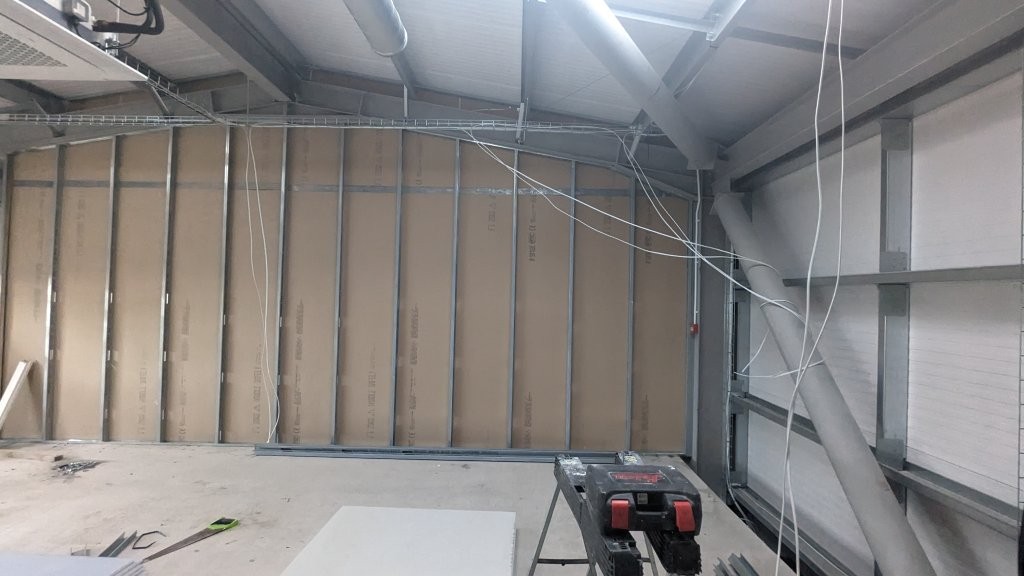
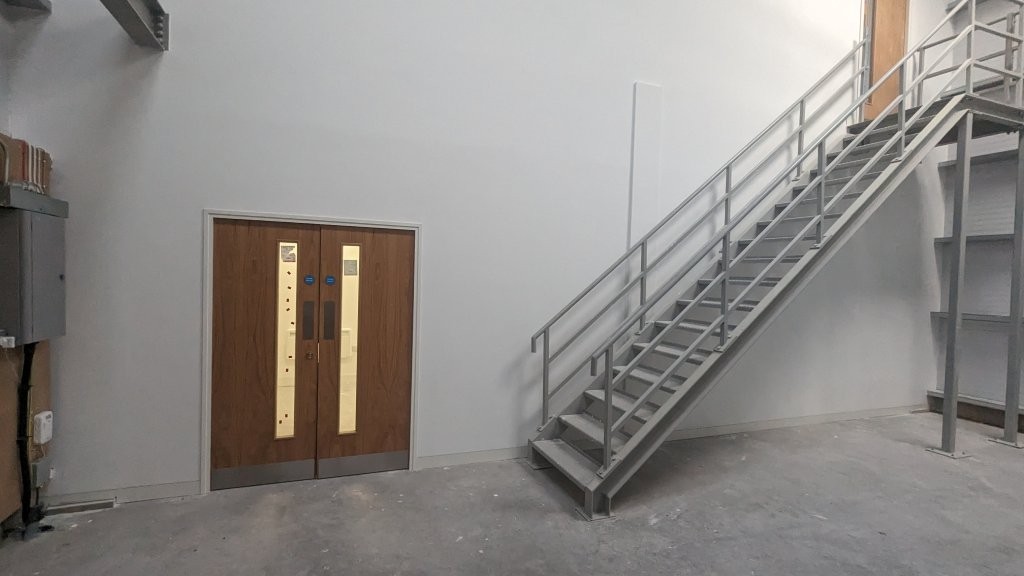
Infilling the Trusses and Glass Walls

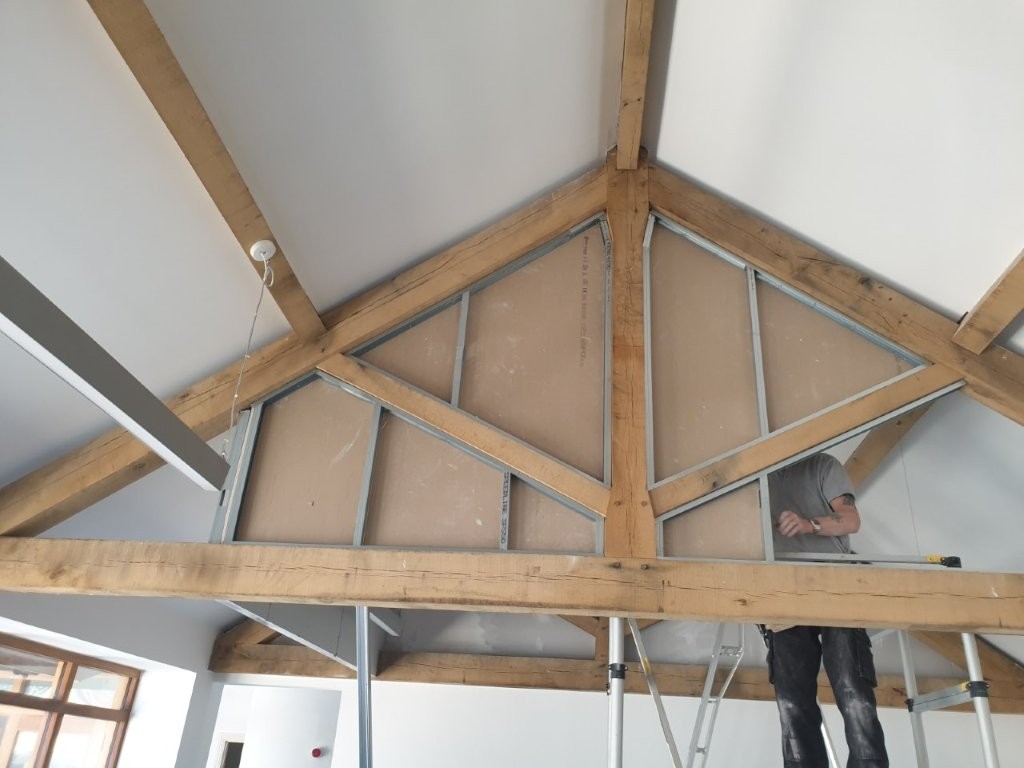
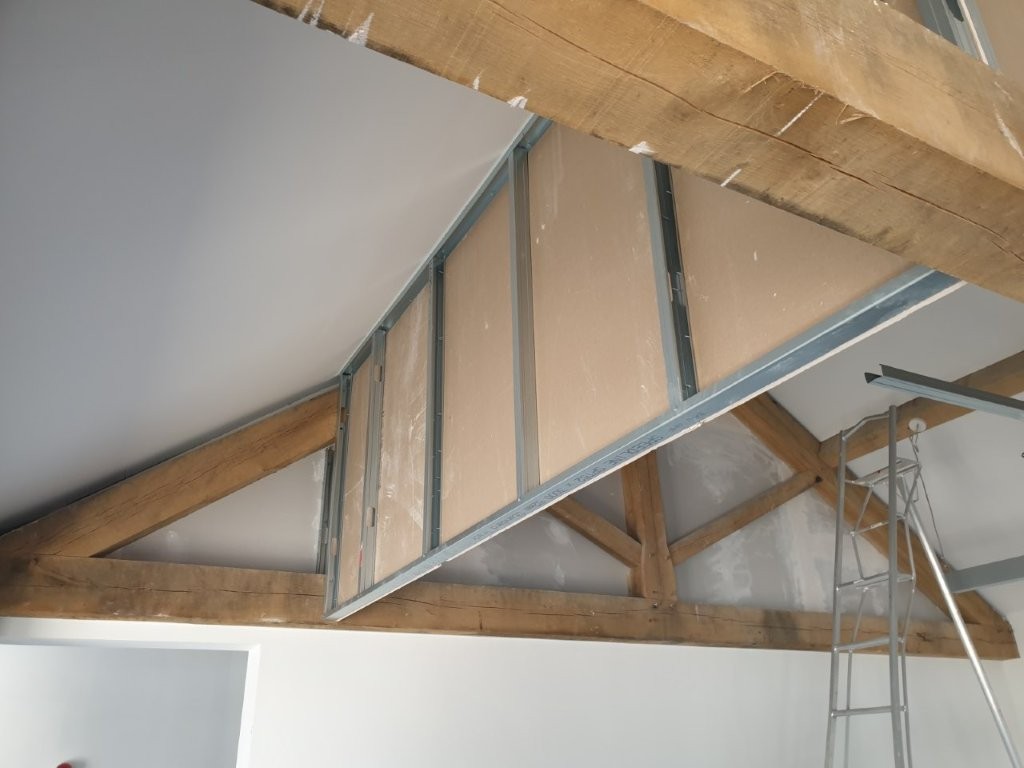
In two of the overhead trusses, we had to allow to infil these with plasterboard and steel which was always going to be a time consuming job. Each section of the truss is different, it would have been very difficult and expensive to get these infilled with glass and then there is the sound performance issue with glass. Each of the sections we added insulation into the gaps.

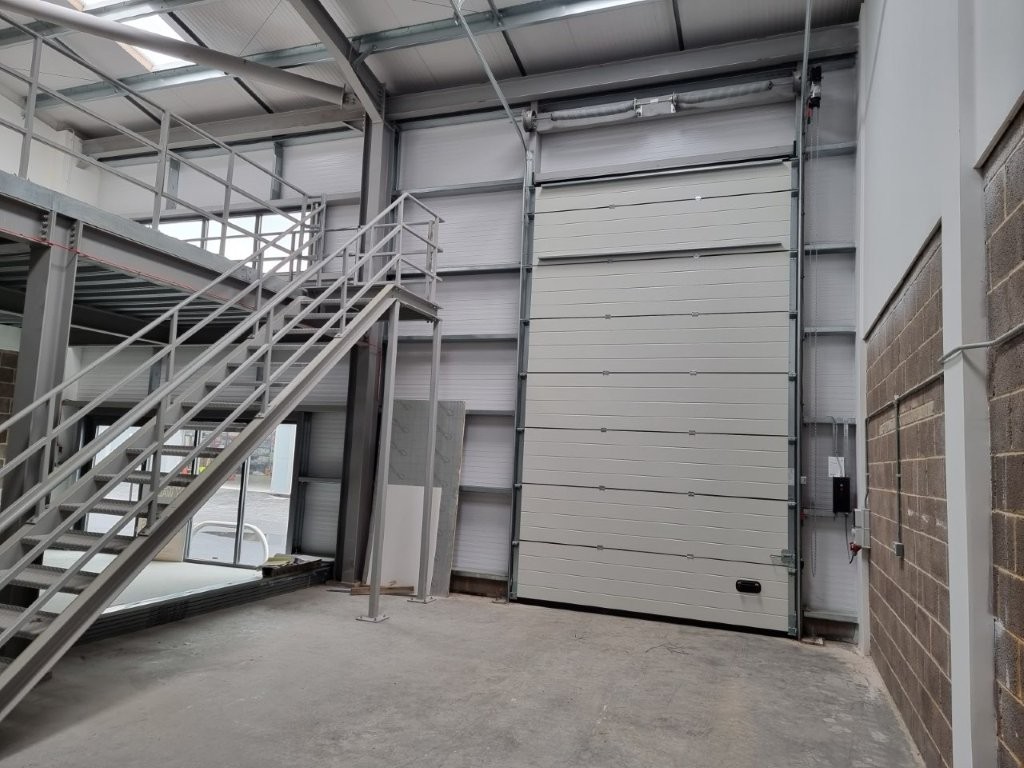
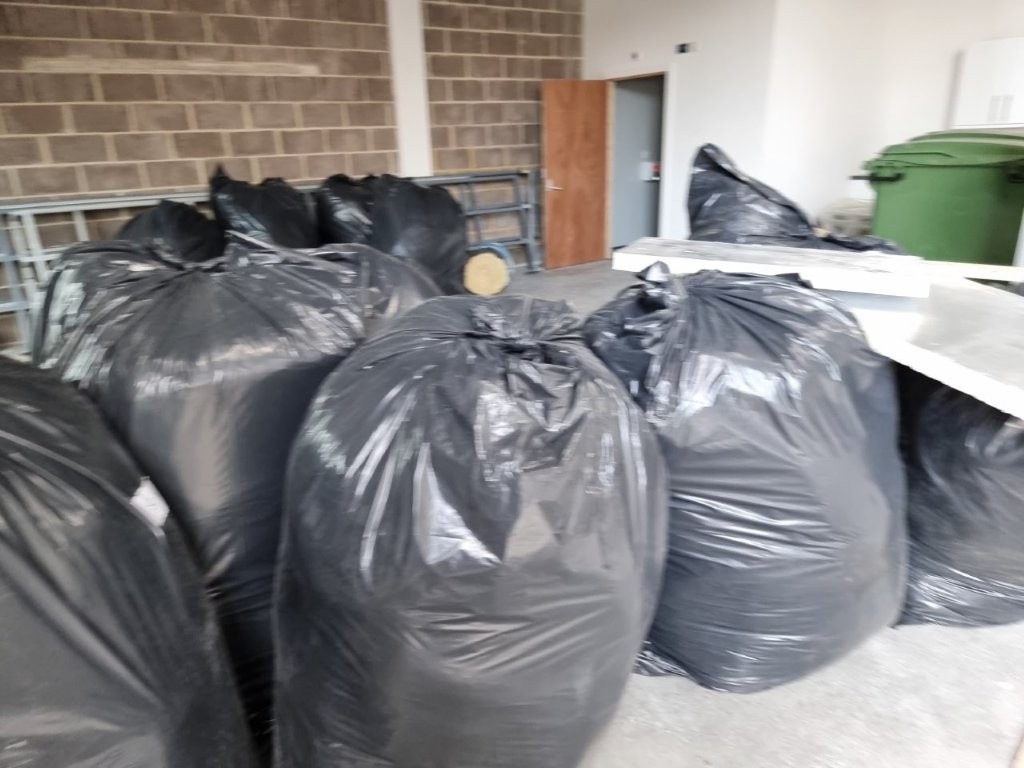
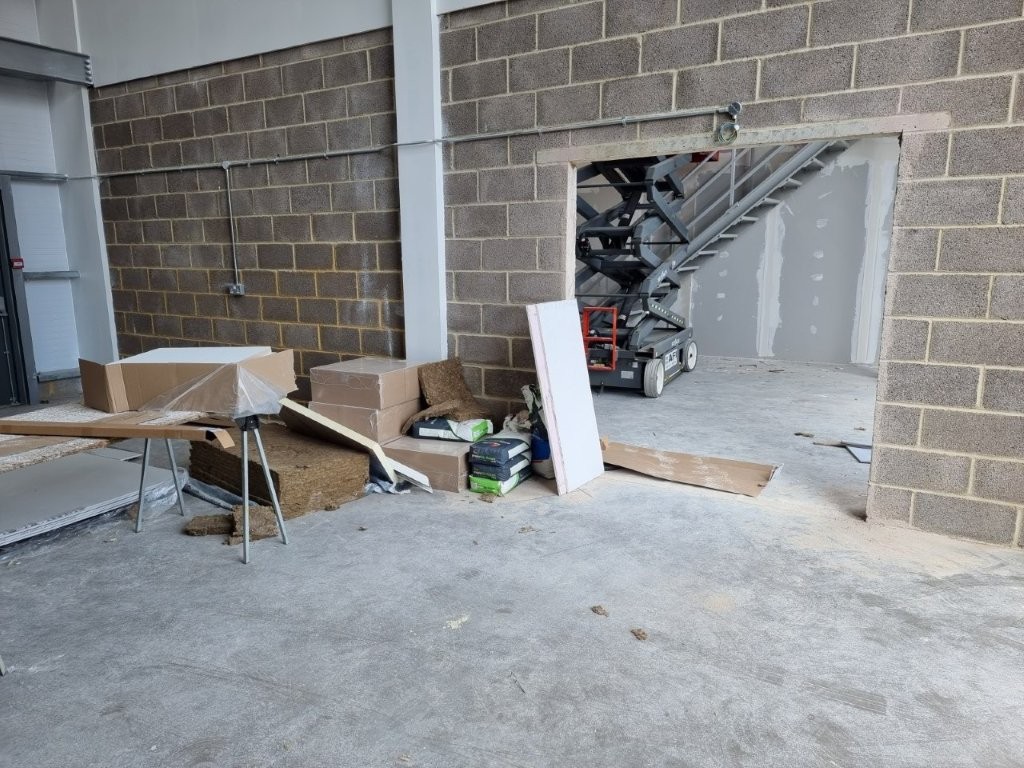
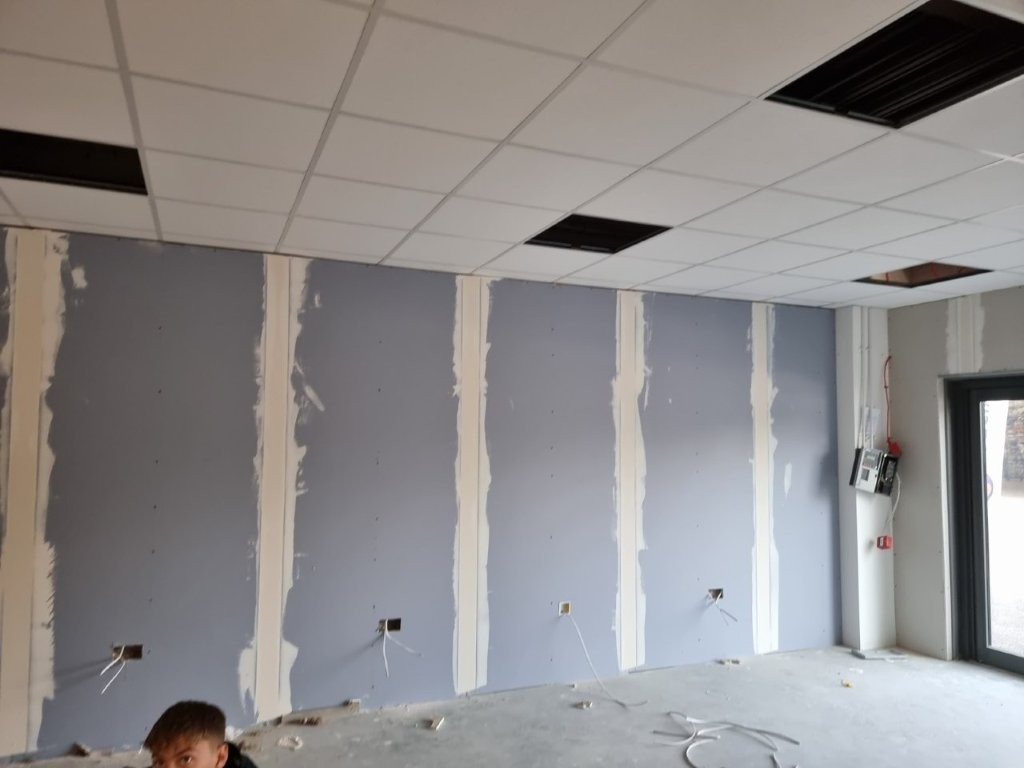
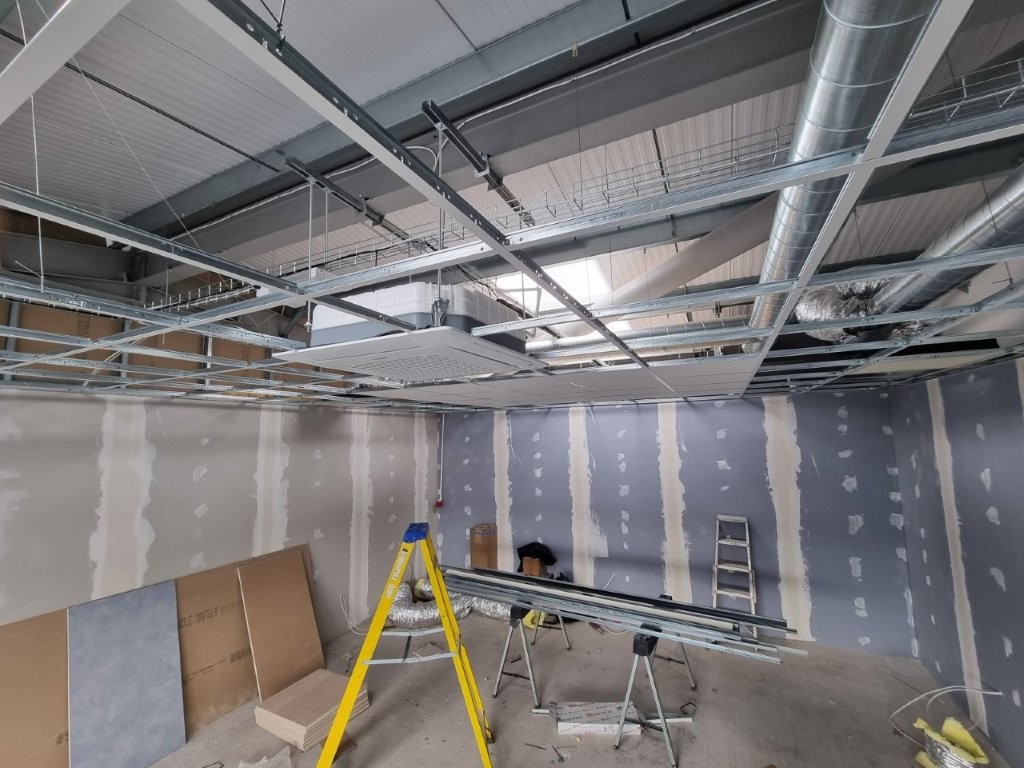
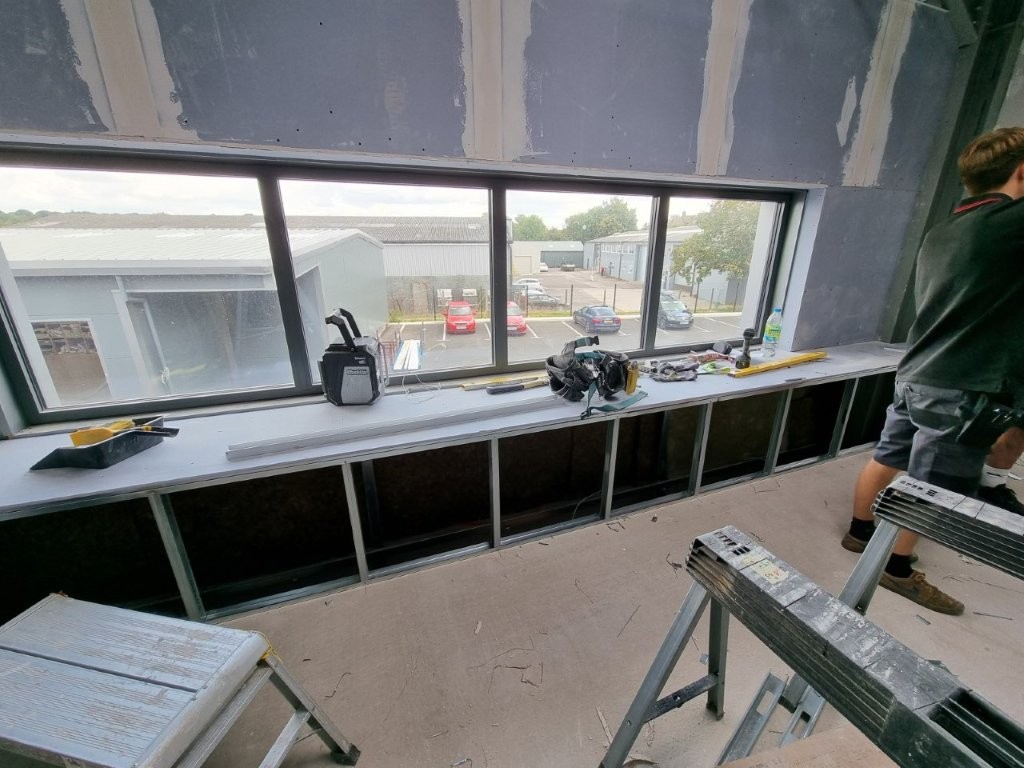
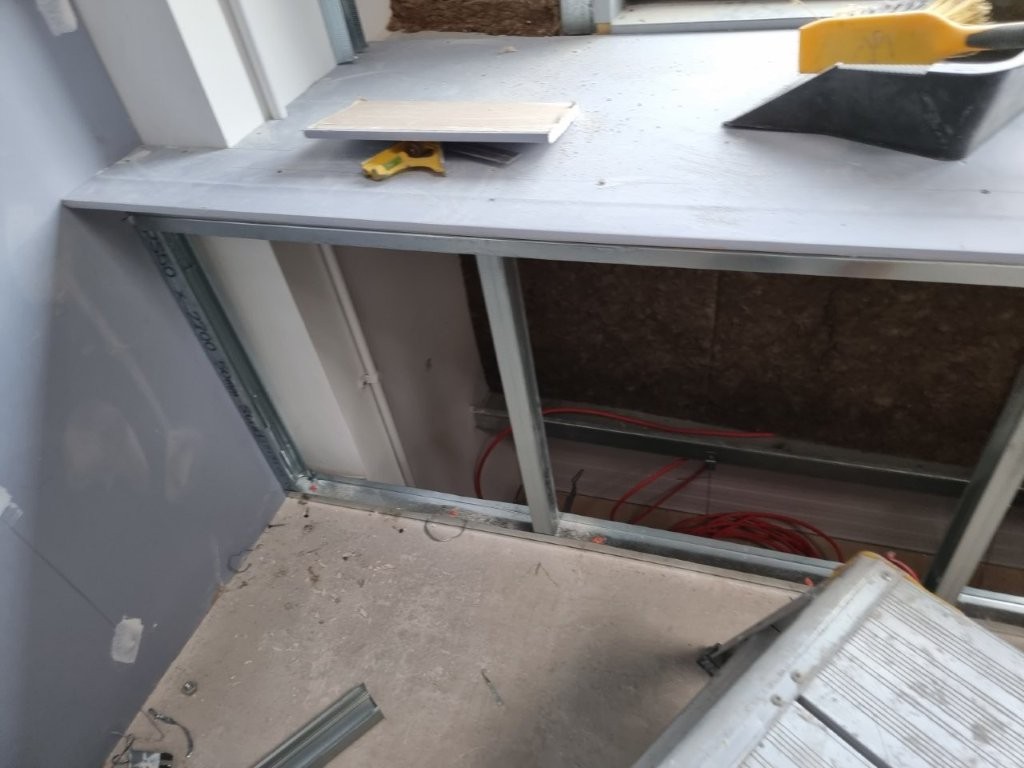
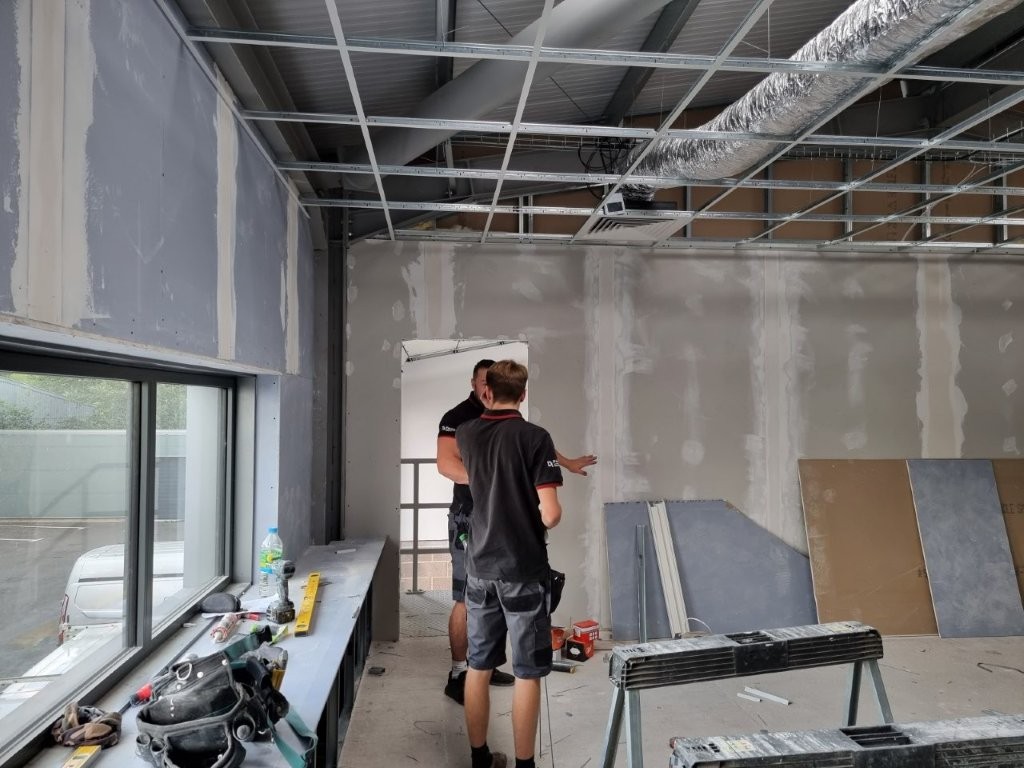
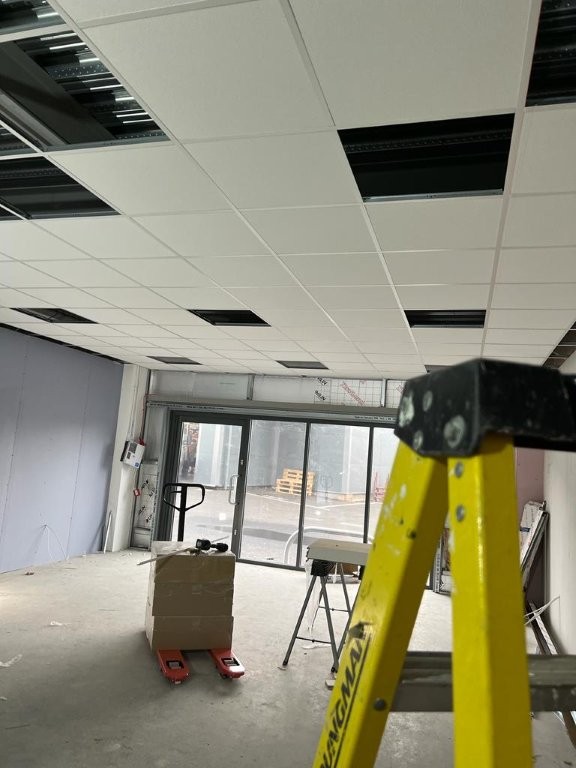
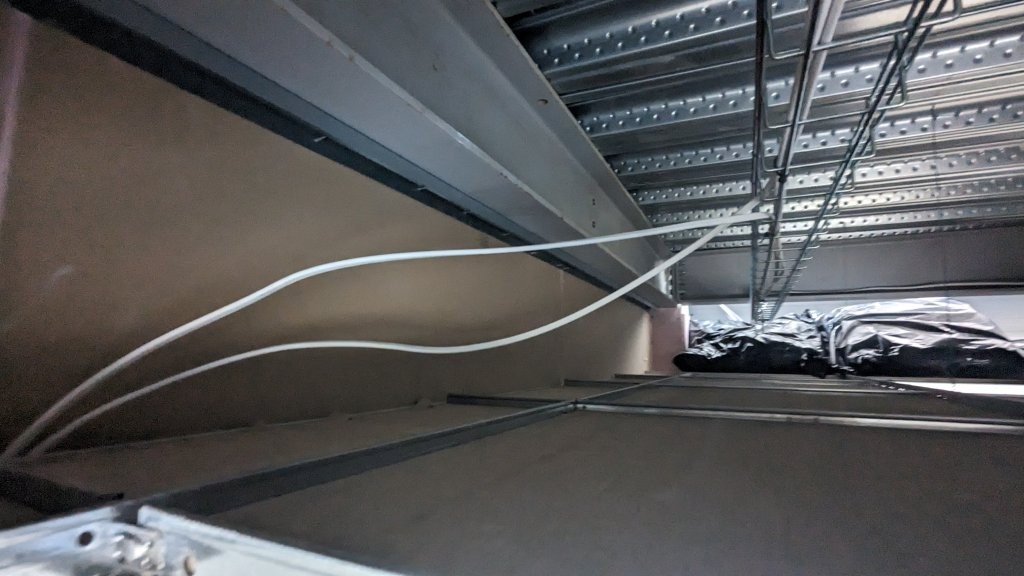
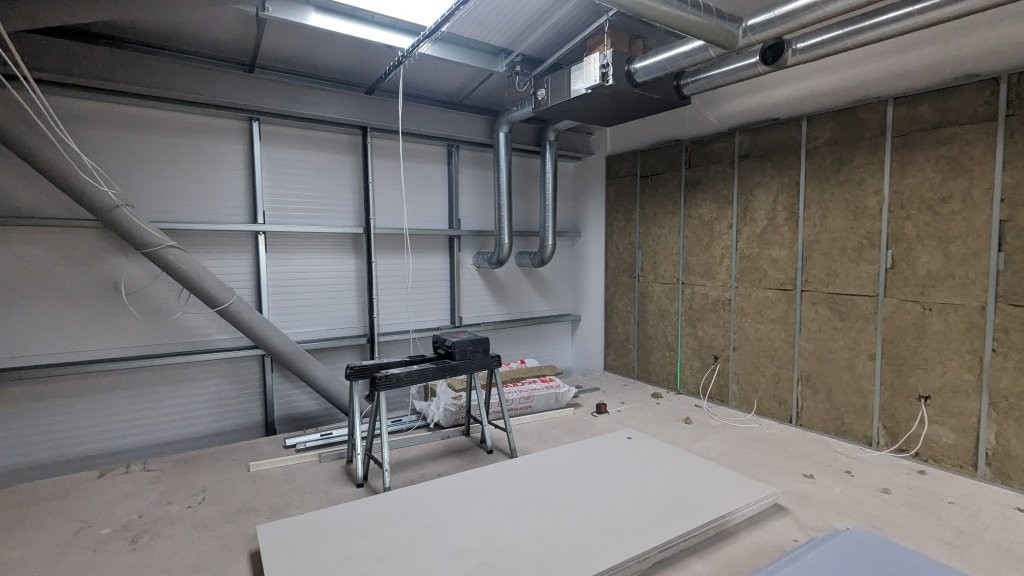
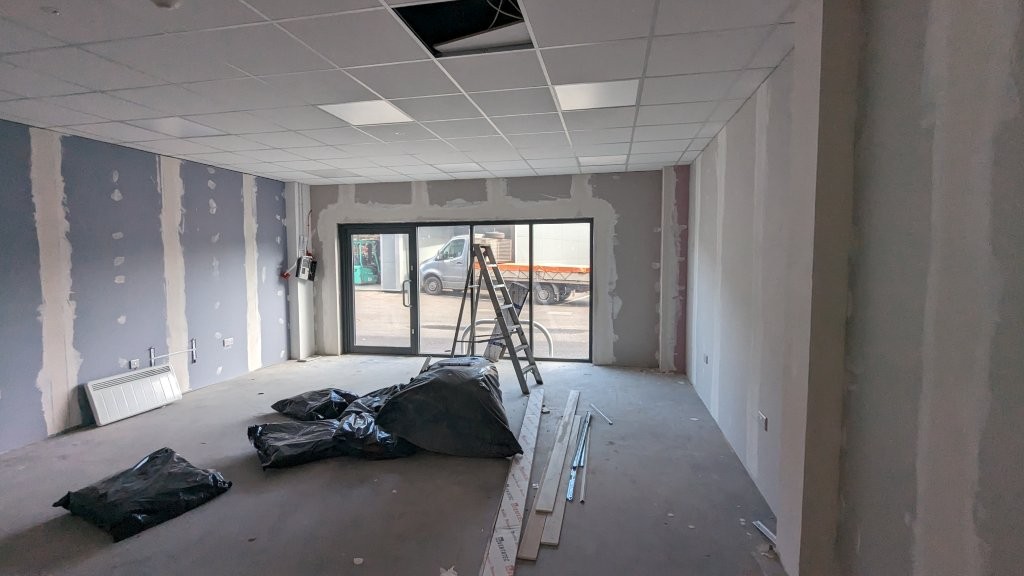
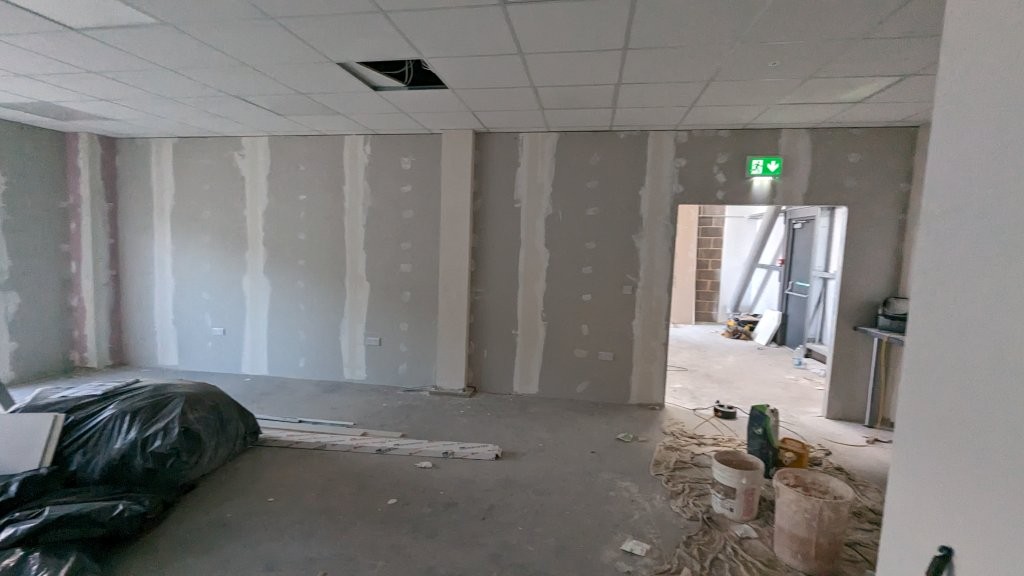
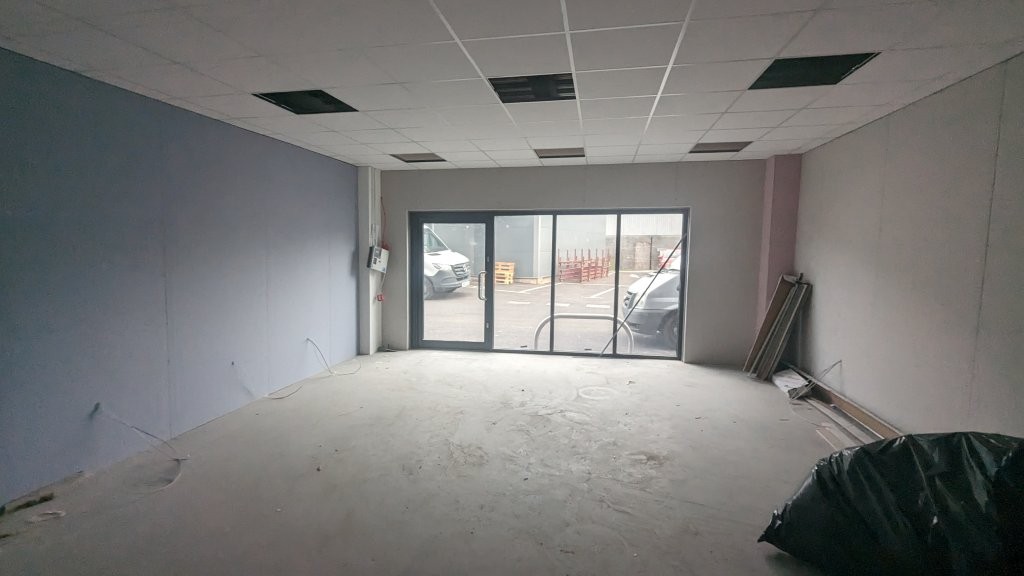
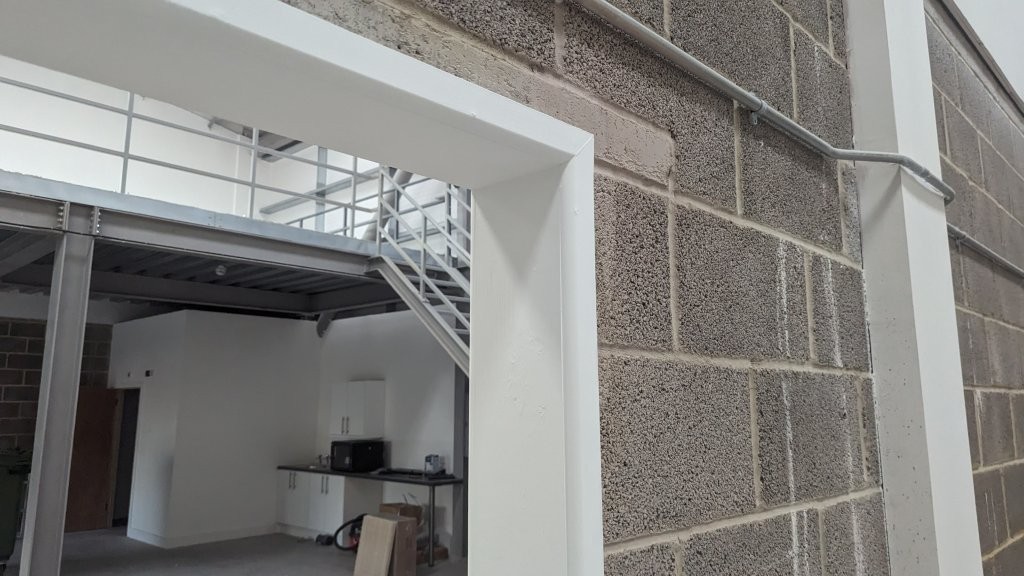
Remaining Construction Photos

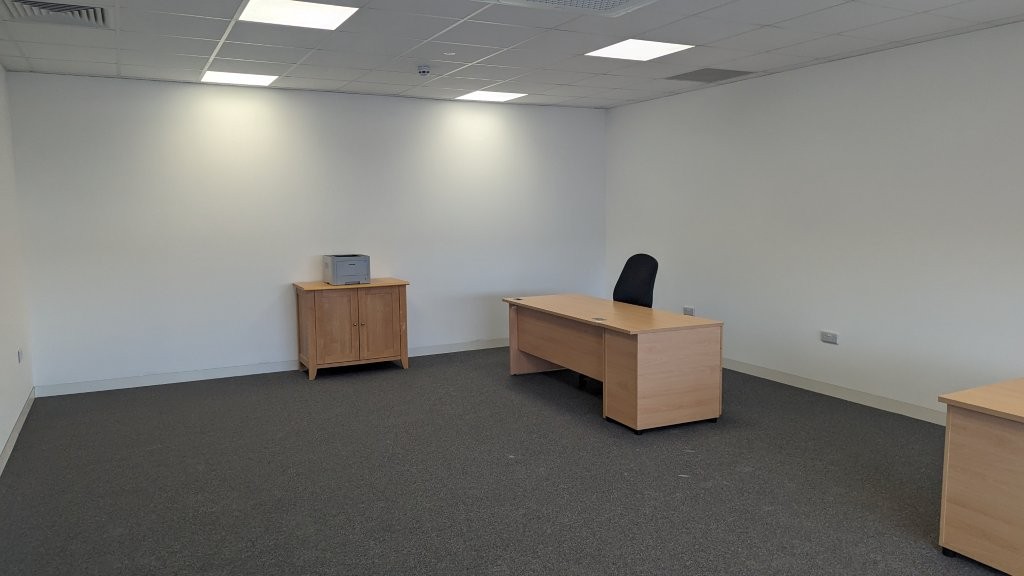
Below shows the remaining construction photos, some show the assembly of the desks using a ‘beam’ system, with shared leg frames. The main advantage in using a beam system is that the support leg frames are shared amongst adjoining desks, hence reduce the costs. Shared leg frames gives more leg room under the desks. The central spine of the desk cluster also has a cable management tray which keeps all of the power and data off the floor. The cabling can then be run from the edge of the walls, rather than worry about floor boxes near where people sit. Floor boxes would need cables running up from the floor boxes to the desks. Much neater to have cable management in the desks themsleves.

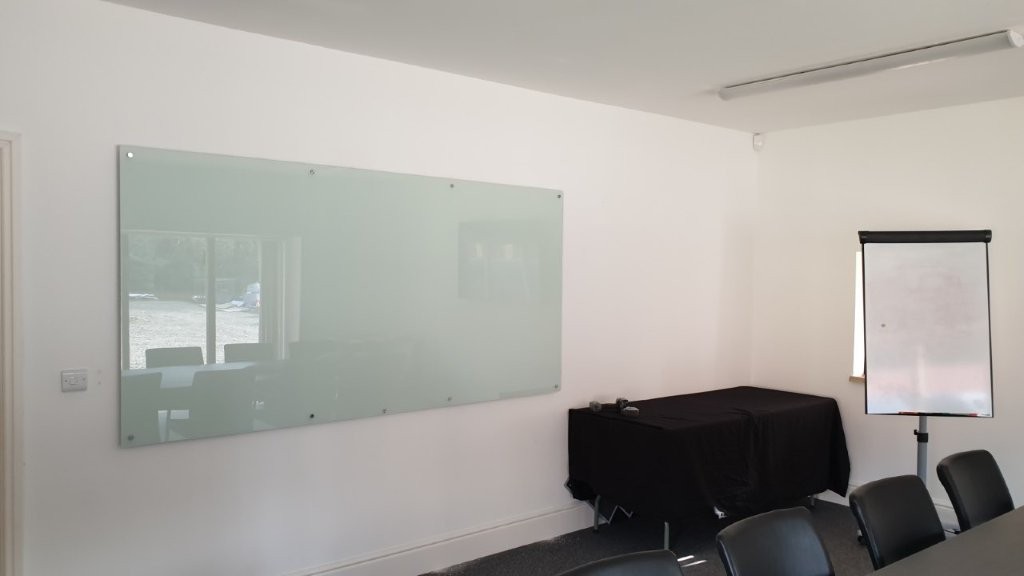
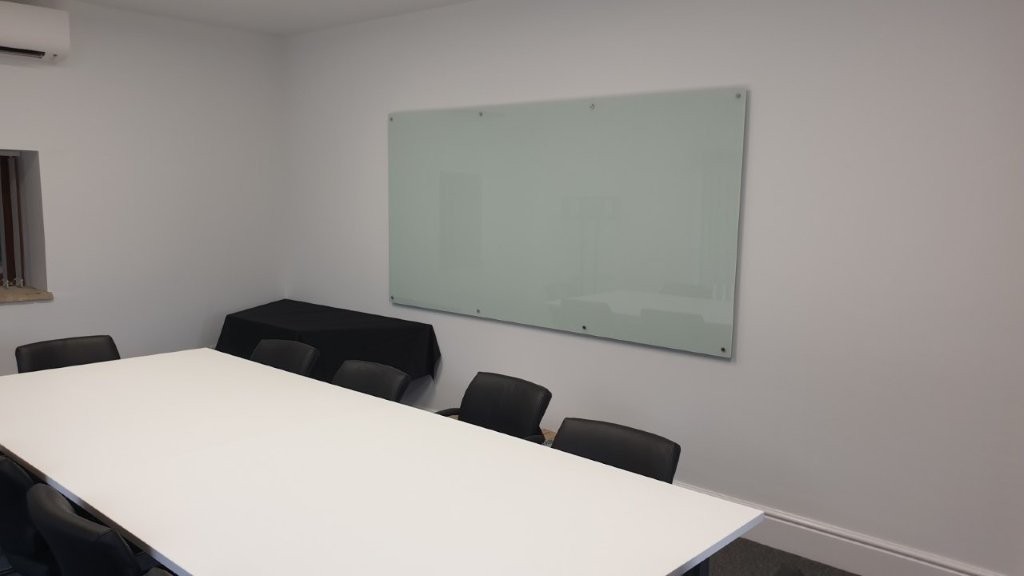
Also shown is the write on ideas wall, the glass writing board, the meeting tables, boardroom table and the other furniture in the rooms.

Space Planning and Design Work

If you are unsure of what can be done with a space, we really like to do the space planning and design work, working with what space you have. Making the most of the features that are in the building and maximising the light using glass walls, introducing vibrant colours and having an area to stimulate ideas were all aspects of this project that were enjoyable to do. If you have a project similar, and have any questions we would love to be involved in your project. The first visit is always free and the advice is free as well. If you are not sure what is involved you are not sure on how things can be done, then we are sure we can help.

Please call 01380 73 8844 or email us via the contact form on this website, or at [email protected]

Categories
All Project Categories Office Refurbishments Partitioning Projects

Fitting out of a brand new unit in Salisbury

Client: Dauwalders
Value: £72k

We were asked to look at this project in Salisbury for Dauwalders. They were looking to take on two units next to each other, but one needed to be an office. The obvious location for an office was on an existing mezzanine floor, which would allow a work area underneath, and separation from the main warehouse floor.

A nice new unit, nothing had ever been built in it, however we could hear absolutely everything from next door due to the way the mezzanine floor had been built. We certainly needed to minimise this as much as we could without going over board with it.

The unusual way the mezzanine floor had been built, was that the floor did not actually go right up to each of the walls leaving a gap. Clearly we had to box this, and make it safe for the people working in the space.

The requirements were around 4 people in the office upstairs, with power points downstairs for benches, and the downstairs space needed a pair of double doors on it. The next door unit had to be knocked into, with a fire alarm fitted to cover both units, and this was fitted for us by the Fire Alarm Consultancy, which we recommend on all our projects.

There was some stipulation with dates, and that allowed Dauwalders to plan on what to move where and all of that was fine.

Building Regulations

The other fairly obvious item that needed to be considered was Building Regulations, particularly as there are people working on a mezzanine floor. The rules are that if people are working on a mezzanine, they need to have enough time to get out of the building in the event of a problem. The structure therefore has to be fire rated, to ensure it does not collapse, and the escape routes need to be clear, protected if required, with emergency lighting, fire alarm detection etc.

In this particular case, the travel distances to get out were not massive, and if we positioned the stairs where required, the exit is straight to a fire exit, as well as into a protected space underneath with an exit, as well as the roller shutter, and potentially into the other unit. Plenty of ways to get out.

The main stipulation from the Fire Inspector is to make sure that the mezzanine floor itself is fully 60 minutes protected. There was no stipulation on the walls, but we would normally fit 30 minutes anyway, and the Inspector was happy with that.

All of the steels therefore had to be boxed in 15mm fireline board, which is the pink board in the photographs below.

Building Regulation and Customer drawings and plans

We always draw everything anyway, but these drawings needed a bit more detail for the Inspector to be clear about what was going on. The offices needed fresh air ventilation, and this is done with a VAM unit. They had air conditioning which provided heating and cooling, but in Building Regulations there is no requirement for air conditioning, just a means of heating the space, which an electric radiator would have been fine. There is a definite requirement for fresh air ventilation.

Sound Problems from Next door.

This was always going to be tricky. Even as we stood on the mezzanine floor before we did any work at all, you could hear everything. Part of the issue was the really bad design of the mezzanine floor. They had designed it so that the main floor ran through all of the units, right the way through, then plonked the dividing walls on top of the floor to split up the units. Any noise translating into vibration just carries on through any metalwork. There were also huge gaps between the edge of the floor and the outside of the building, any noise was going to go straight up through these gaps to the upper floors. Even though the noise next door was downstairs, in their unit it was going straight up and through the gaps.

In our unit, we can deal with the gaps at the edges, but really it needed RWA45 acoustic slab in the walls, and sound block board to try and absorb noise coming through, and then block it coming into the potential new office upstairs. It also needed decent suspended ceilings with bagged 200mm insulation over the suspended ceiling grid and that was probably as much we could do.

Construction Photos

Please find below some construction photos. We needed to ensure that the mezzanine floor was 1 hour fire protected and as mentioned previously, we carried this out using 15mm fireline board, boxing all of the columns and the edges of the mezzanine floor.

We also had to build over the gaps at the edges of the mezzanine, to ensure any potential fire did not go up between the floors.

Some completed photos

If you are thinking of taking on a new unit, and have any questions, we would love to be involved in your project, the visit is always free and the advice is free as well. If you are not sure what is involved you are not sure on how things can be done, then we are sure we can help.

Please call 01380 73 8844 or email us via the contact form on this website, or at [email protected]

Categories
All Project Categories Suspended Ceilings

Suspended Ceiling in a Small Back Room in Devizes

Client: CMD Recruitment
Value: £1,350

CMD Recruitment in Devizes specialises in recruitment and wanted to install a suspended ceiling in the back office. The top part of the roof was really high, the ceiling had plasterboard fitted which made the room really noisy, it was not really suitable for the staff who were using the room for phone calls.

We started off by measuring up the space and working out the quantity of tiles that the ceiling grid required. The customer had fluorescent light fittings suspended from the ceiling on chains which needed to be removed and re-installed.

When talking to the customer we determined that the the reason for installing a suspended ceiling was to help keep the heat in during the winter as the high ceiling meant it was very cold. We recommended bagged insulation over the back of the suspended ceiling as this would help keep the heat in the room more efficiently. We also recommended installing LED panels as they would be much more energy efficient and they would have a much cleaner look as they are installed flush in the ceiling.

Existing Ceiling

New Ceiling Installation

The new  ceiling was installed very quickly and bagged insulation was fitted above. The electricians installed the new lights the next day. The office was left clean and tidy and much warmer.

Summary on Suspended Ceilings

We have some more news / blog posts on ceilings. Click this link for more details on some of the different types available.

  1. Great for thermal insulation.
  2. Brilliant for improving sound performance.
  3. Perfect for hiding services and flush mounting lights.
  4. Bagged insulation can increase both thermal and acoustic performance.

Questions on Different types of Ceilings?

Want to read more ? Why not have a look at another job we did in Chippenham.

If you have any other questions, or would like more information on Suspended Ceilings, please give us a call on 01380 738844.