Client: Greenhatch
Value: £64k
Following a period of sustained growth Greenhatch Group was looking to move from a smaller leased office to the purchase of a new office unit.
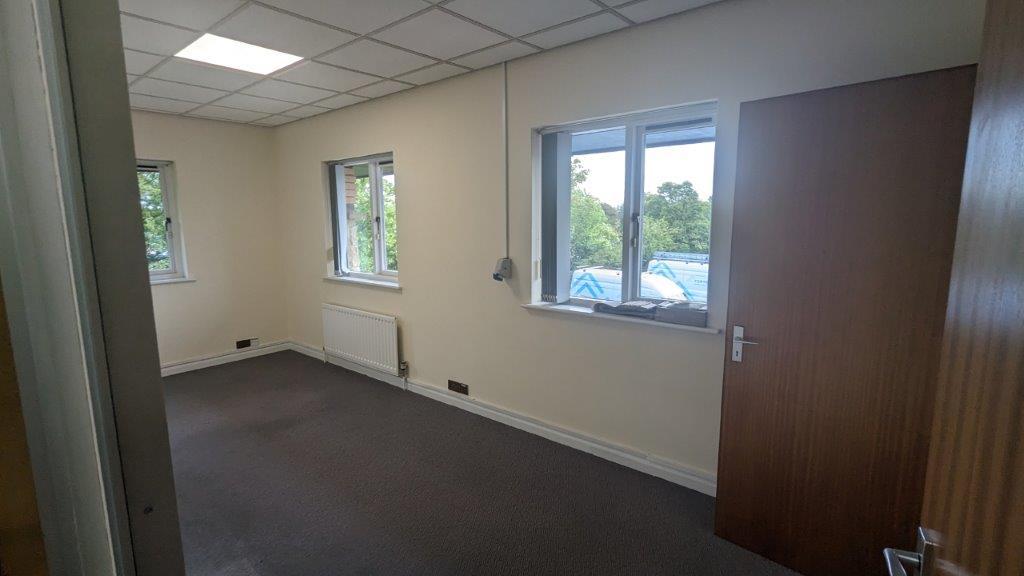
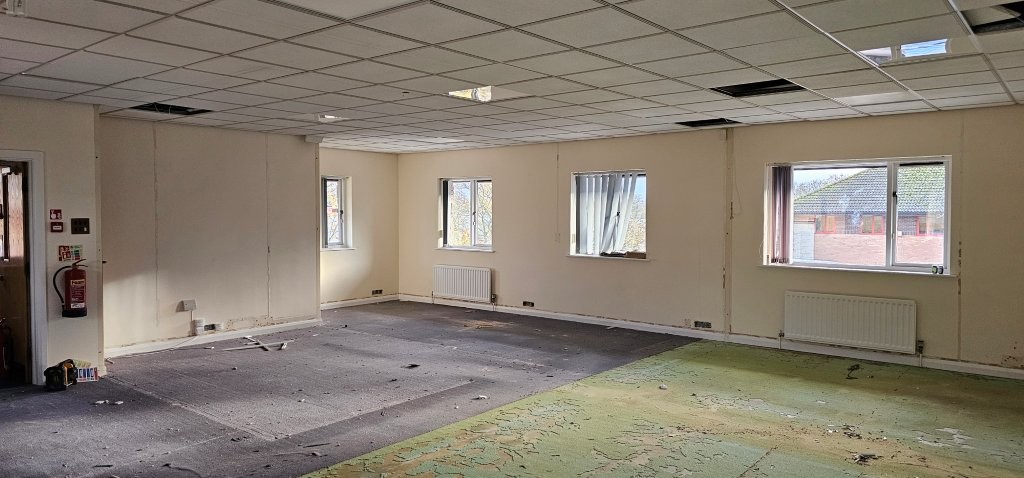
The new unit was a great size and had a really good location but it had had been left in dilapidated state and would need striping out and fitting out to make it fit for purpose.
Greenhatch engaged us early in the process to ensure they knew the costs involved to get what they wanted from the space.
Strip-out and Fit-out of the New Office
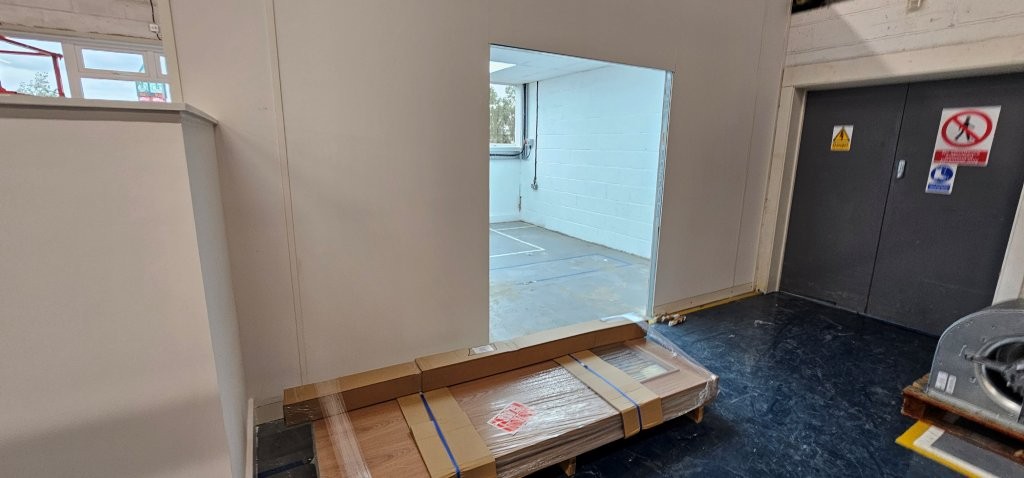
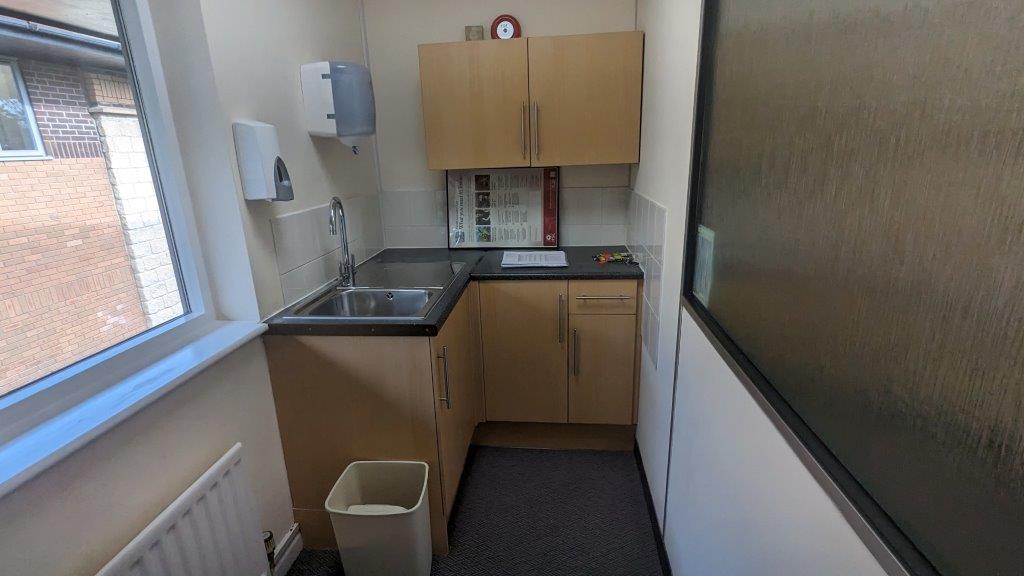
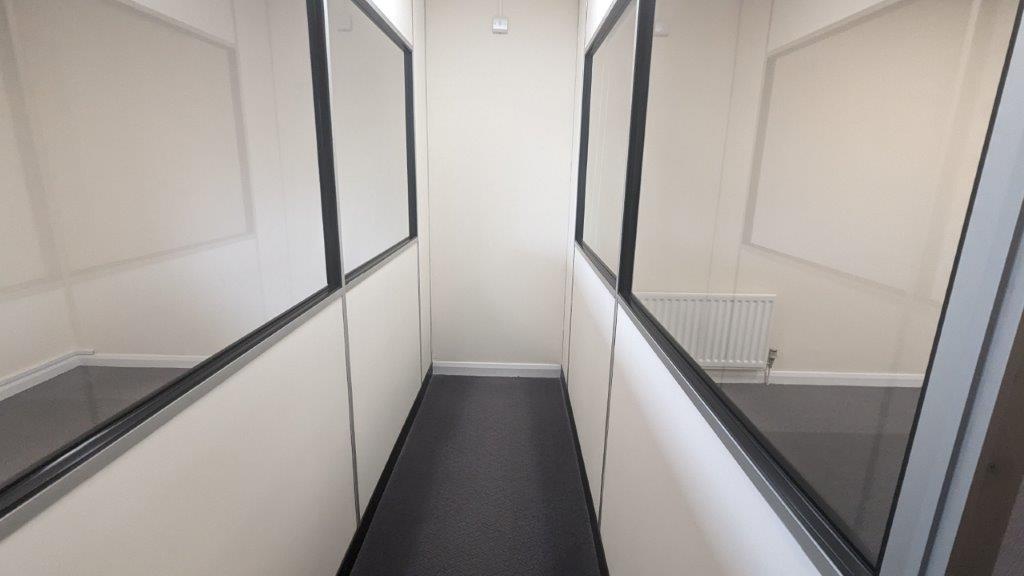
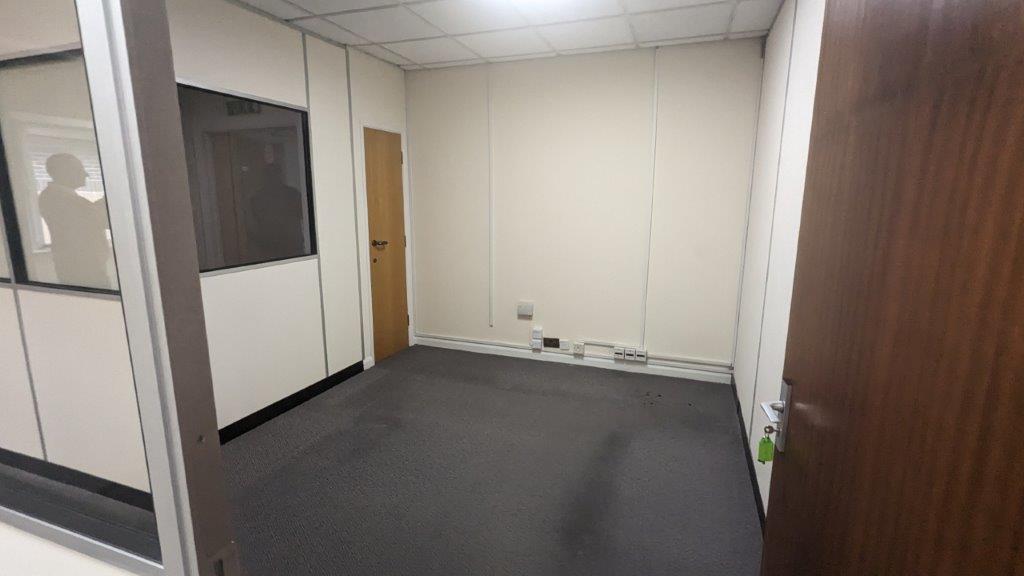
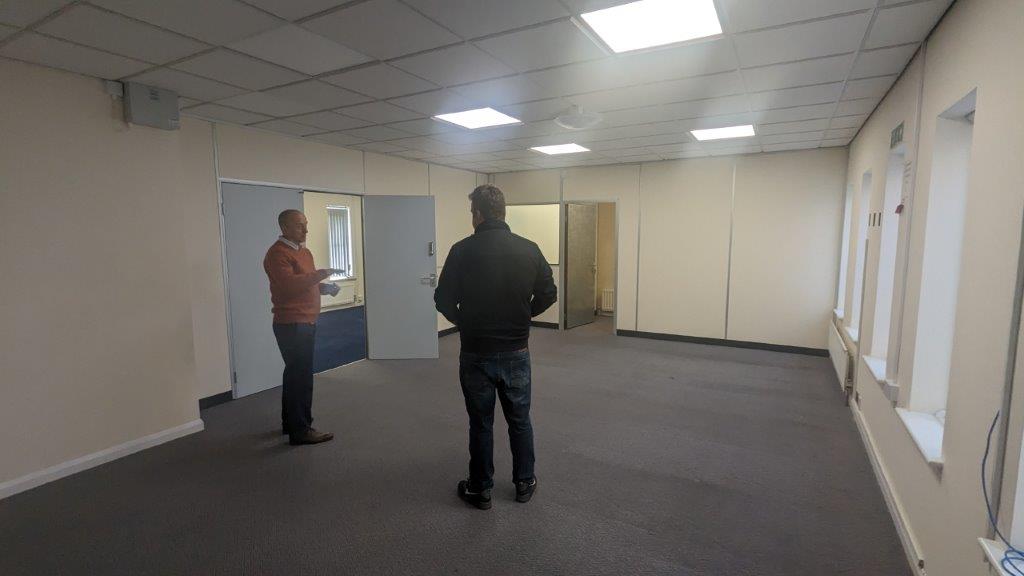
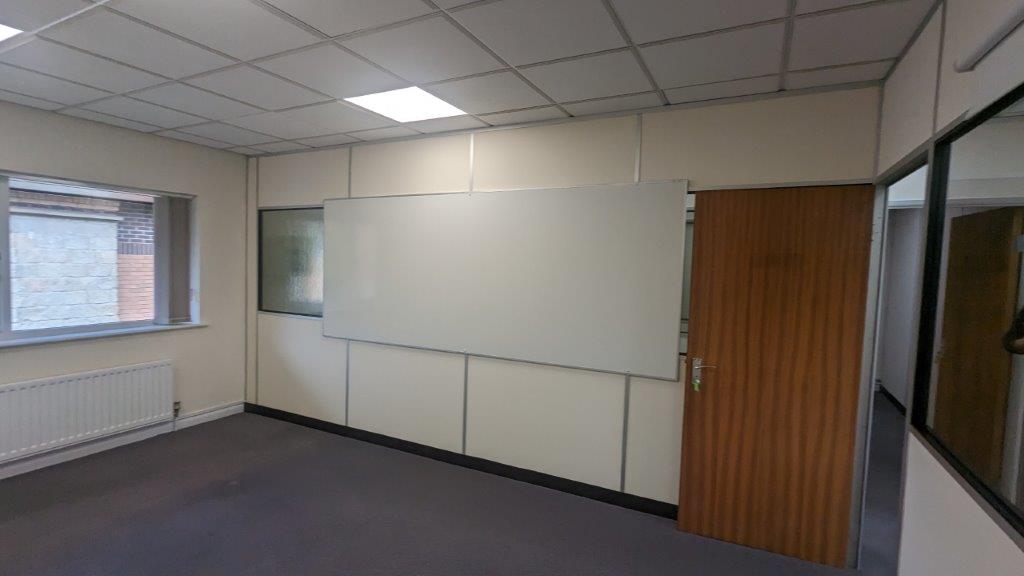
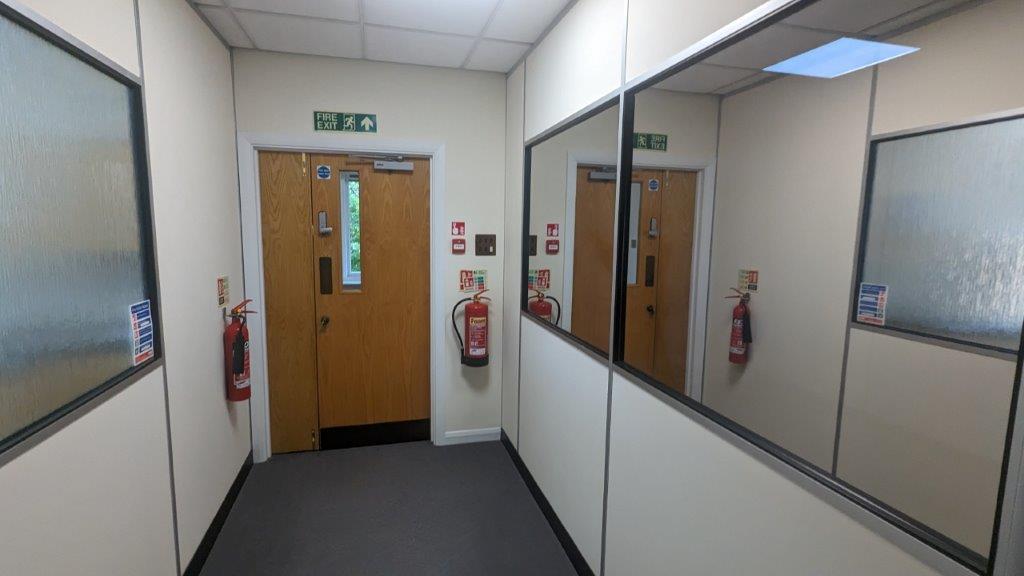
The current office space was split over two floors with lots of very old and dated partitioning separating the space into lots of smaller offices with narrow corridors.
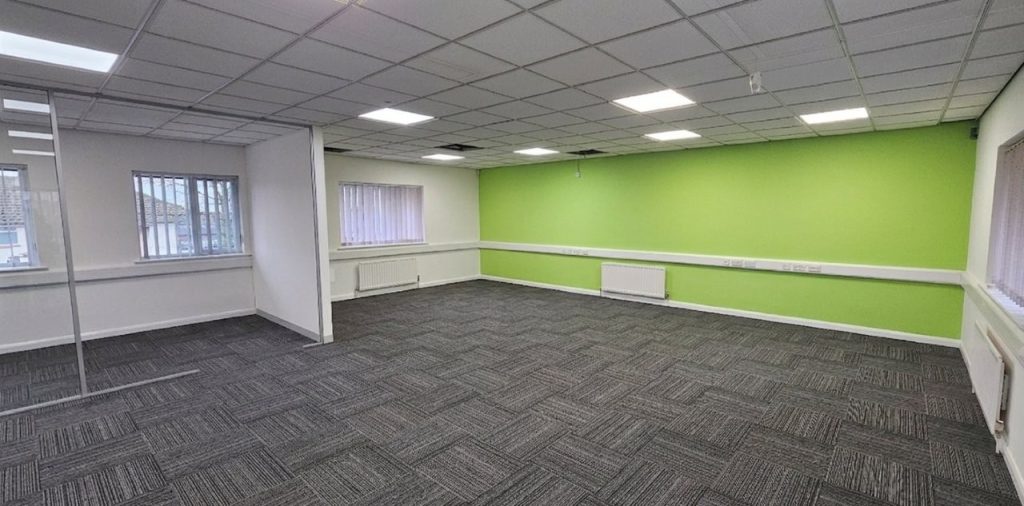
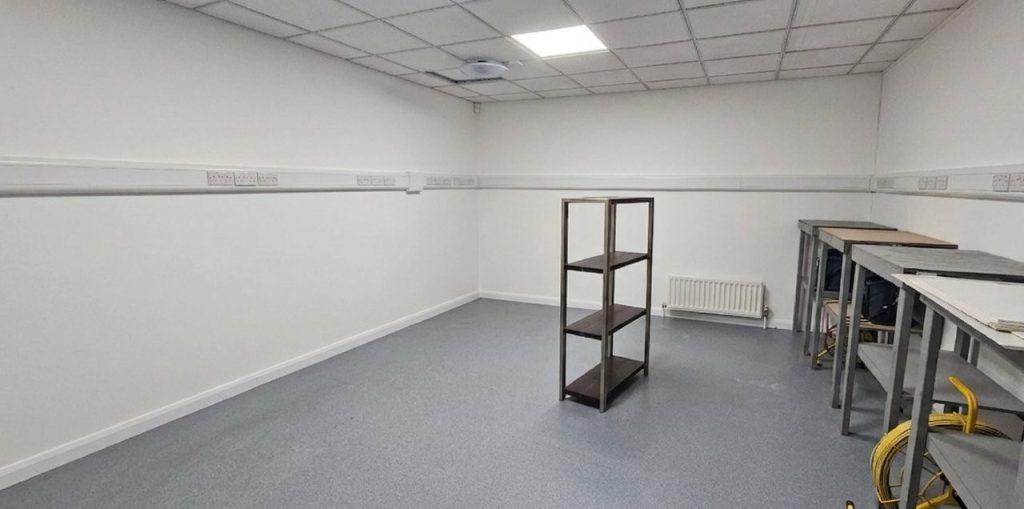
Once we had drawn the existing office on CAD we were able to strip away the partitioning and provide options to the customer on the new layout. The layout included a large open plan office on the first floor for up to ten people with one directors office. On the ground floor the customer wanted a larger kitchen and breakout space along with a large “kit room” for all their specialist equipment.
The office fit-out works for this project included:
- stripping out and removing all existing partitioning, kitchen and flooring.
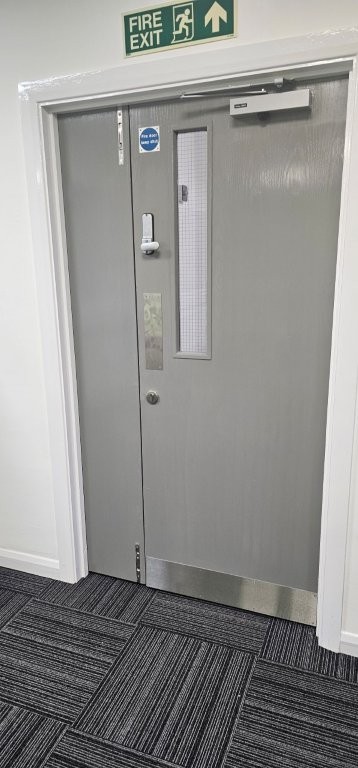
- Re-decorating all walls, doors, skirting and architraves using feature wall colours and graphite grey on the doors for a modern look.
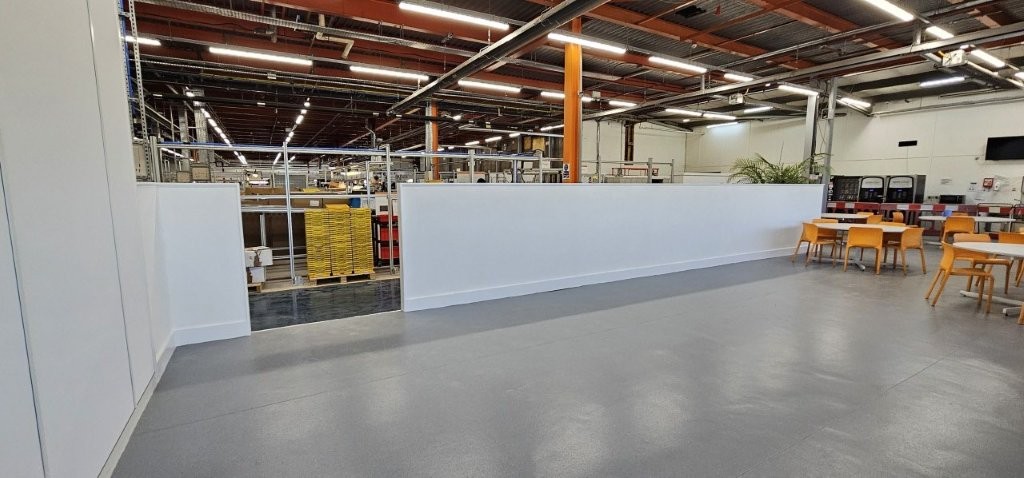
- New solid partitions to form the Kit room and one side of the directors office.
- New glass partition forming the front of the directors office.
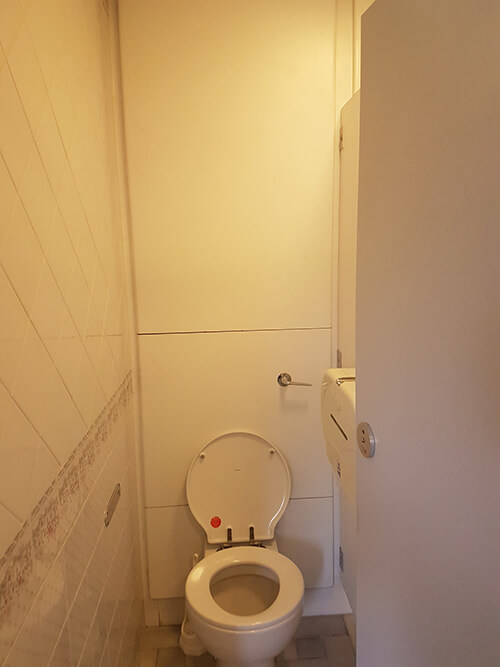
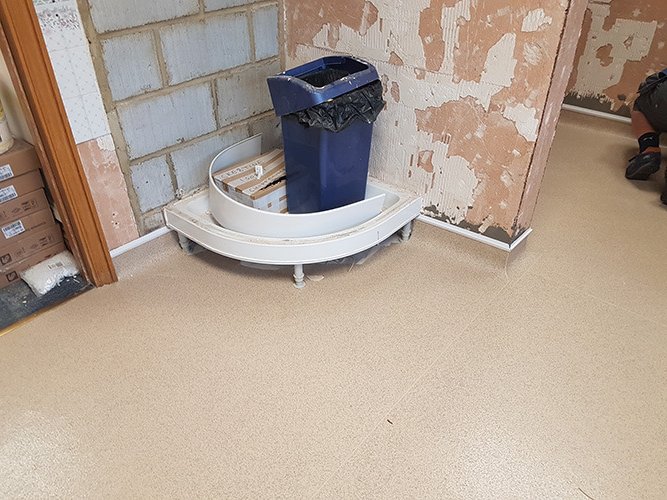
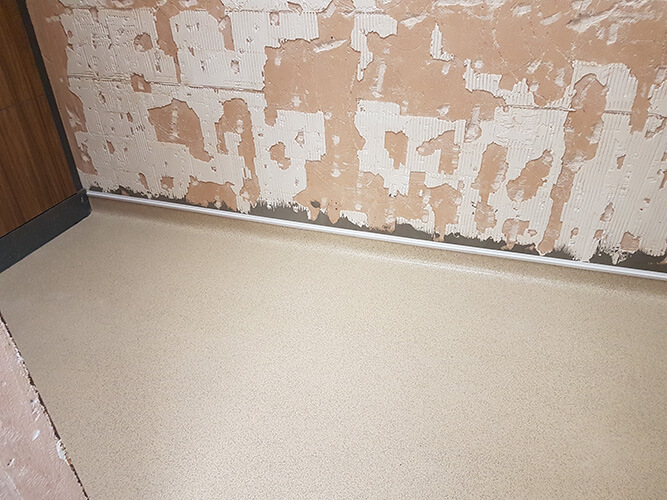
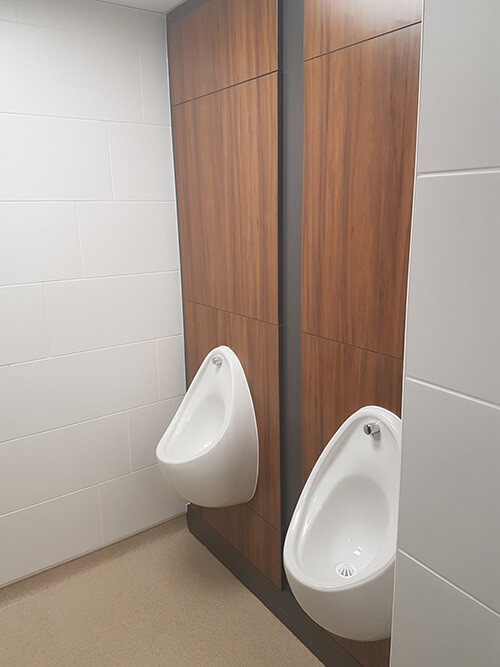
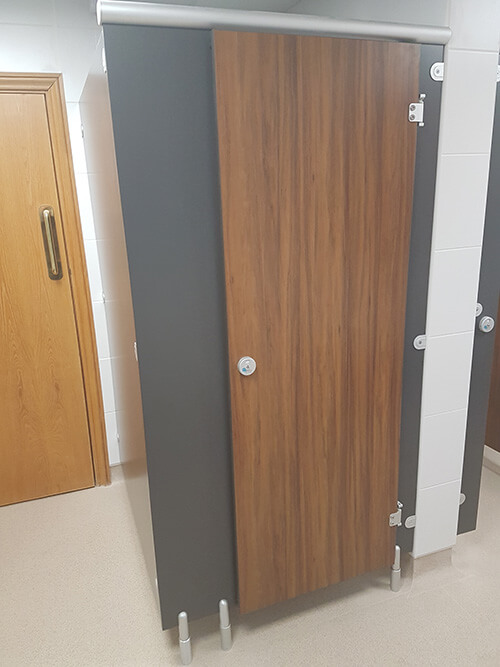
- All new flooring using carpet tiles in the office with anti slip vinyl throughout the toilets, kitchen and kit room.
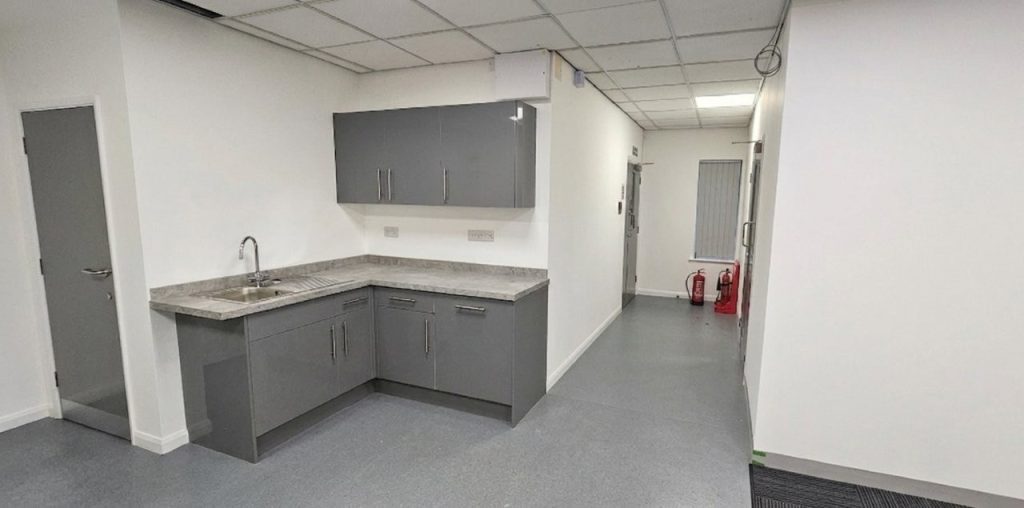
- A new modern grey kitchen with an integrated fridge.
- A large amount of electrical work including a new fuse board, nearly 60 double sockets in flexible 2-compartment trunking, 32 data points and new extraction for the kitchen.
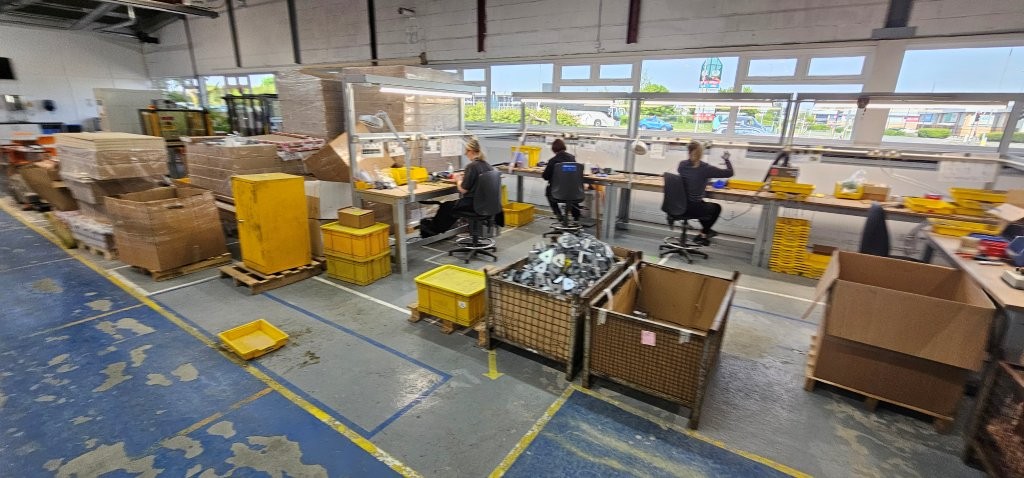
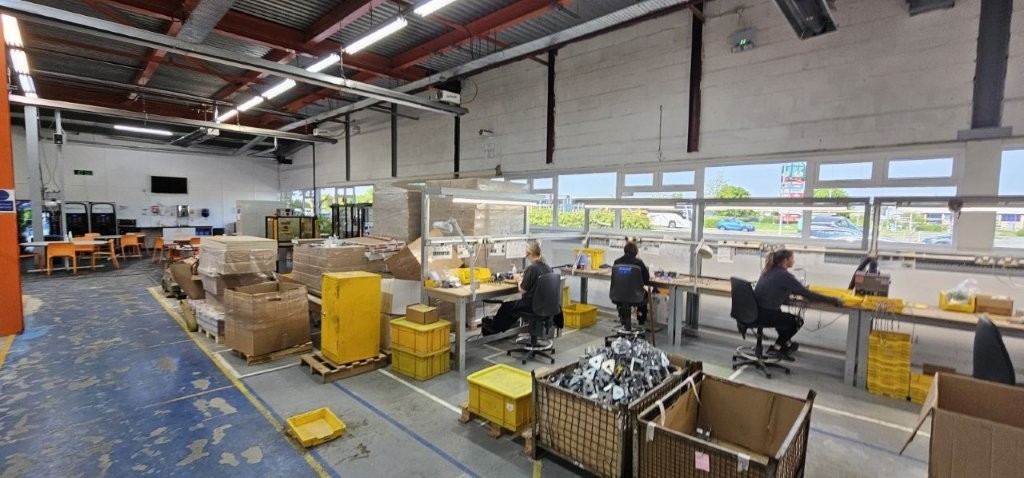
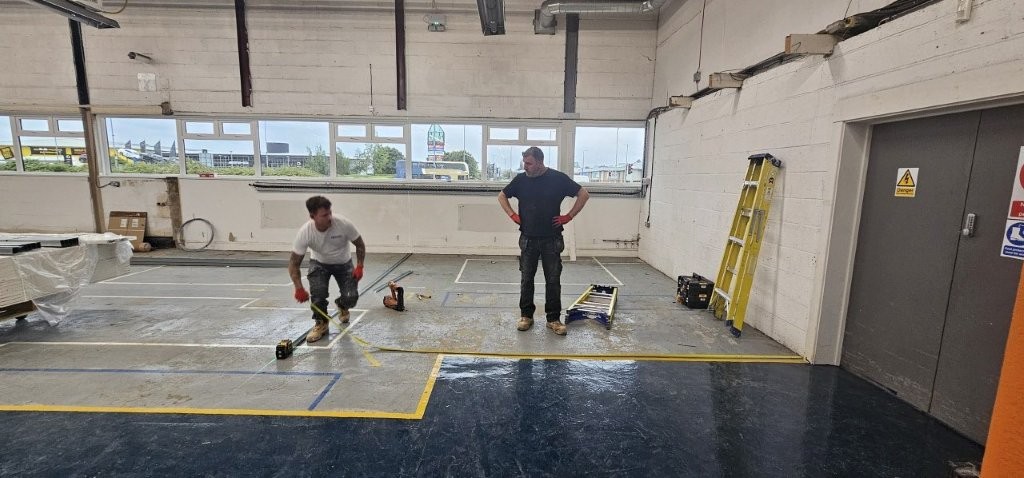
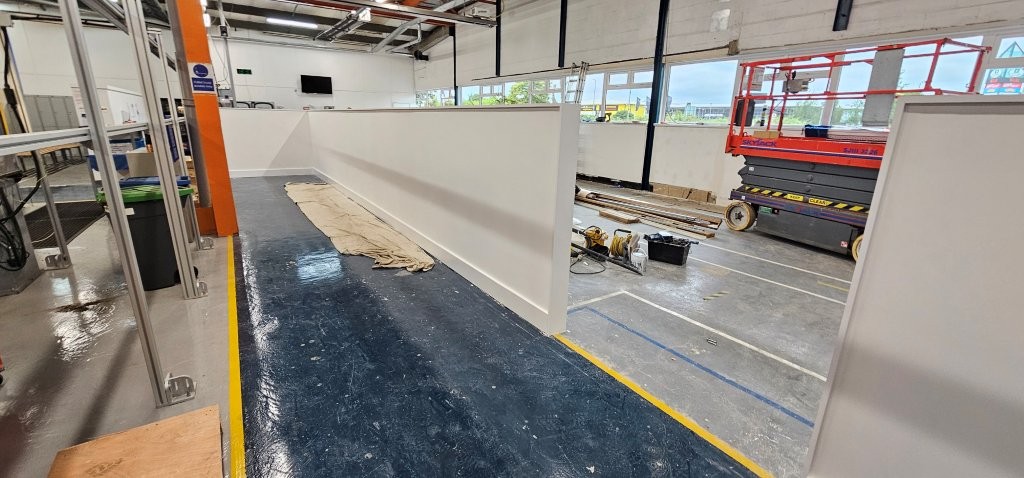
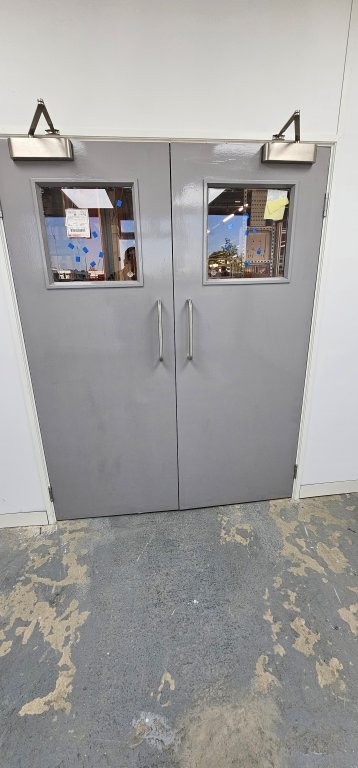
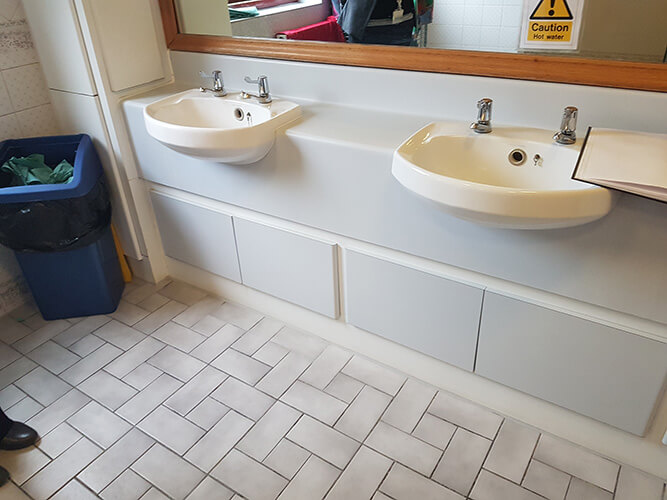
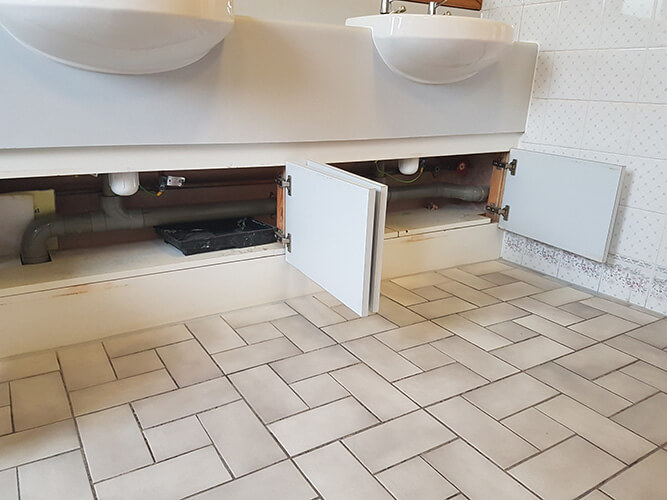
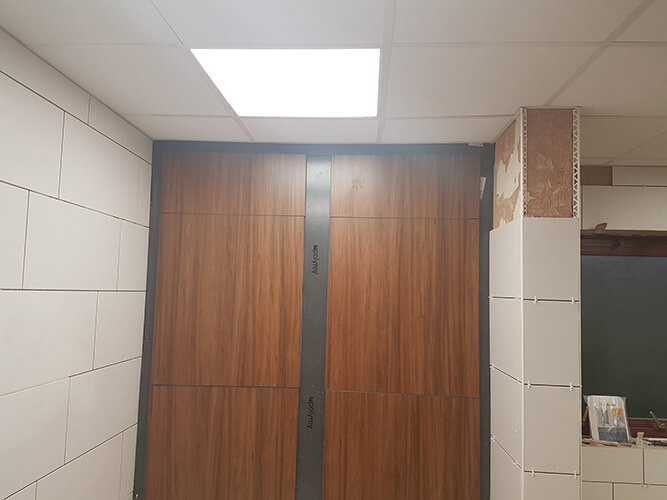
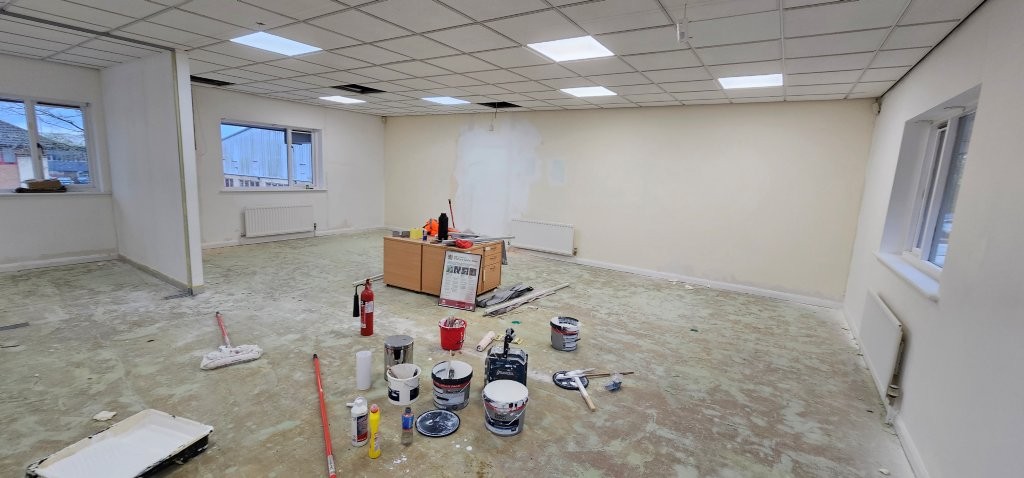
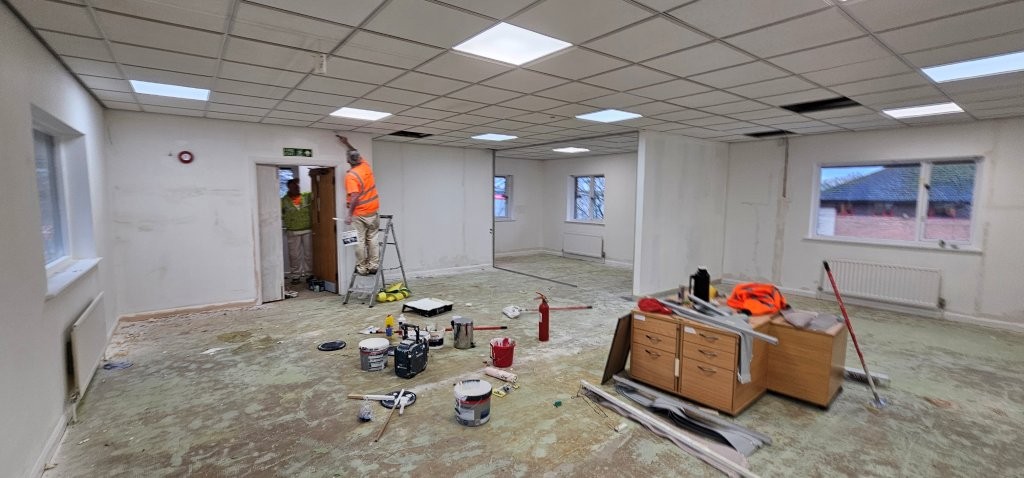
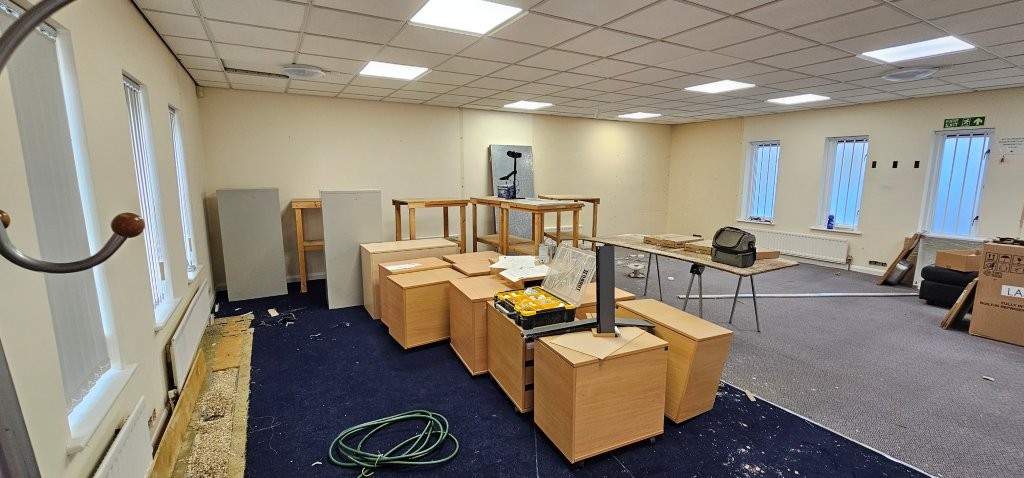
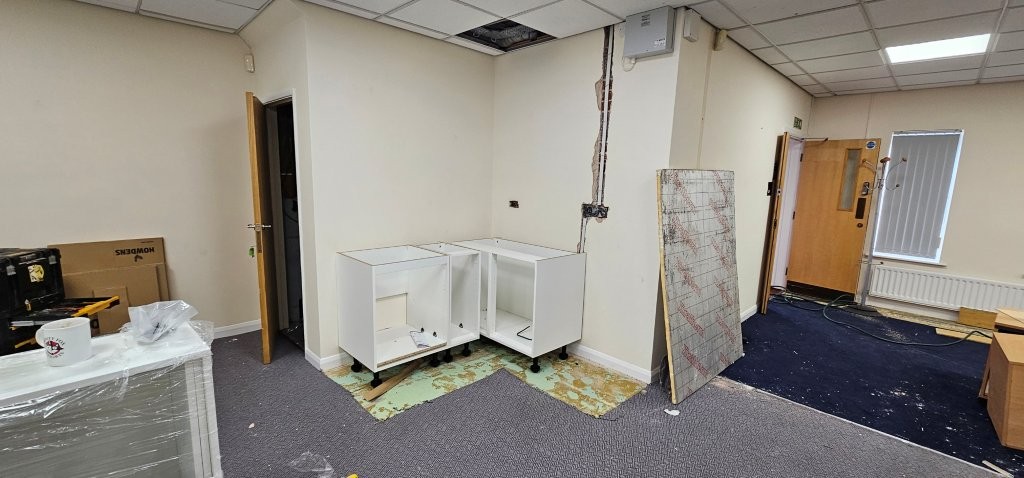
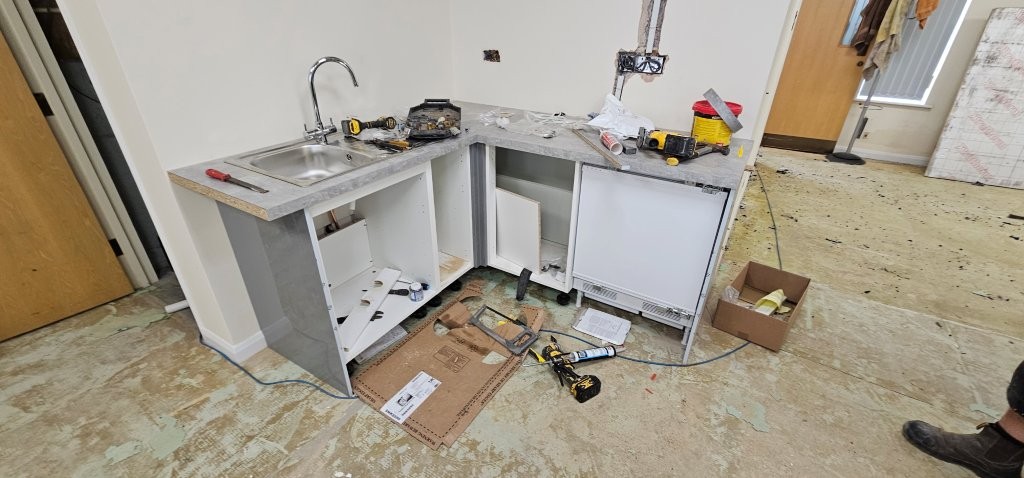
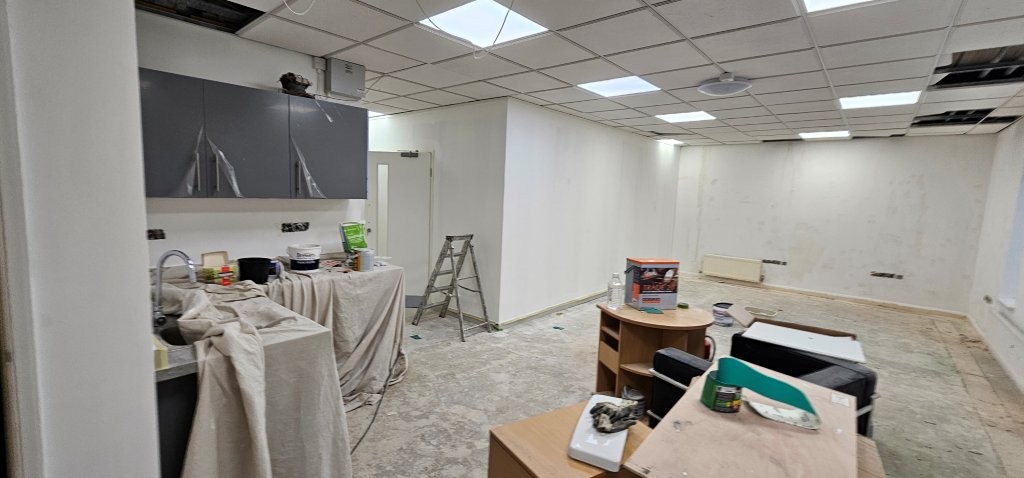
Existing Photos
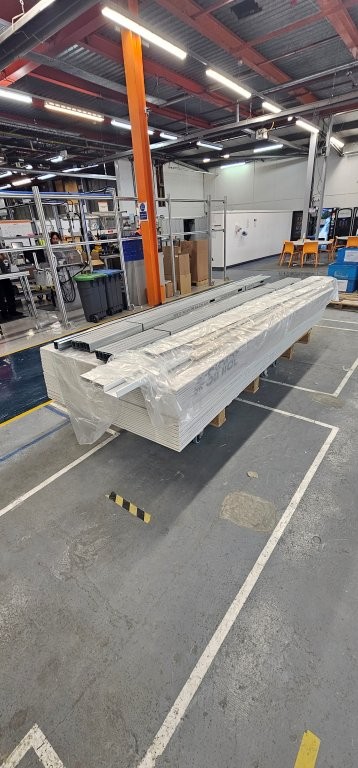
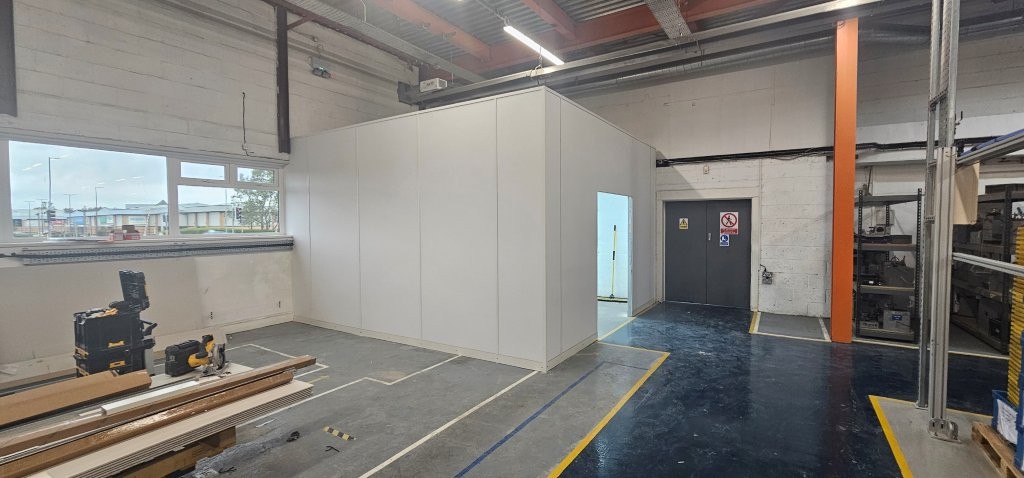
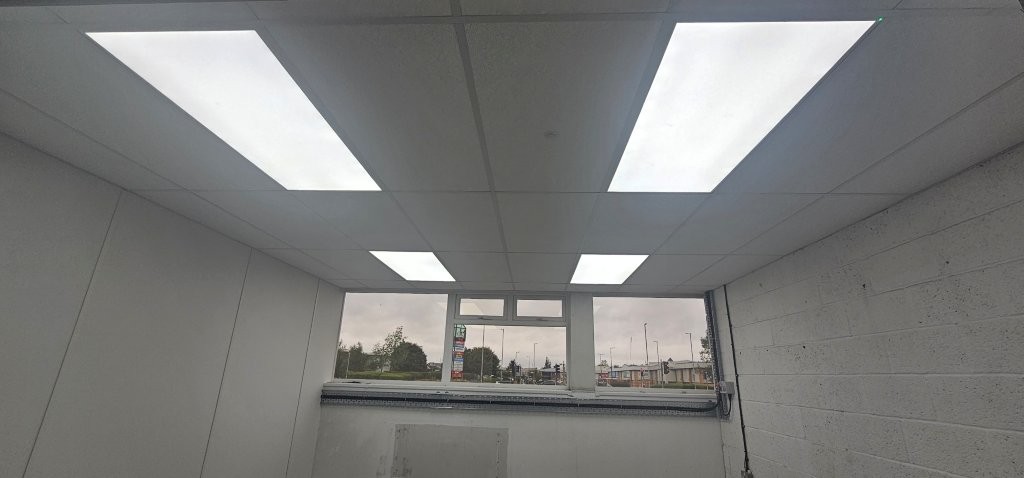
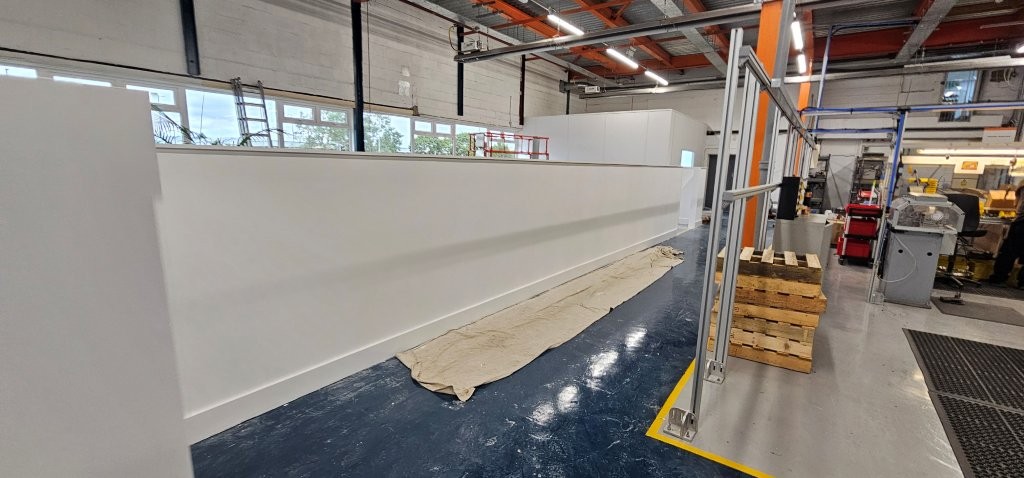
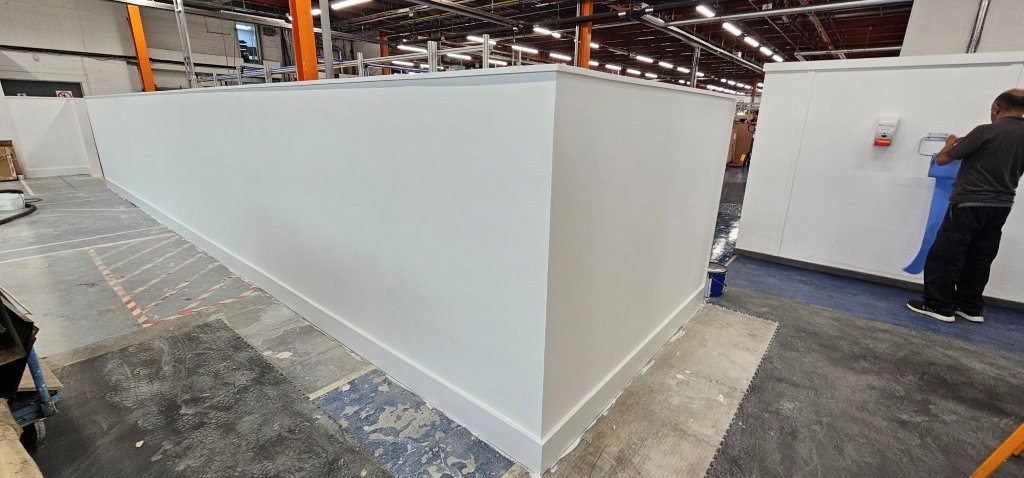
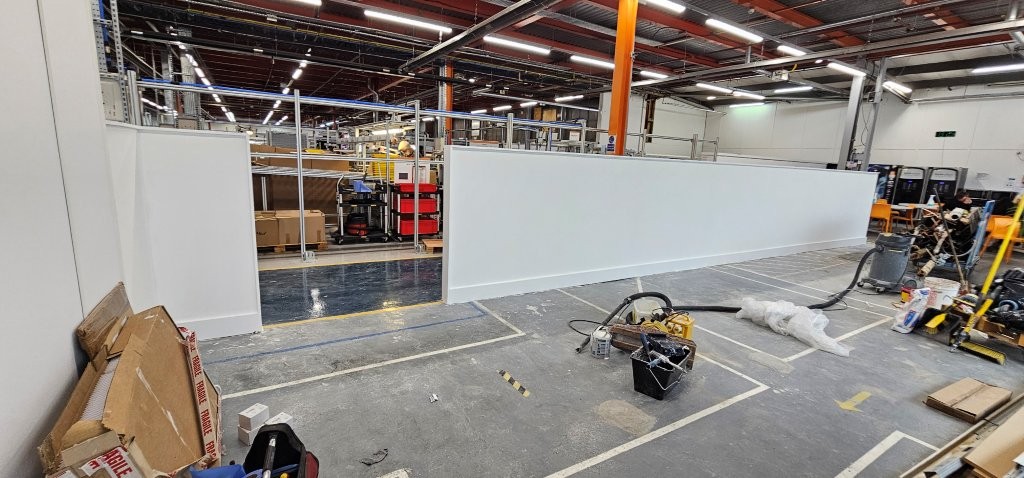
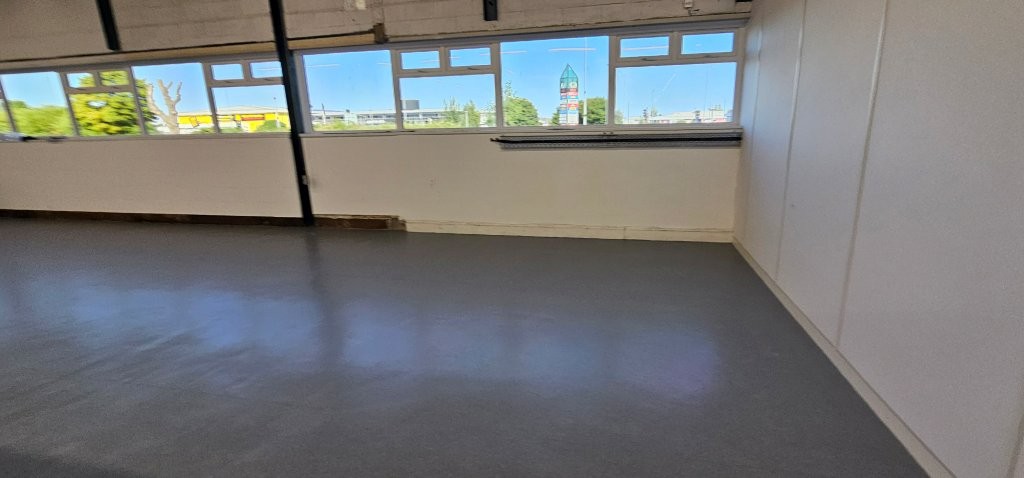
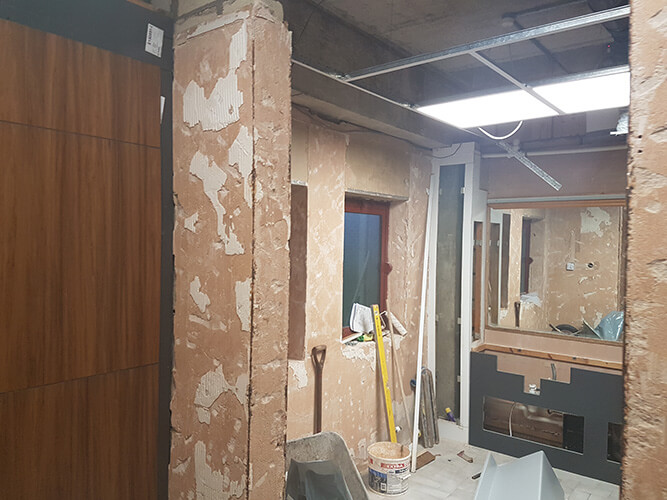
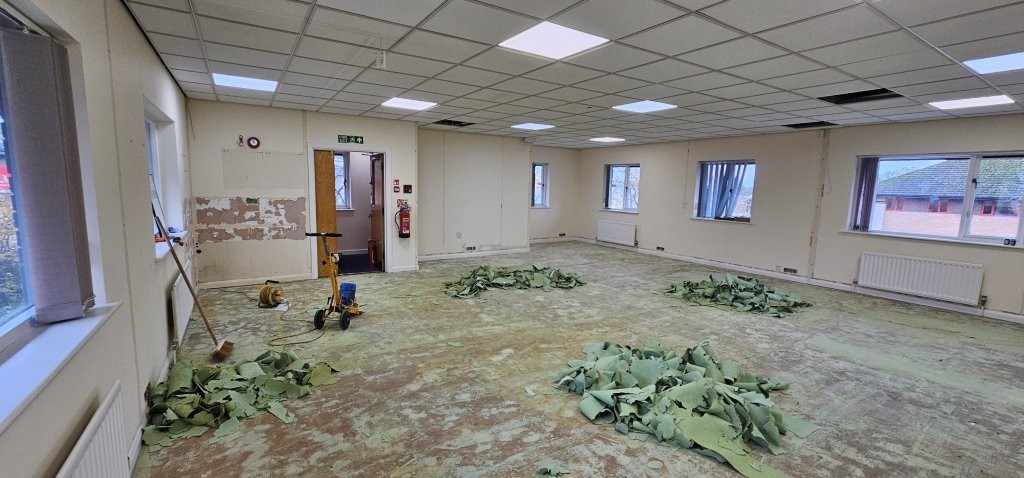
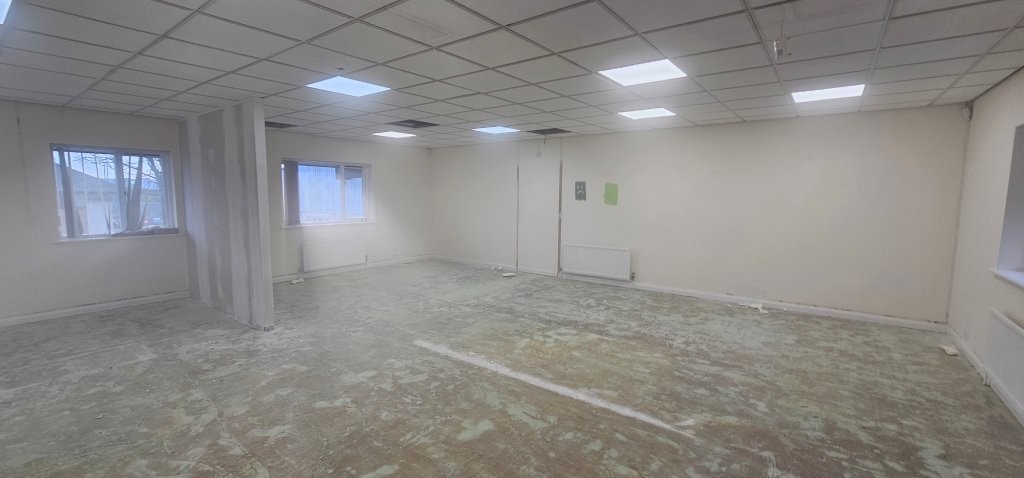
Work in Progress
The strip-out and office fit-out was completed very quickly as we had vacant possession of the building as soon as the customer completed the purchase of the building and were given a window of time before they needed to move in.
The strip out went very smoothly although the old carpet was extremely difficult to uplift as the previous owner had used more of a domestic type carpet with a really strong glue.
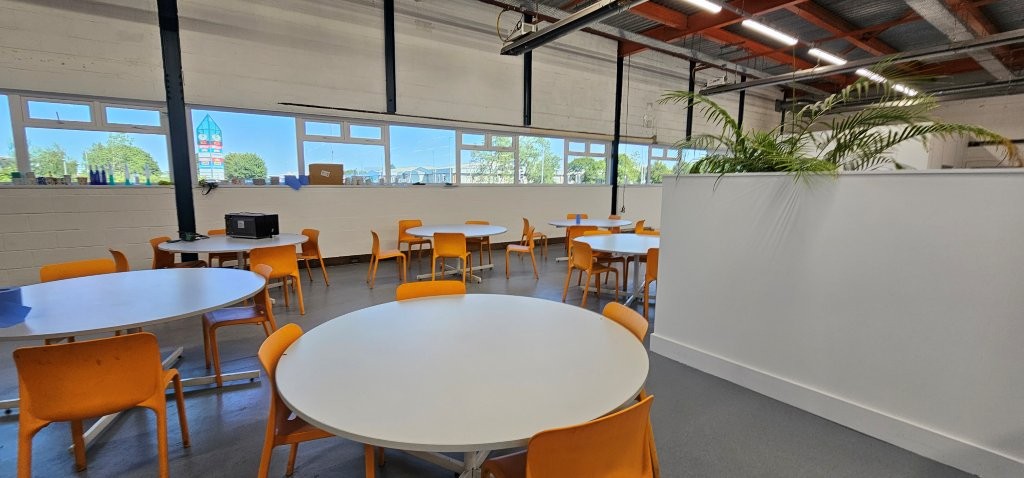
The walls are all a crisp bright white however the back wall of the main office was painted in a bright green which is more in line with the new corporate colours and matches the chairs the customer has.
The new carpet tiles looked great using a subtle striped pattern in a chequerboard pattern adds interest while the pattern hides any stains or wear to keep it looking new for longer. Carpet tiles were just for the upstairs space and stairs.
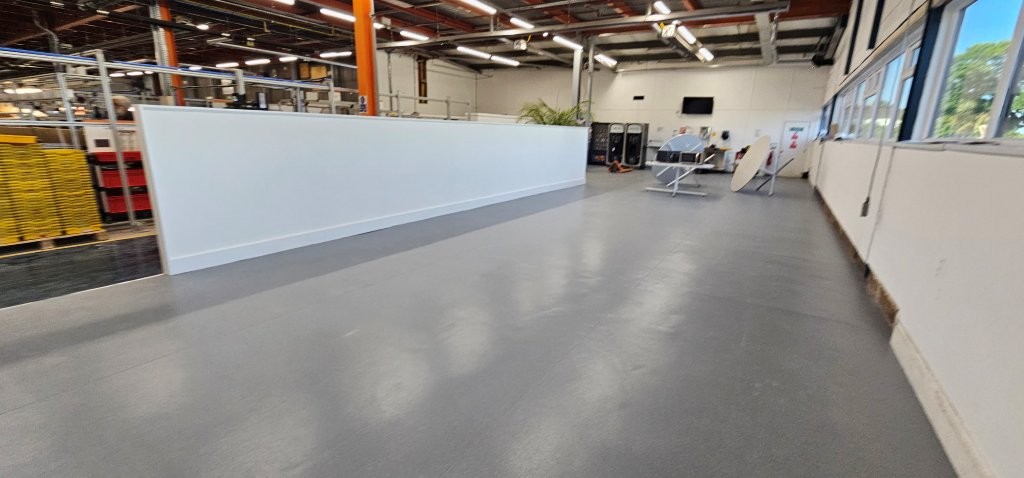
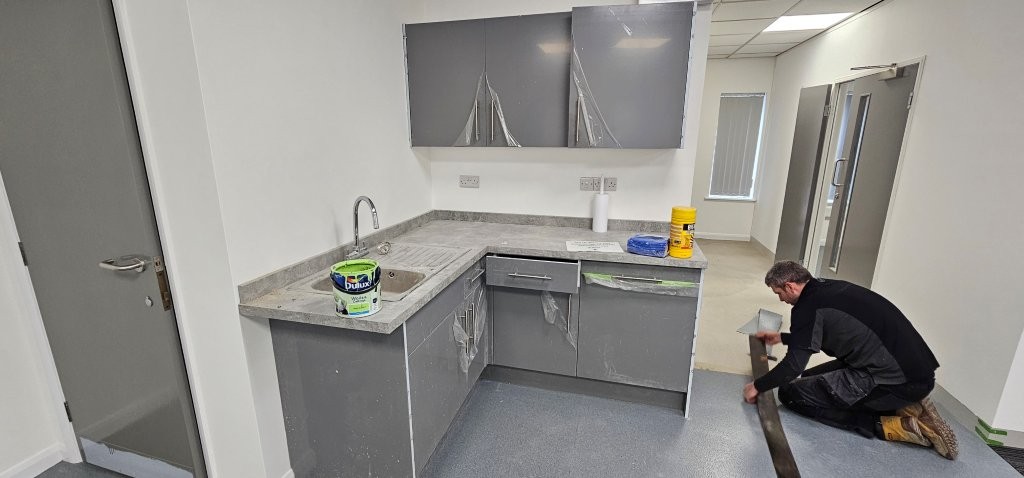
The doors were painted grey to look much more modern than the old wooden doors, along with fresh stainless steel ironmongery. The new kitchen had a concrete worktop and stainless steel sink. The new flooring downstairs was grey anti-slip vinyl flooring.
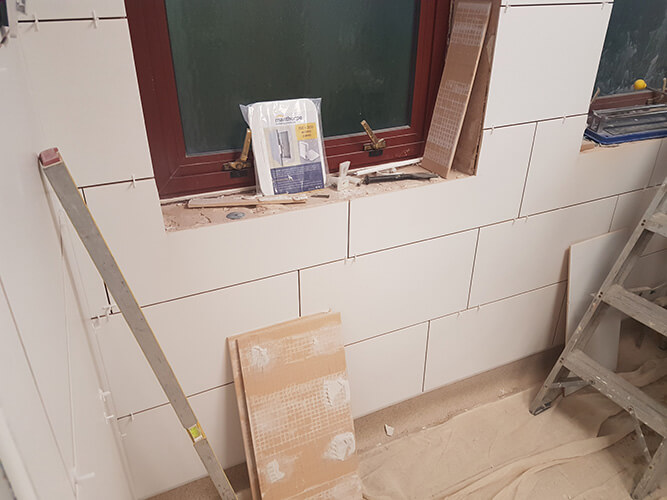
Work in Progress Photos

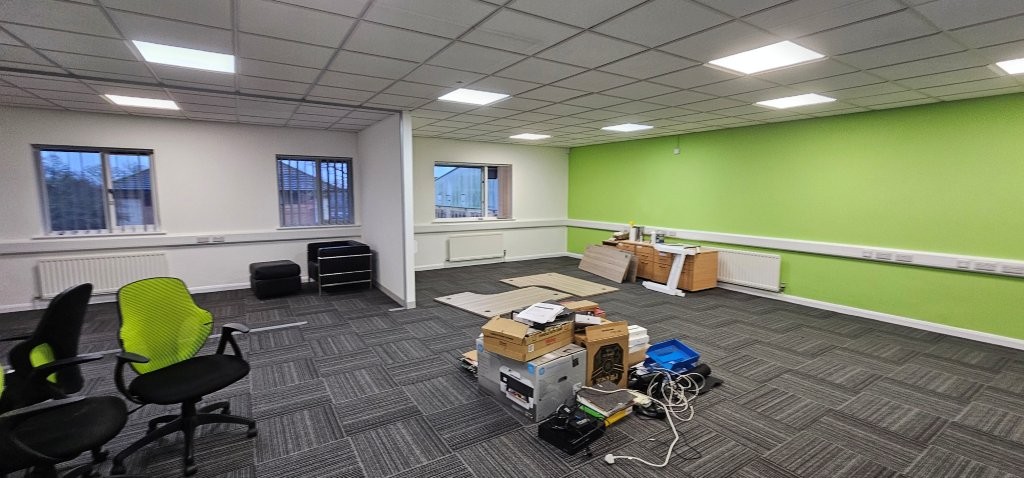
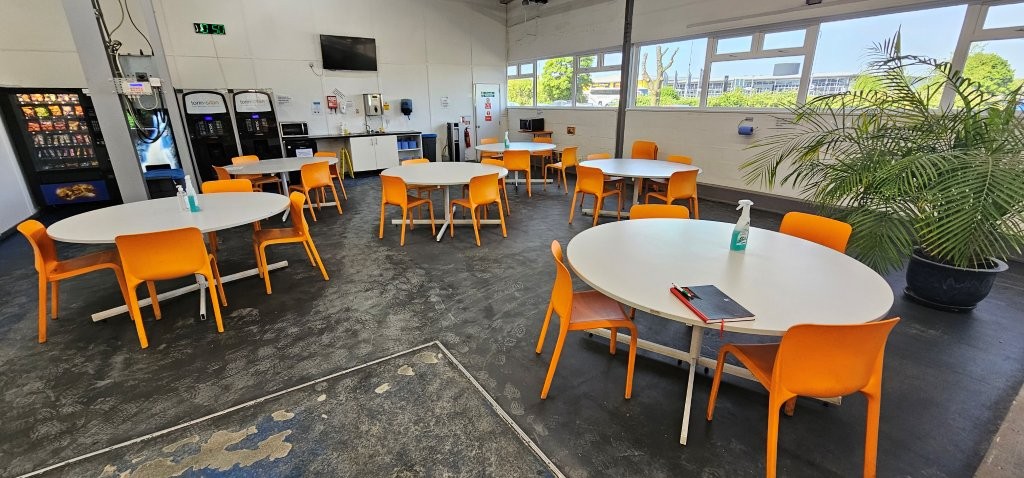
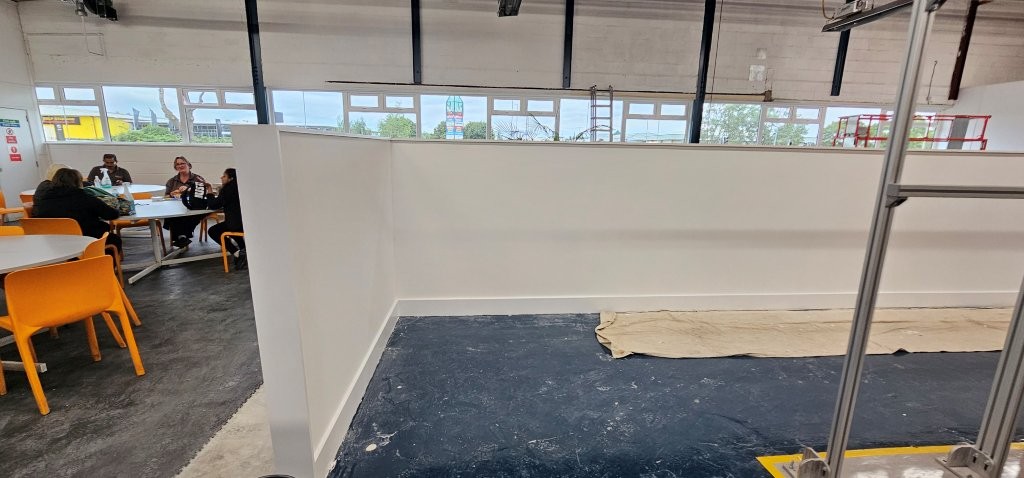
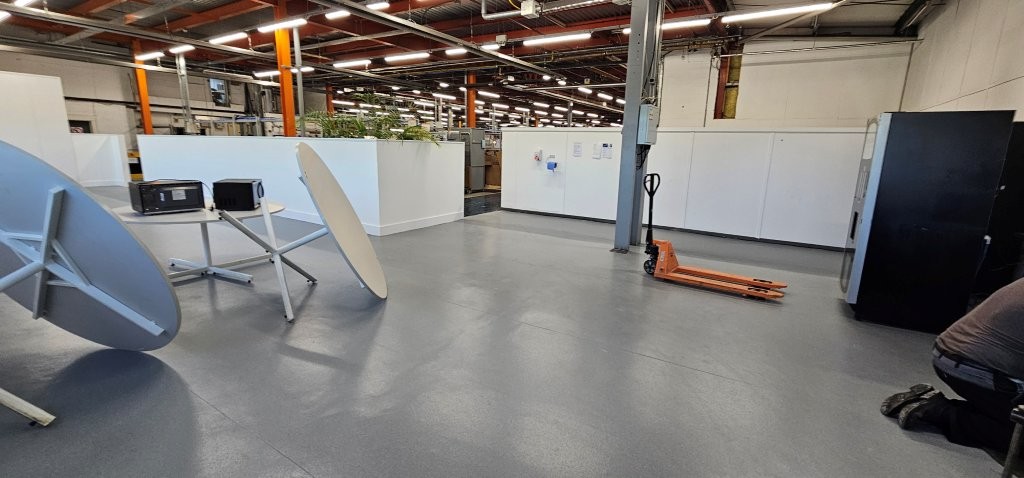
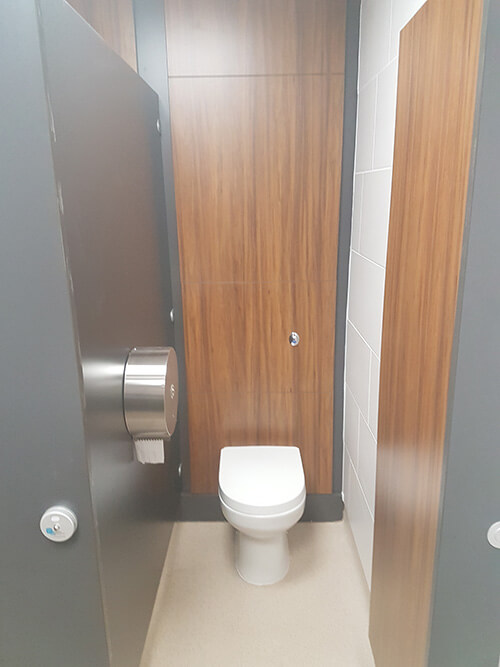
Completed Photos
The completed office fit-out looked clean, fresh and modern with brighter and more open plan spaces and more importantly, the customer was very pleased with the finished result.

Does your office look dated?
Whether you require expert space planning, bespoke design, or a full interior fit-out, the Cre8tive Interiors team is here to help.
Contact us today to discuss your vision. Call our experts: 01380 73 88 44 | Enquire Online: Contact us