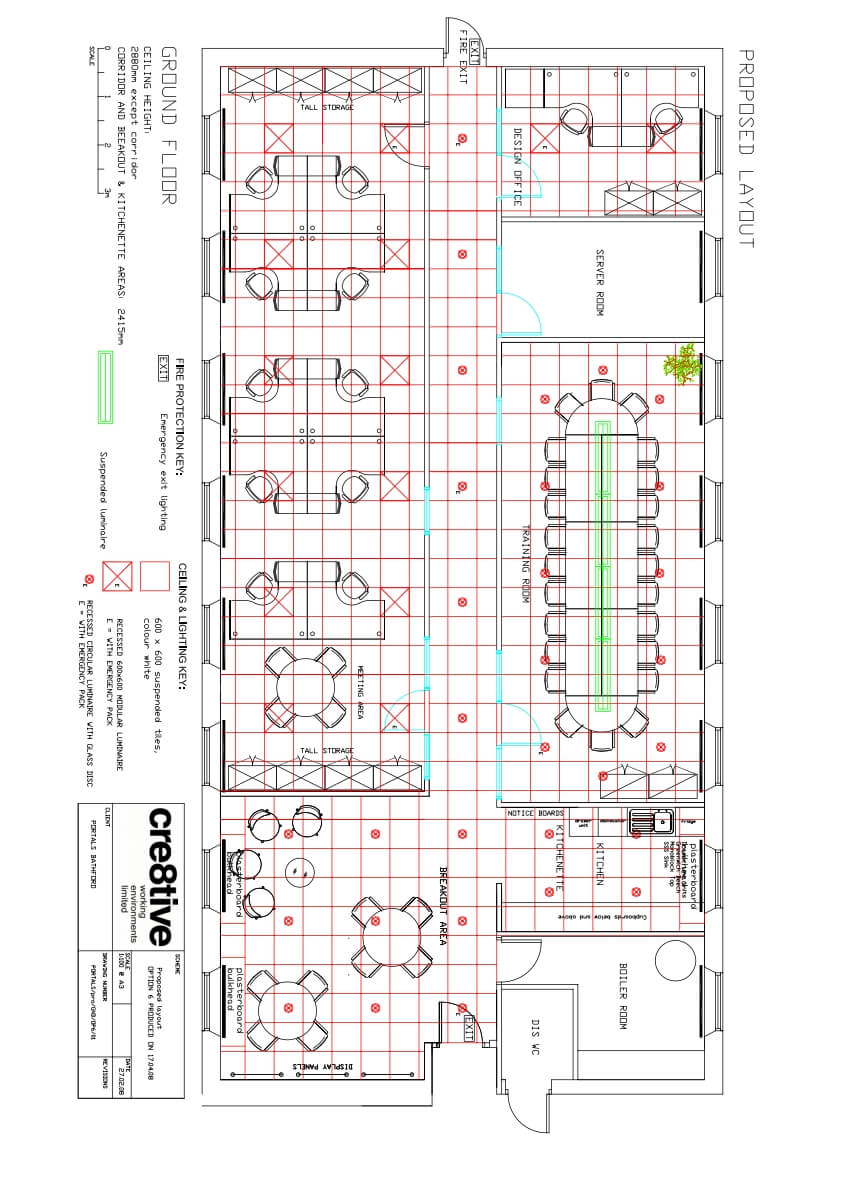
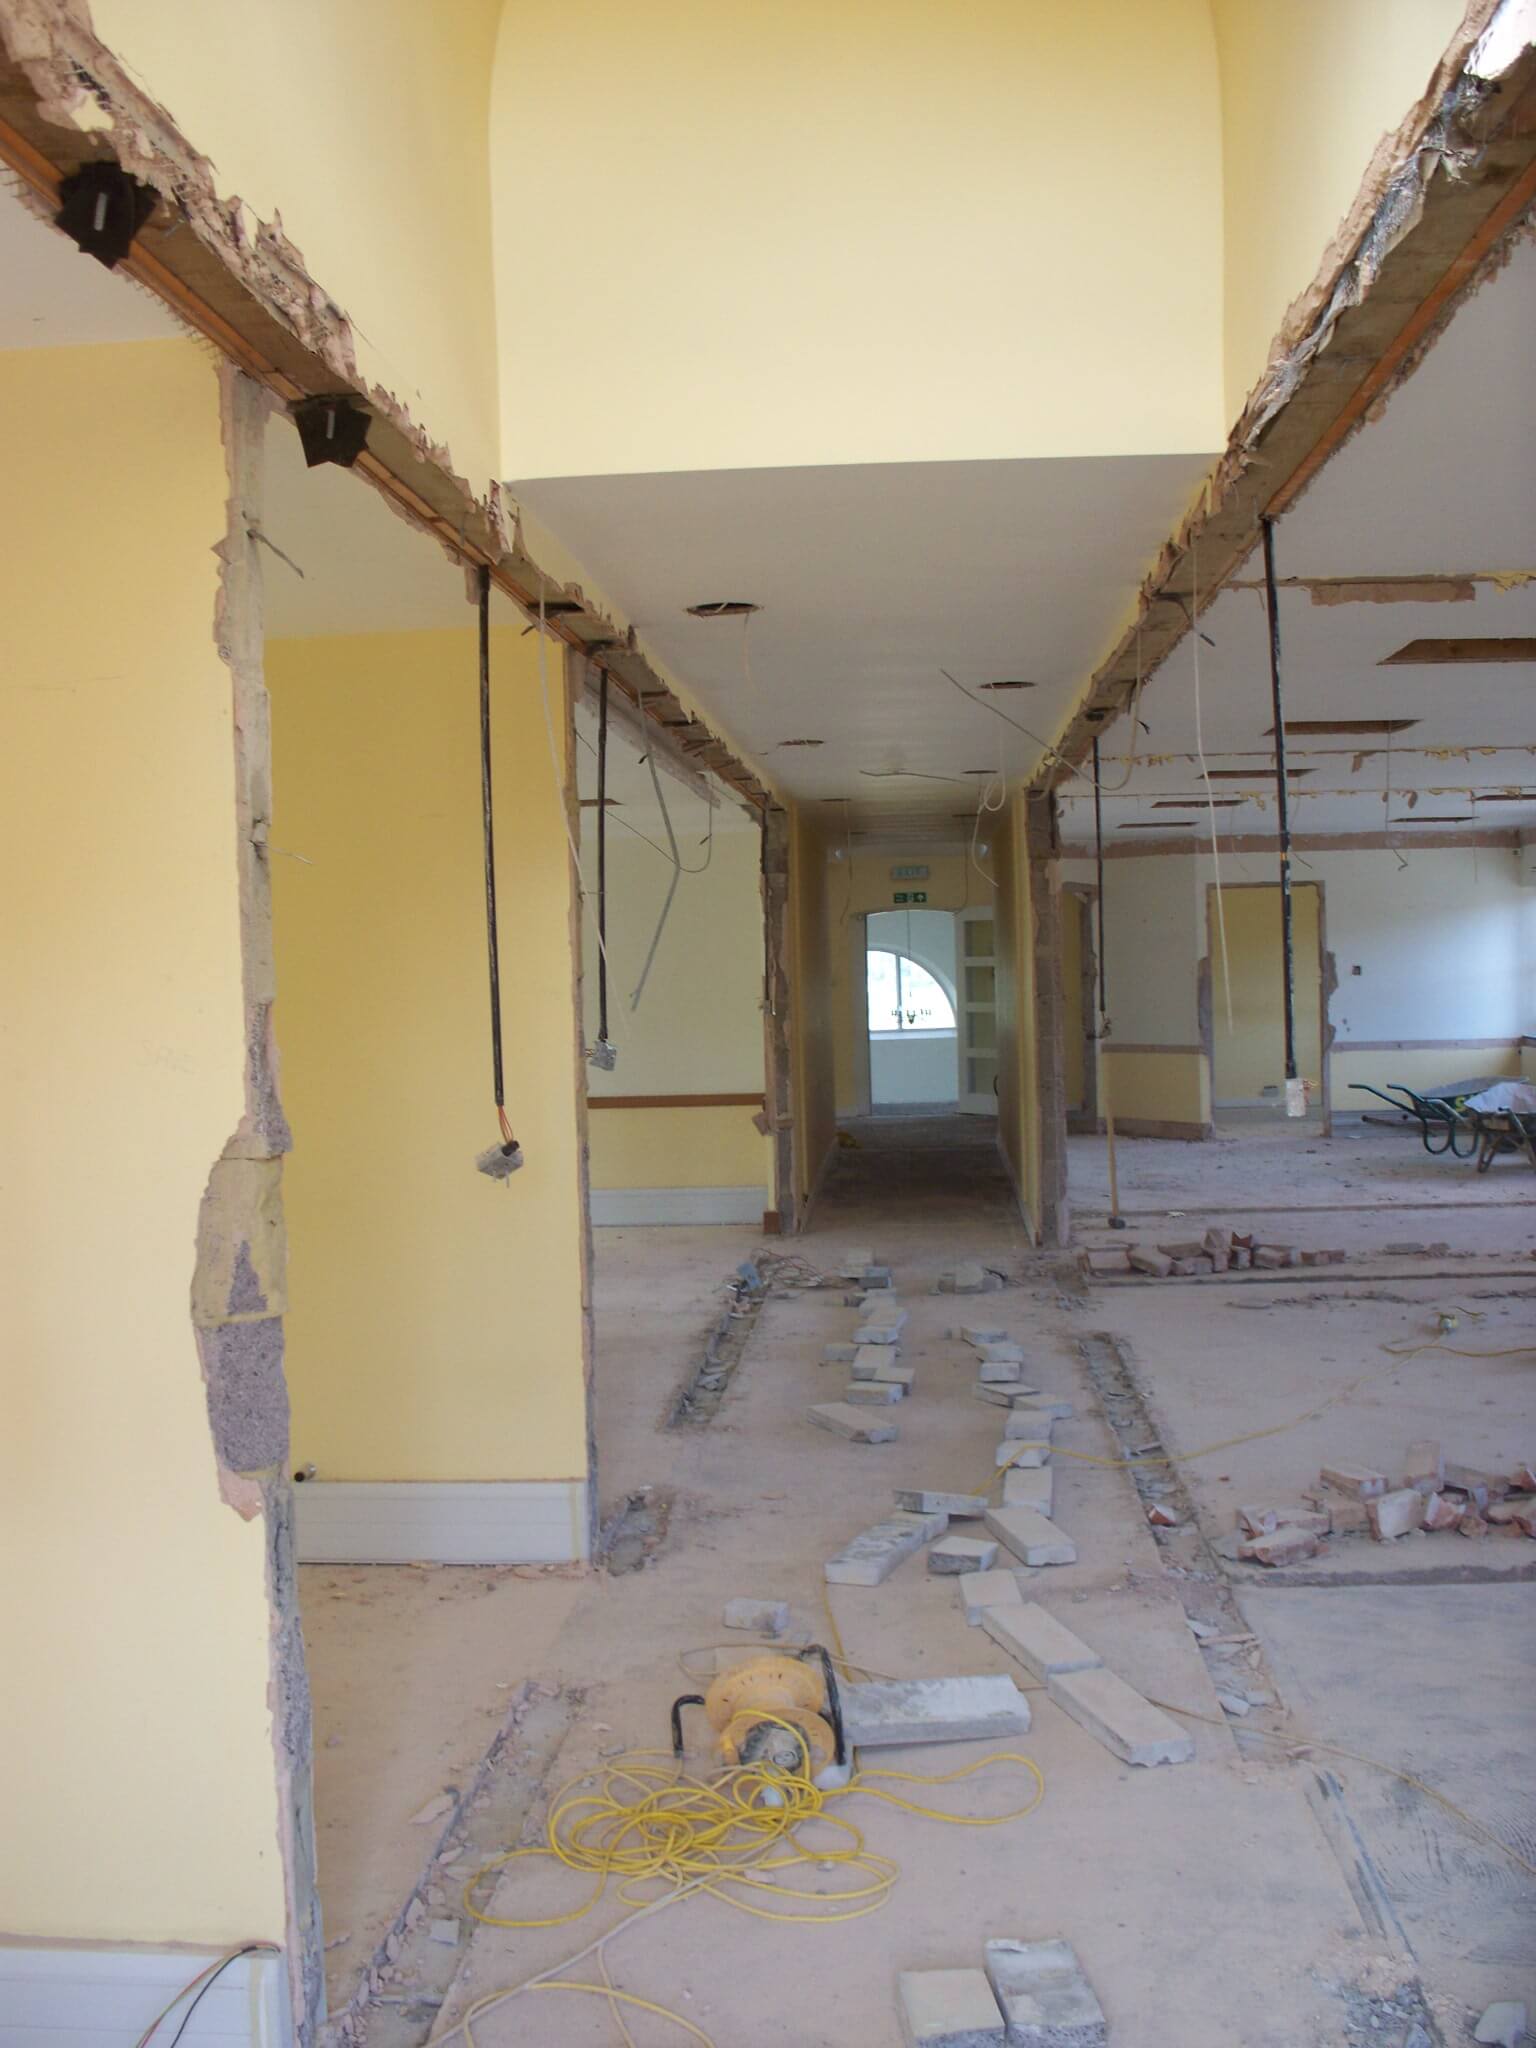
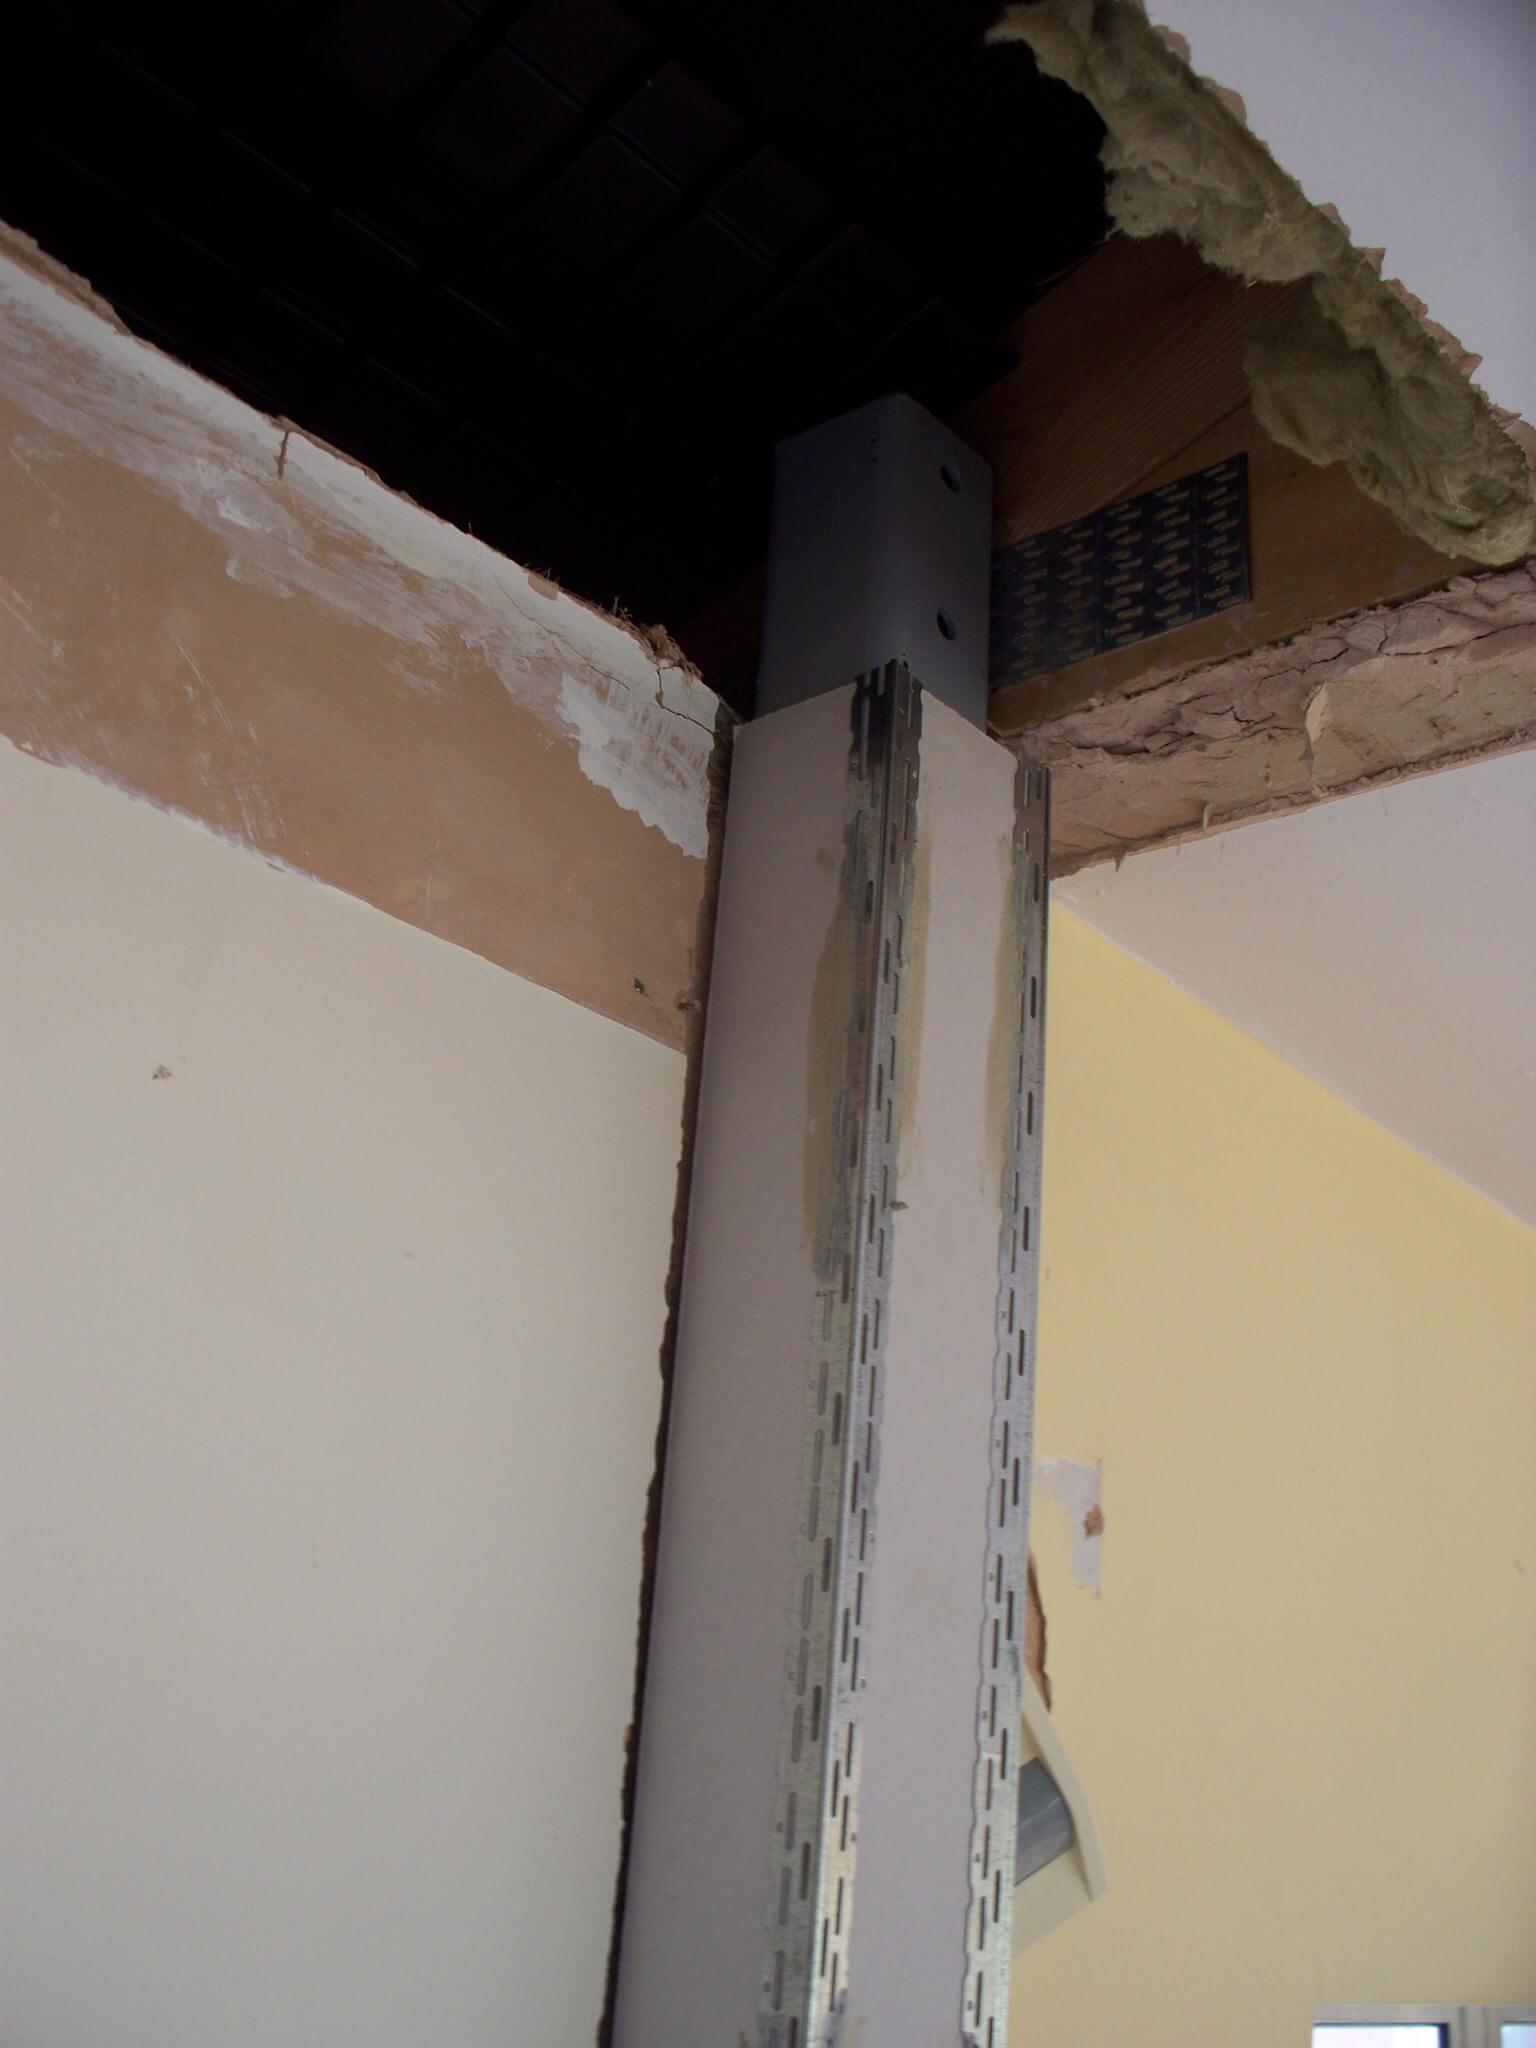
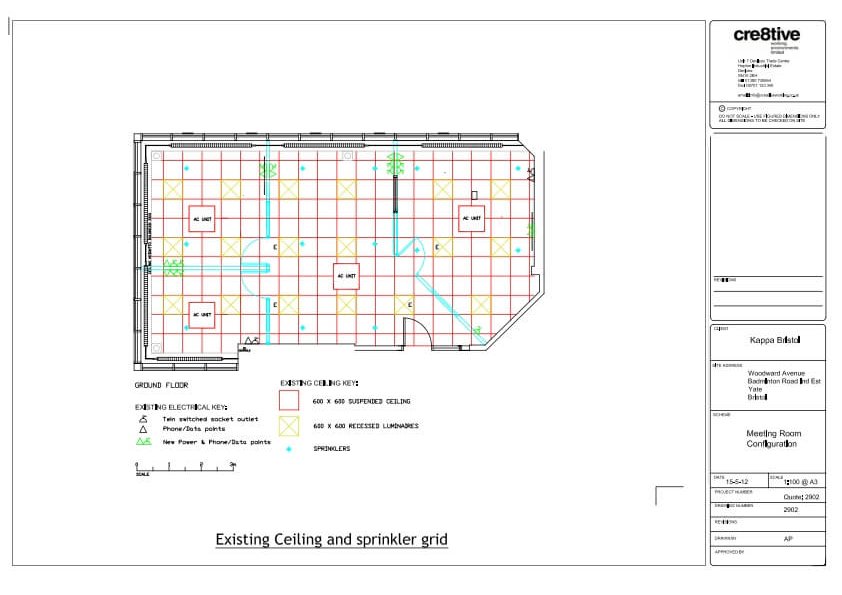
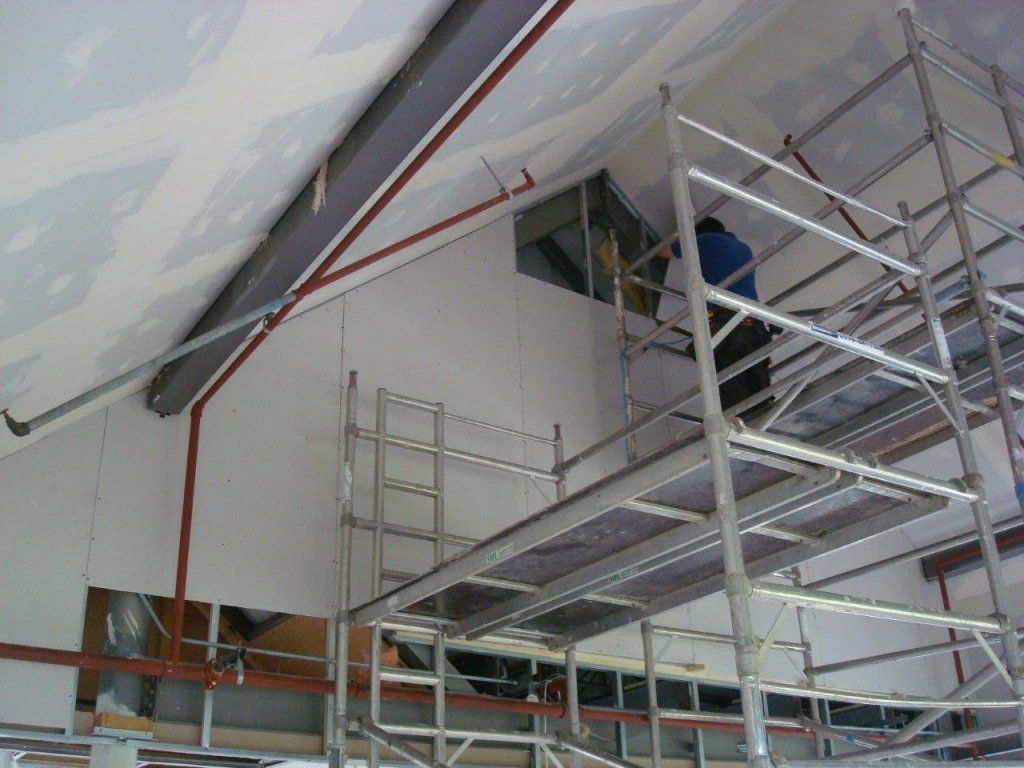
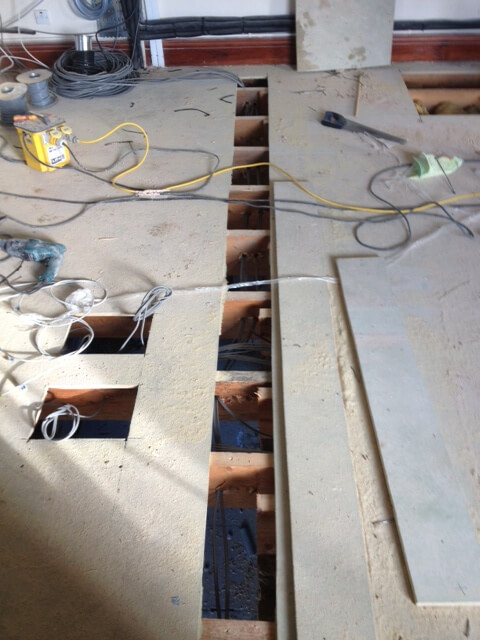
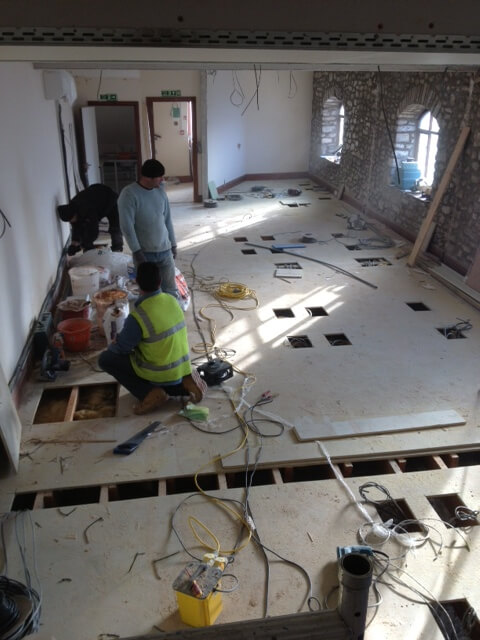
Cre8tive was asked to tender to carry out an office refurbishment in a 3 storey building in Shepton Mallet. Having successfully won the project, the next problem was how to carry out the work in a relatively short space of time, over the winter months with snow on the ground and no heating until the air conditioning was commissioned. The building was not a traditional office, in that there were no suspended ceilings (and not the height to fit any), and no raised floors, and the customer wanted lots of walls removed as well as fitting CAT6 cable into floor boxes in all of the floors.
All of the major elements that are used in a conventional office refurbishment were used, electrical work including data cabling, new lighting, reconfiguration of the power between floors, flooring using a rubber insulation floor to reduce sound transfer between floors, new air conditioning throughout, new kitchens on the floors including new appliances.
One of the difficulties was that the work had to be carried out in the winter months and without any heating until the air conditioning system was installed it was freezing on site. We had heaters but you cannot have the heaters on too much as it would dry out the plaster too quickly causing cracking. The paint also did not dry out properly so it just made the project much more difficult to complete. We also had snow to contend with and we lost several days as the guys could not get into work. We did finish the project a week early allowing the customer some more time on getting the IT equipment in.
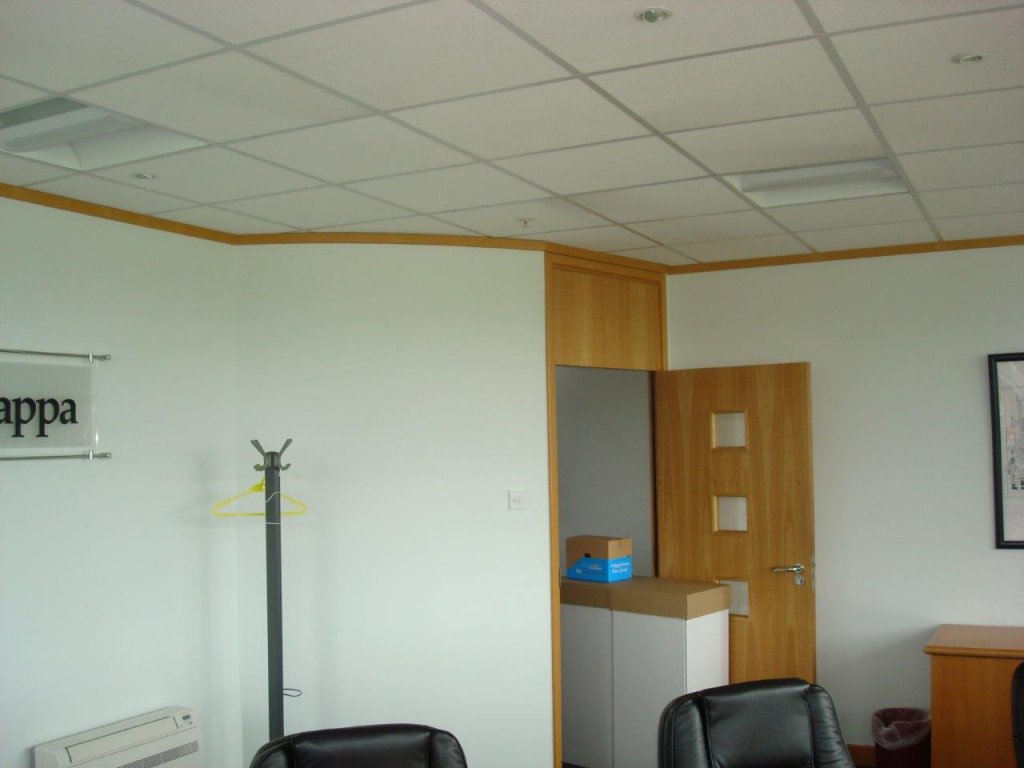
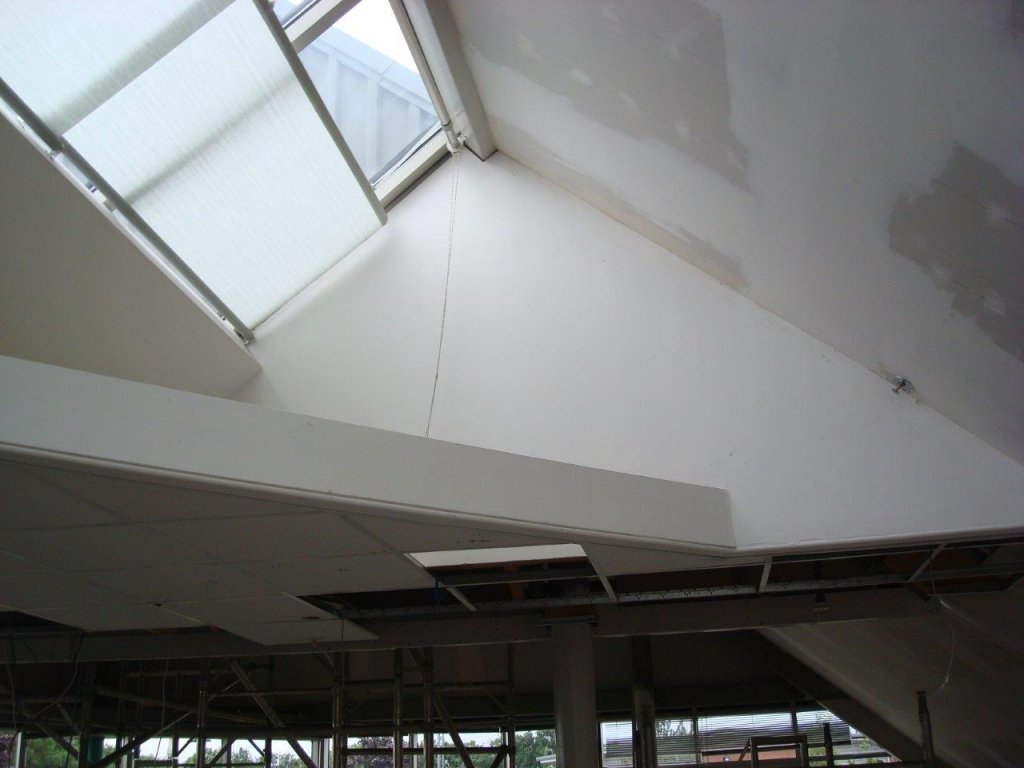
Existing building photographs
Lots of the rooms to be completely stripped
More corridors to open out
More old cabling to be removed
Lots of walls upstairs to come out
All radiators where air conditioning going to come out
Lots of old IT equipment to come out
New kitchen required
Some of the windows needed repair
Single glazed windows needing repair
New non slip floor required
Some of the old boards damaged
Front porch of the building
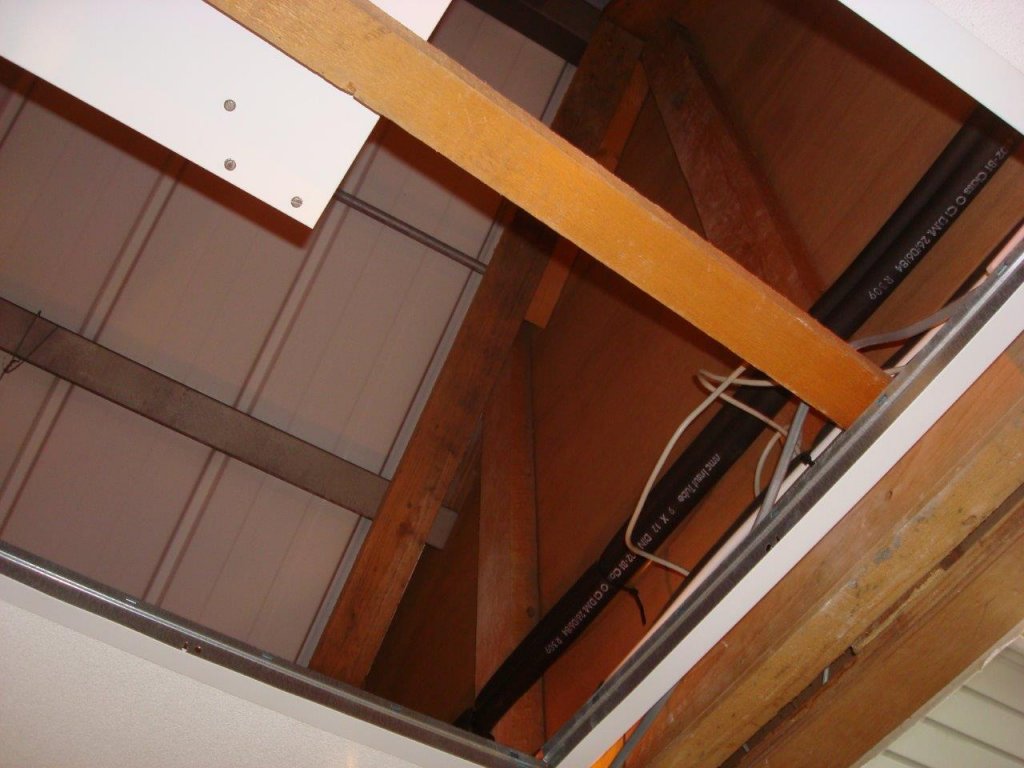
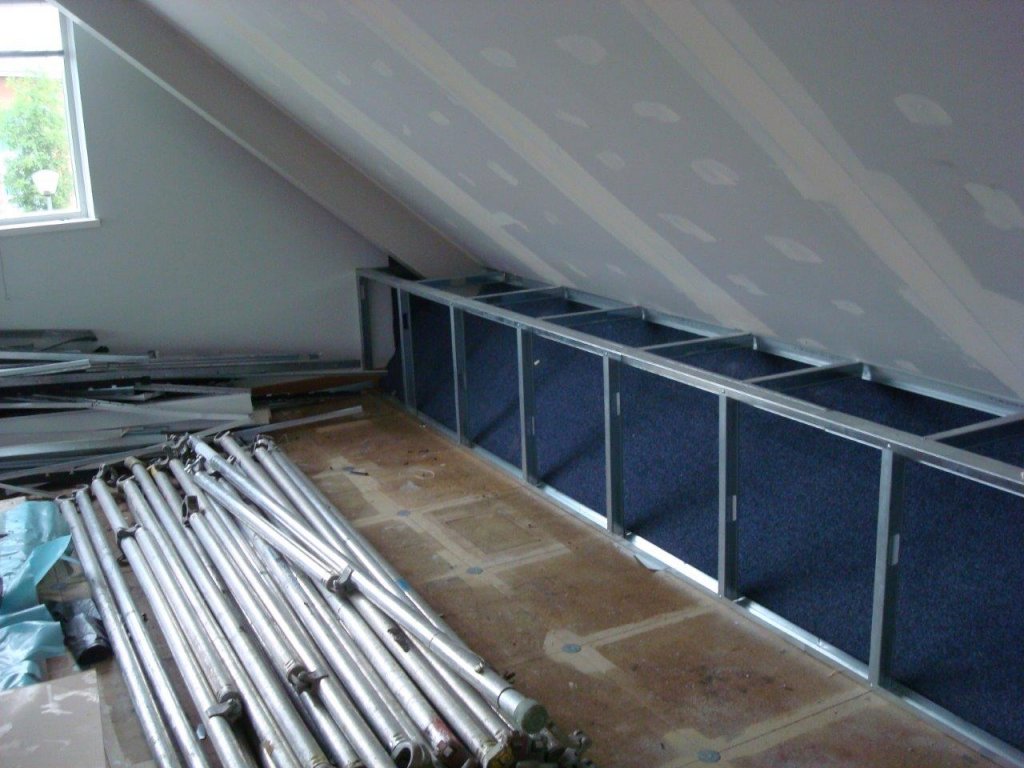
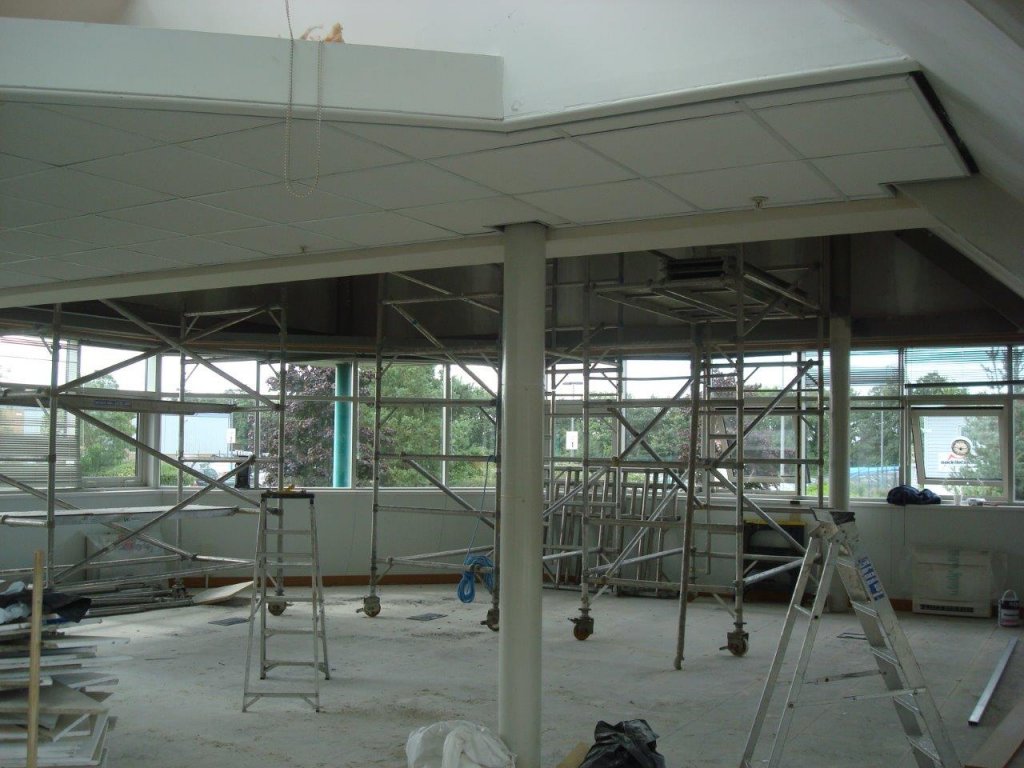
Construction photographs
Site signage to get right
More signage
Walls coming out damaging the ceilings
More signage
Water pipes had to be laid under floorboards
Doorway blocked in
Doorway now plastered
Floor lifted for wiring
Decoration of walls
Floorboxes being cut
Mainly electricians mess
CAT 6 cables being pulled
CAT 6 cables again with floor laid
Fitting of floor boxes
Office compliant lighting being installed
CAT6 cabling and power being installed
Lots of the floors had to come up
Transfer boxes for the air conditioning
False beams constructed to cover a/c pipes
More decoration
Air conditioning BS boxes in roof
Still more cables
Insulation going back in the floor
New kitchen units for tea points
Protecting the air conditioning units from the decorators
The old mill had some really wonky walls
Floor box positions protected
Second floor work
More painting
Steps were tricky to sort out
Installing the air conditioning
Steps being cut with new nosings
Rubberised backing to prevent noise through ceiling.
Then Plywood everywhere
And here
Landing looks nice
Finished stairs
One of the finished rooms
Another room finished
One of the 3 kitchens finished
Main office area completed
Another view
Painting finished and lights
Main entrance foyer complete
One of the second floor rooms
Rather annoying dusty feet
Open office finally cleared.
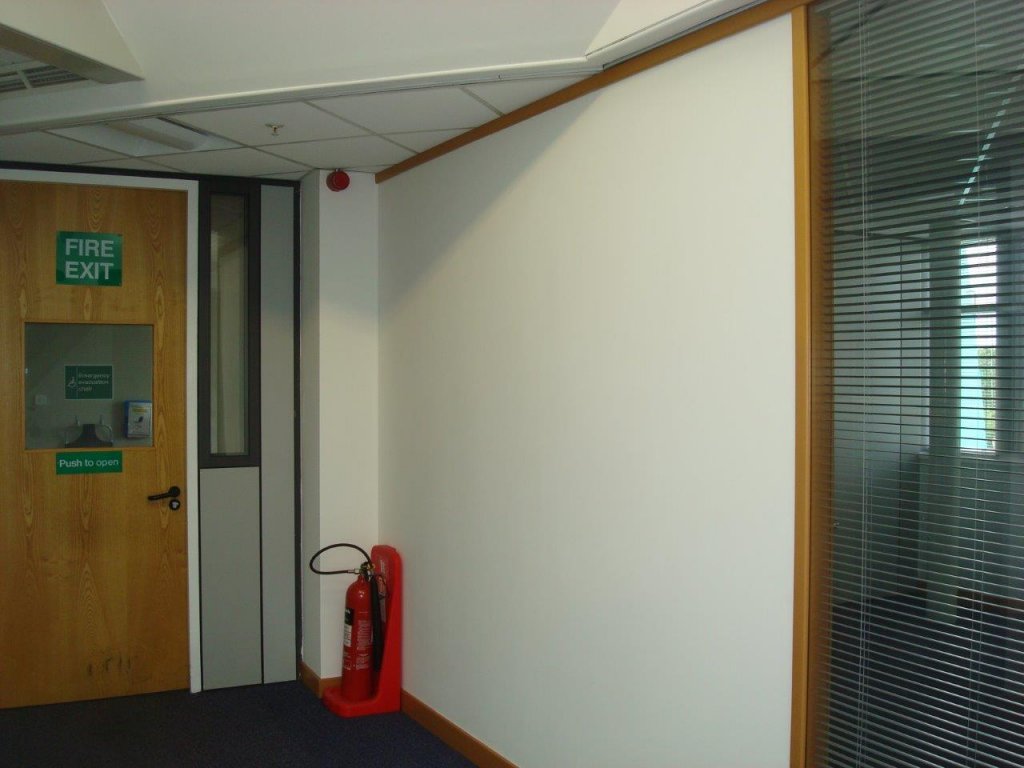
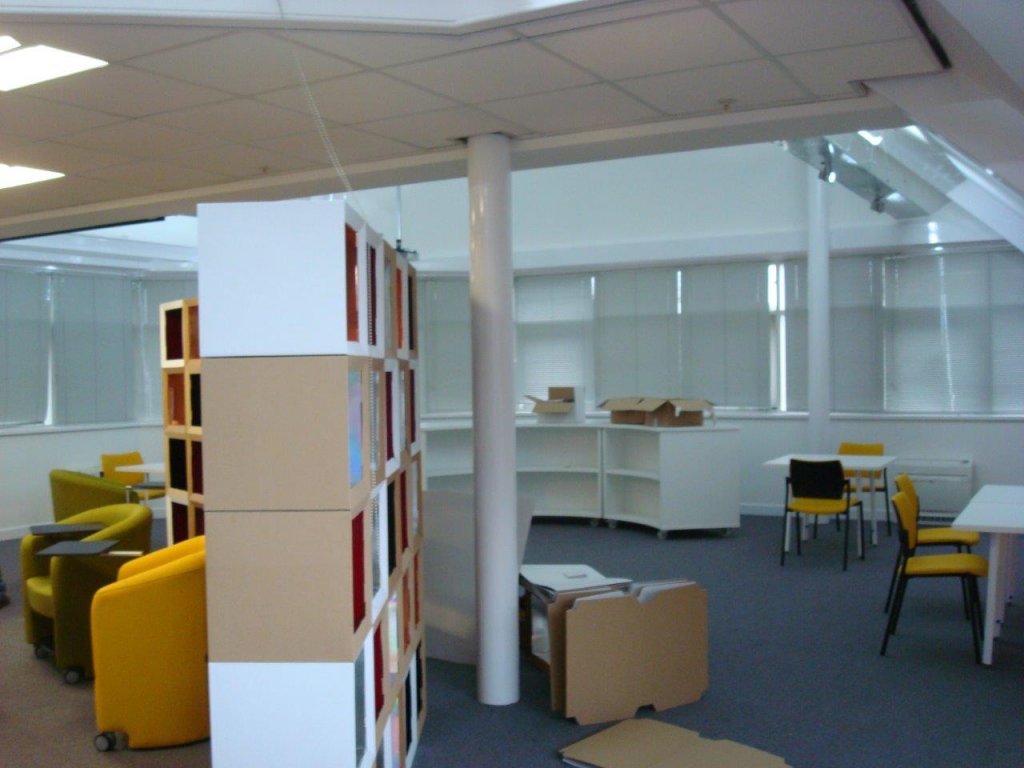
Office refurbishment
If you need any advice or are thinking of an office refurbishment project please give us a call, we would love to talk to you, on 01380 738844
The Administration Building looked very dated and did not represent the image De La Rue wanted to present to their customers. The building needed a thorough interior office refurbishment and design to create an environment in which staff feel empowered and involved and to portray the right professional image to visitors to reflect the high company values.
As the company uses wood pulp in the production of security papers, an earthy feel was required to the design. Due to the size of the project the work had to be carried out under the Construction Design and Management Regulations (CDM) which applies to any construction type work taking longer than 30 days or employing more than 5 people on site at any one time. Cre8tive was employed as a principle contractor, and the client employed a Heath and Safety Consultant to help run the project safely. The office refurbishment had a strict timetable of 8 weeks for completion.
Design Work
The design process took around 3 months. The initial proposal was made in competition with another company in which we were able to convince the customer that we had the skills to deliver, as well as come up with a good design. The first step is to measure everything and work out who does what where before moving onto the plan. We thought upstairs the best thing to do was to take out as much of the upstairs walls as possible to let as much natural light into the space. Unfortunately the walls upstairs held up the roof, so we had to employ a structural engineer to do some calculations and fit some steels to the beams. Downstairs also required opening out, and a beam had to be fitted downstairs.
Site Plan for De La Rue
First floor plan
Ground floor plan
Visual for upstairs layout
Wider view for first floor proposals
First floor plans
First floor layouts
Initial site photographs
Lots of plain walls to come out
re-route of electrics and wall to come out
Redecoration required
New ceiling to be fitted
Walls to be painted
Walls badly decorated
Damp to sort out
Not very nice doors
Asbestos window ledges
Kitchen to be replaced
Asbestos window boards again
False panel to sort out
Stairs to be repainted
Reception with plastic flooring
Back wall non descript and bland
Sterile reception area
Damage to some of the walls
Construction / demolition photographs
Stairs stripped
Start of stripping out
Bare room
Walls comming out
Stripping out
Stripping out
Stripping out
Stripping out
Creating space for beam
Laying cable trays
All ceilings propped as walls come out
Revealed floor at different levels
More props
Marking some hole positions
Downstairs corridor prepared
Upstairs stripping out
Downstairs foundations for beam
Steel supports for roof
Beam for enlarged opening
Cleared rubbish away upstairs
Waste cleared to skips
Main beam ready to go in
Footings prepared
Suspended ceiling grid going in
Suspended ceiling grid
Suspended ceiling
Reveals formed in main downstairs opening
Cables to contend with as well
Suspended ceiling detail
Suspended ceiling in
Toilets being refurbished
Partition tracks in prior to glass
Taking a break
New kitchen being fitted
Corridor ceiling and painted
Floor screed going down
Work moving into the main lobby
Silicon Jointed glass partitions
Glass walls in
New toilet cubicles fitted
Wallpapering the forest wall
Curved top door and nice vision panel
Storage wall
Two of the offices done
Glass nibs
View of the final office
LG3 indirect /direct light fittings
Another view of final office
Office Refurbishment Project?
If you need some office design as you are unsure what to do Cre8tive can help, regardless of the size of the project we like to be Cre8tive with what we do with the space. As well as all of the practical things such as running the project as Principle Contractor, dealing with Health and Safety and running the project well we add something extra and that is the Cre8tive effect.
This was a difficult problem to solve and the only way we could think of doing this was to actually construct a glass partition onto the reception desk. The school had a specific issue with noise coming into the office area as the reception desk is in a main traffic area. Draught’s were also a problem as well as some of the electrical control equipment including the CCTV system was spread over a large area. A new cabinet was supplied under the desk with all the cables re-routed to suit. It was also important to keep the costs to minimum so various options were considered before work started.
In addition to the above, the school wanted some degree of sound insulation. Their initial thought was that the desk would have to be rebuilt with some form of new partition built and all of the computing equipment behind the desk would have to be moved. The CCTV and security systems would also have to be disconnected so a real nuisance. I did think that the desk that was there was pretty good and we could keep it in place, why get rid of it. The idea then was to build something on top of it. The complicated section was on the raised section, a normal partition system would have very chunky frames, so we chose a silicon jointed glass system that would be ready neat and tidy. The joins of the glass could then be angled and ground, then seal with a silicon seal without any vertical aluminum uprights that you would normally use on a conventional partition system.
A further requirement was that they wanted a sliding hatch arrangement so they could open and shut glass doors as needed and we could build this in a partition.
Construction photos
Timing was important as with a busy school and the reception desk being situated in the main thoroughfare, we had to build the partitions out of school hours for safety. The first section to build was the more conventional sliding frame hatch using a conventional partition system but using special ‘Chas mood’ sliding door gear within the partition frames. Once the sliding hatch was built, the glazed system was constructed across the desk. Once all of the frames were built the glaziers arrived to fit the glass.
Open reception desk before
Behind the desk
This bit needed a serving hatch
Sliding hatch frame built
Ready for silicon joint glass
Chasmood sliding track system
Top panel ready for glass
Completed photos
Sliding hatch completed
Detail of the sliding hatch
Finger slider in glass
View of the faceted glass
Another view
Different view
View from inside
We did use two different proprietary demountable partitioning systems to provide the finish result. There are several good reasons to use this type of system, the main one is that it can be taken down and removed quite easily. The words demountable partitioning are used quite often in our fit out and refurbishment projects.
Summary on Demountable Partitioning
Using Demountable Partitioning is very tax efficient as they are seen as movable items and so can be treated differently in writing down allowances in the accounts. We have a better description on our News / Blog page on this site.
We can also lease Demountable Partitioning as they are movable, this spreads the costs of having the work done as Demountable Partitions always cost more than customers think.
Leasing of demountable partitioning is very tax efficient and Cre8tive can provide illustrations, please contact us for further information.
Most landlords insist on Demountable Partitions being used for offices as it is much easier to take them out should the tenant renting the space leave for any reason. The benefit is that is saves making a huge amount of mess and destruction that would be need with a conventional stud and plasterboard constructed wall.
Questions on extending offices?
If you are not sure about anything as well as taking about all kinds of partitioning including Demountable we love to talk about projects and sort out problems and issues with space, please give us a call on 01380 738844
We have carried out several refurbishment projects for Smurfit Kappa over the years and the customer had every confidence that we could deliver. The project had to be run under the Construction Design and Management Regulations (CDM) due to the time on site, and the number of fixers on site as well. Please click the link to go the page which explains more about CDM.
The office refurbishment project was made more complicated as the main staircase had to made available whilst the work was carried out, so planning and carrying out the appropriate risk assessments was important.
Office Refurbishment Scope of Work
The work included:
Initial project brief
Development of ideas with the customer
Drawings, designs, 3d visuals
Costing
Liaising with on-site Health and Safety advisors, production of Health and Safety Plan.
Running the project under CDM
Completion on time within budget
Supply and fit of: stripping out, electrical work, flooring, lighting design, office furniture, design of colours and specification of finishes, air conditioning, decoration and construction of a curved presentation wall and fitting the customers own artwork.
Initial photographs of existing space
This was essential to try and work out what we were dealing with. The constraints as well had to be considered which mainly revolved around agreeing access times to get materials up and down the main staircase. First task is always to take loads of photos, measurement, then to go away and think about it.
Nice timber system to come out
Everything out
What is above??
Above the ceiling again
Above roof line, not insulated
Lots of angles to consider
More angles, shame to demolish it
Air condition to be relocated.
Walls and ceilings out.
More slopes
More slopes
mm this is tricky…
Initial Designs
The first step in any office refurbishment projects that needs design is to work out the basic space plan first, once this was done we produced a series of the 3d visuals to help the client understand what the space may look like, and use this tool to further refine and ensure that the customer will get exactly what they want.
Smurfit Kappa Visual 1
Smurfit Kappa Visual 2
Smurfit Kappa Visual 3
Detailed drawings
Once the design was approved the next task was to detail up the drawings to ensure that we produced exactly what the customer wanted. The table for the downstairs meeting room was made to a Smurfit Kappa specification and design. We had to squeeze it in to the space however which was a bit difficult.
Existing space kappa upstairs directors suite.
Existing layout downstairs offices
Downstairs layout showing grid and electrical
Approved design detailed.
More detail
Detail of the downstairs room.
Construction Photographs.
One of the tricky things to do was to actually get to the height of the roof using mobile towers. The insulation had to be tacked in place so it did not slip down the roof, everything boarded, tape and jointed then painted, all working 5 meters off the floor.
There are so many awkward angles, it is hard to show with photographs the geometry of everything.
The roof was pretty high, cladding going in
Boxing the edges
Front face to be dry lined.
Lots of pipes to work around
Ceiling join with high roof
Getting very high..
Sloped roof tape and jointed
This bit was hard to get to
Painting end gable
Painting the slopes
Other walls being done as well
Scaffold out the way, getting lighter
More slopes
More slopes
End gable complete
Curved wall being plastered
Bit of insulation left over!
Final Photographs
The final result was a mixture between the original design that we did and adjustments made by the client. The actual box wall itself was made by the customer as this is what they do, construct things in cardboard. We had to give them the curve and they did the rest. Overall the customer was very happy with the result
Angled roof
Library area finished
Lighting was upwards
Start of the big vertical wall in the roof space
Separating screen between areas
Curved Box wall
More difficult roof angles
Library area again
The story board of Kappa
Entrance
Brick wall coming in
Nice white desks and chairs
Front face a big roof space wall
Box wall missing pillar
Box wall and tub chairs on wheels
Box wall again
Similar Project?
Although it is very unlikely that we will ever come across a project exactly the same, the same basic principles in what we do are carried through all projects.
If you are stuck for ideas but know that something needs to be done, please give us a call on 01380 73 88 44 or email us at [email protected]
Cole Easdon approached us with a couple of requirements for their new office in Swindon. The first was to construct a couple of office but they also had a major problem with storage. We realised that we could utilise the full height of the ceiling and use a product called storage wall, which is a full height cupboard constructed and fitted to the underside of the suspended ceiling which acts like a partition. We then built some demountable partitions off the storage wall to solve the problem.
Storage Wall Project photographs
Initial layout and design work
Run of 4 storage wall bays acting as a partition wall
Storage inside!
Outer view of the offices
Inside from the small office
Why Demountable Partitions in Office Refurbishments?
Demountable partitions are tax efficient in that they are seen as movable items and so can be treated differently in writing down allowances in the accounts, we can also lease elements of office refurbishments. Anything that can be moved.
We mainly lease Demountable Partitions as they are movable, this spreads the costs of having the work done as Demountable Partitions always cost more than customers think.
Leasing of movable items is very tax efficient and Cre8tive can provide illustrations, please contact us for further information.
Most landlords insist on demountable partitions in an office as it is much easier to take them out should the tenant renting the space leave for any reason. The benefit is that is saves making a huge amount of mess and destruction that would be need with a conventional stud and plasterboard constructed wall
Storage wall or Partitioning questions?
We have been supplying and fitting storage wall and demountable partitioning as part of our main refurbishment projects for over 15 years, if you are unsure about anything please give us a call.